2.03.2011

Almond Power Bars

Almond Power Bars

I consider it nothing short of a miracle that I have now run my second half marathon.  I want to share this recipe because I have to think that these little suckers are the reason I got all the way through it.  First time around, I prepared and really trained.  This time around, there was that little voice in the back of my head saying no big deal, you have already done this, so I did not devote myself to training like I should have.  Life kept getting in the way of long runs and when the weekend came, I decided to put all my chips in one basket and try out this new power bar in hopes it would give me just that... lots of power.

So now I have two recipes under my belt for running.  Check these out too if you like this sort of thing.

BONUS: These are gluten free if that it is important to you.


From my little kitchen to yours... Enjoy.

Almond Power Bars
Adapted from Elena's Pantry
Recipe Note
Most of these ingredients can be found in the health food section of the grocery store.  If you are hesitant to buy a whole jar of coconut oil, I actually have a stash of this because I use it as moisturizer.  Google it... there are a thousand uses for the stuff.  These made a great snack bar for the rest of the week as well.
Ingredients
2 cups raw almonds
1/2 cup flax meal (flax seed ground in Vitamix... I used the brand Bob's Red Mill)
1/2 cup shredded unsweetened coconut
1/2 cup unsalted creamy almond butter
1/2 teaspoon sea salt
1/4 cup coconut oil
a drizzle of honey
1 tablespoon agave nectar
1 tablespoon vanilla
1 bar of dark chocolate (73% cacao)
Step by Step
Place almonds, flax meal, shredded coconut, almond butter and salt in a food processor.  Pulse for 10 to 20 second.  Melt coconut oil in a small sauce pan over low heat.  Remove oil from heat, add drizzle of honey and vanilla.  Stir oil to combine.
Add coconut oil mixture to food processor and pulse until a coarse paste forms.  Spray 8x8 glass baking dish with a bit of cooking spray.  Press mixture into dish.  Chill in refrigerator for at least an hour, until hard.  Melt dark chocolate in a small sauce pan, stirring frequently to not burn.  Drizzle chocolate over bars and chill in the refrigerator for 30 minutes.

Remove from refrigerator, cut into bars and serve. Served best right out of the refrigerator.

Note: For a more "packable" bar, leave off the chocolate drizzle.


Makes 20 small bars.


Sure had fun running with you girls...
IMG_0770 copy

1.13.2011

spinach turkey burgers

DSC_0431
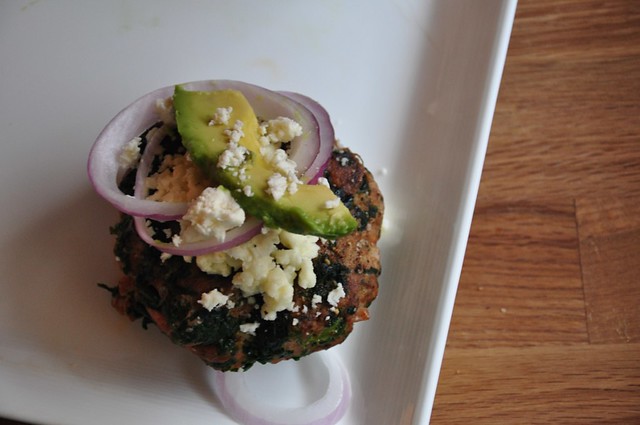
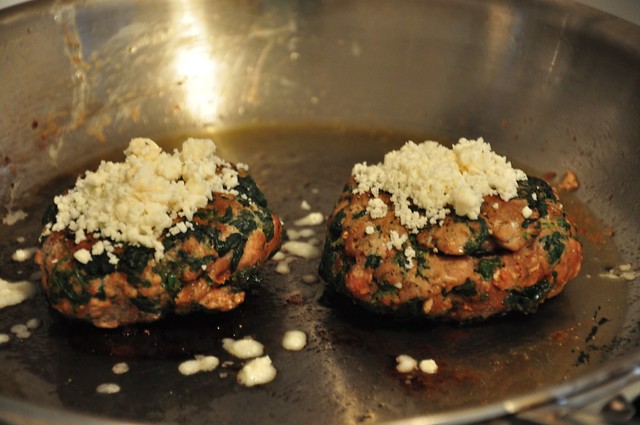
So it's the new year and while I am still trying to detox from the holidays, I'm in search of healthy food, but also simple food.  December was for decadent dishes and in-the-kitchen-all-day recipes, but January, oh January, seems like the time to lighten and simplify.  I don't know if you can get more simple than these turkey burgers.  However, if you are still feeling the urge to be complicated, you could go crazy with toppings or even make your own buns.  However, I preferred topping these with all those little extra bites of things I had leftover in the refrigerator and because I have eaten enough carbs in the past couple of weeks to last me a lifetime, we went for a bunless version.  Hope your January is off to a great start.

From my little kitchen to yours... Enjoy.
DSC_0415

DSC_0421

DSC_0425
Spinach Turkey Burgers
Makes 4 to 6 patties
Recipe Notes
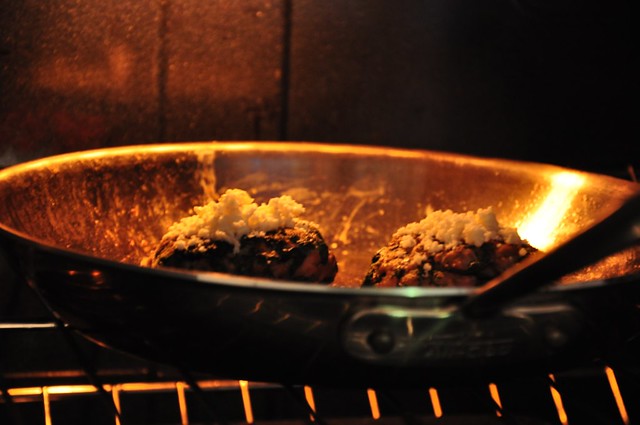
I topped these with feta cheese, avocado and sliced red onion.  If you choose to top yours with cheese as well, set the oven to broil, add cheese and place skillet in oven for just a few minutes until melted.  Add other toppings and serve... with or without a bun.  The easiest way to thaw the spinach is to follow the directions on the back of the package to microwave.  Make sure you drain spinach well.  This is easiest to do by wringing out the spinach in a clean dish towel.
Ingredients
1 pound lean turkey meat (93 percent fat free)
1 package McCormick taco seasoning
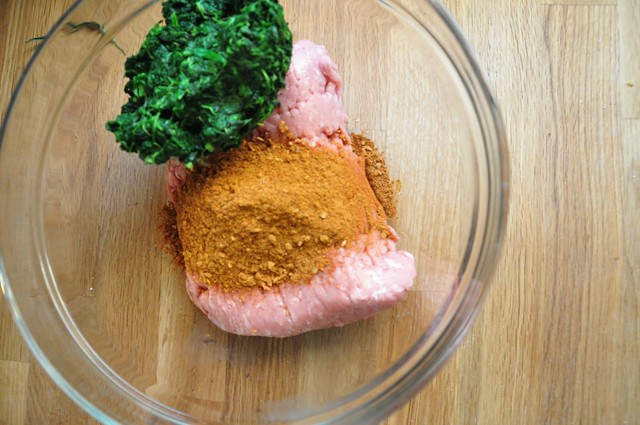
1 10-ounce package frozen chopped spinach, thawed and drained well (see note above)
Topping Ideas: feta, avocado and red onion; cheddar cheese; tomato and goat cheese
Step by Step
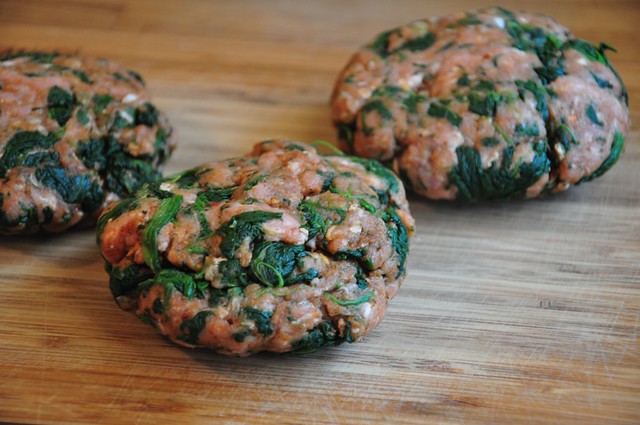
In a medium sized bowl, mix together all three ingredients until well combined.  Form patties.  Heat a skillet over medium heat and spray lightly with a non-stick cooking spray.  Cook patties over medium heat until cooked through.  About 5 to 10 minutes on each side, until all pink is gone from the turkey meat.  (If you have meat thermometer, use it to help you get to the exact temperature, 165 degrees).  See recipe notes for toppings.
DSC_0422

1.10.2011

little kitchen resolutions

I'm really not a big January 1st resolution type person.  When there is something I want to do or accomplish, I usually try to start right then instead of coming up with a heaping list of ideas on January 1st that I usually cannot even remember by February 1st.  However,  I do have a few goals in the kitchen and I am hoping by posting them, it will help me stay accountable and track my progress.  So here they go...

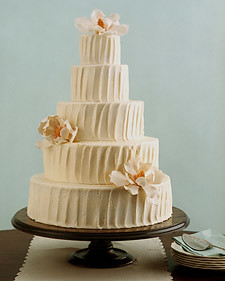
1. Take a cake decorating class... I love this cake.  Probably won't be attempting something so grand, but I love the simple yet perfect texture of the icing.
cake


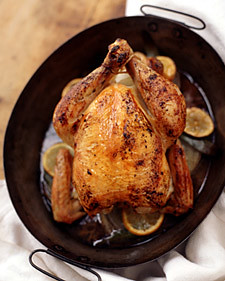
2.  Make perfect roasted chicken... sounds like a great go-to meal.
roast chicken


3.  Practice icing sugar cookies... aren't these dreamy? Sure would love to take a class here.
cookie


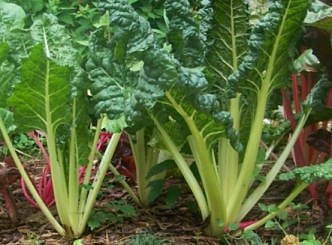
4.  Grow more of the food I eat... details about my garden coming soon.
garden


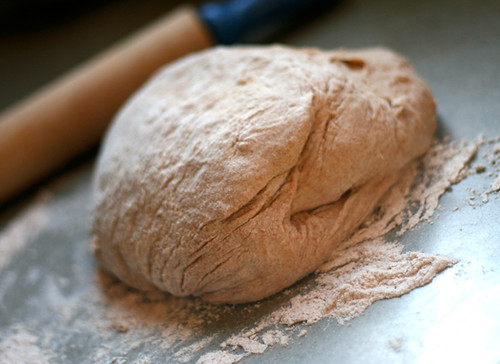
5.  Find a great whole wheat pizza crust.
pizza dough


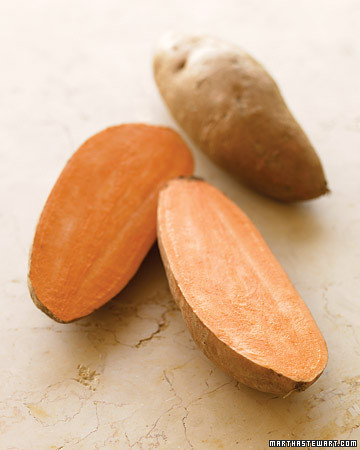
6.  Cook with at least one new seasonal vegetable  that I have never experimented with.  First up... sweet potatoes.
sweet potatoes


7. Learn to make one perfect, delicious, but not too difficult loaf of bread.


photo credits:

If I somehow manage to get all of these checked off somewhat soon, then I will add, but I'm quite comfortable starting with a manageable list.

Do you have any kitchen resolutions this year?  Or anything you would like to see tried in the little kitchen?


1.08.2011

big BIG bummer.

Happy New Year everyone.  It's not too late to say that, right?  It's taken me awhile to come back here partly because I was busy celebrating the holidays, but partly because I am quite saddened about what has happened to this little blog.

Long story short... I have erased quite a few of my pictures from past posts and will not be able to retrieve them.  If you use flickr, then read what happened to me below so it doesn't happen to you, but for the rest of you, I won't bore you with the details.  Thank you to some of the readers who emailed me about this problem and after much effort, I will not be able to get them back.  Thankfully I didn't erase all of them, but  I am taking some time to work out a new way to store photos.  If anyone has any great suggestions on how to store lots of pictures somewhere other than your computer, please share. In the meantime, I'll be back soon with a really great couscous recipe, but I just needed to vent first.

my flickr faux pas...
I purchased a flickr pro account so that I could store an unlimited amount of photos on flickr.  I upload pictures from iphoto on my mac using the flickr uploader in iphoto.  Over the holidays, I decided to clean out a lot of pictures from my computer to free up some memory, thinking they would forever be on flickr.  And since I was serious about freeing up space, I deleted them and then deleted them permanently (ugh).  A week later, a reader (hi Pamm) emailed me about my photos being gone.  Well, turns out, when you use the flickr uploader, it is simple a mirror image of your iphoto library.  So, if you delete a picture in iphoto, it is deleted from flickr.  Which for me, defeats the purpose all together because I wanted to use flickr to free up space on my computer. Anyway, after being outraged and feeling wronged that flickr never told me this, I have moved on and I am just thankful I didn't go too crazy and erase everything.  I'm  now in the process of finding a better place for my photos and will slowly work on re-photographing food that I lost.  I hope someone out there can learn from my mistake.

12.25.2010

Christmas Quiche


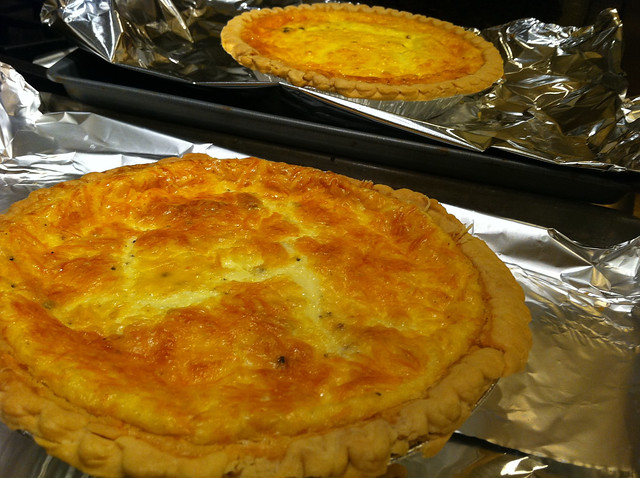
Merry Christmas and a very Happy New Year.  We are having a wonderful white Christmas with Mr. Hungry's family and we had the most delicious quiche this morning.  Just wanted to share the recipe real quick in case you have a lazy day or a brunch coming up.  My sister in law shared this recipe and we prepped it on Christmas Eve and just reheated it the next morning.  Perfect breakfast to pop in the oven after everyone had opened presents.  Pretty darn good and I was especially excited because I've expressed my feelings on eggs (ew) and I actually loved this.  Once I participated in making quiche, I realized there's more cream and cheese than eggs,  so while this won't make you skinny, it's a special treat.

I got a few really fun, new things for the little kitchen that I can't wait to share...

See you next year!

Classic Quiche Lorraine
Ingredients
1 refrigerated pie crust (or frozen, thawed)
8 slices bacon, crisply cooked and crumbled
1 1/4 cup shredded swiss cheese (6 ounces)
1/3 cup finely chopped yellow onion
4 large eggs
2 cups heavy whipping cream (or half and half)
1/4 teaspoon salt
1/4 teaspoon pepper
1/8 teaspoon cayenne pepper (red pepper)
Step by Step
Preheat oven to 350 degrees. Poke holes in botttom of pie crust and bake for 10 minutes.   Do not let crust brown.  Put an even layer of the onion, bacon and cheese into the pie crust.  In a separate bowl, whisk together eggs, whipping cream, salt, pepper and cayenne until well blended.  Pour egg mixture on top of cheese.  Reduce oven to 325 degrees and bake quiche for 50 minutes or until a knife inserted in the center comes out clean.  Cool for 10 minutes, slice and serve.

To make ahead, allow quiche to completely cool.  Wrap tightly and store in the refrigerator overnight.  Reheat in a 350 degree oven for about 10 to 15 minutes, until warmed through.

12.10.2010

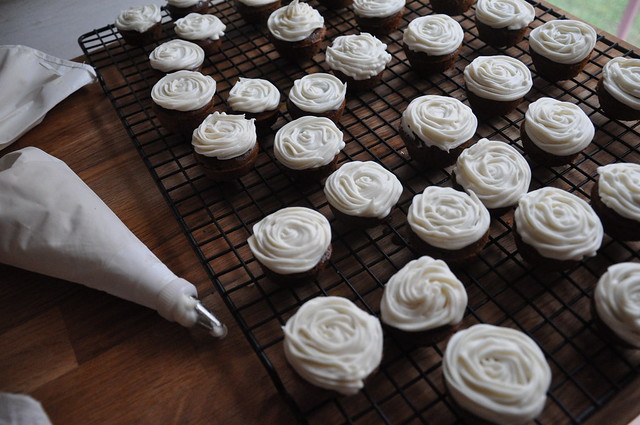
Gingerbread Cupcakes with Cinnamon Cream Cheese Frosting

DSC_0507

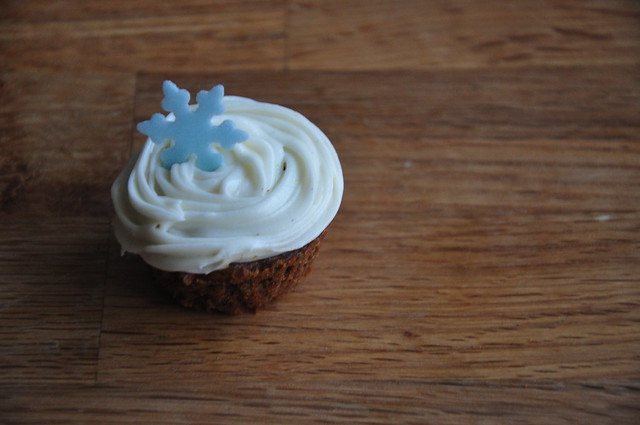
It's that time of year where you are bound to go to a Christmas party, cookie exchange, or be hosting a few friends.  These little cupcakes are a sweet treat. I made a mini version, but if you don't own mini cupcake pans, I'm sure the regular size will be tasty too.  The best part... the bottom is a cake mix, but the icing is sweet and creamy with a hint of cinnamon and orange.  So since everyone is busy in the holiday spirit, I'll keep it short.

From my little kitchen to yours... Enjoy.
DSC_0490

Gingerbread Cupcakes with Cinnamon Cream Cheese Frosting
Recipe Notes
Depending on the size of the cupcake, the baking time will vary.  Once the tops seem done, stick a toothpick in one and take them out when it comes out clean.  Start to check as soon as they start to not look done so you don't overcook them.  FYI, if you happen to shop at HEB grocery store, I have not been able to find the Betty Crocker Gingerbread Cake Mix there, but did have luck at Kroger.
Ingredients
Betty Crocker Gingerbread Cake Mix (check back of box for other ingredients)
1 cup (2 sticks) butter, softened
2 packages (8 oz) cream cheese, softened
8 cups (about 2 lbs) powdered sugar
1 tablespoon milk
1 tablespoon orange juice
1 teaspoon orange zest
1 teaspoon cinnamon
1/2 teaspoon vanilla
Step by Step
Bake cupcakes according to instructions on the back of the box.  In a large bowl, cream the butter and cream cheese together until soft a fluffy.  Add the powdered sugar one cup at a time and mix well.  Mix in the milk, orange juice, zest, cinnamon and vanilla. Pipe or spread on the cupcakes.  Store in an airtight container for up to 2 days.