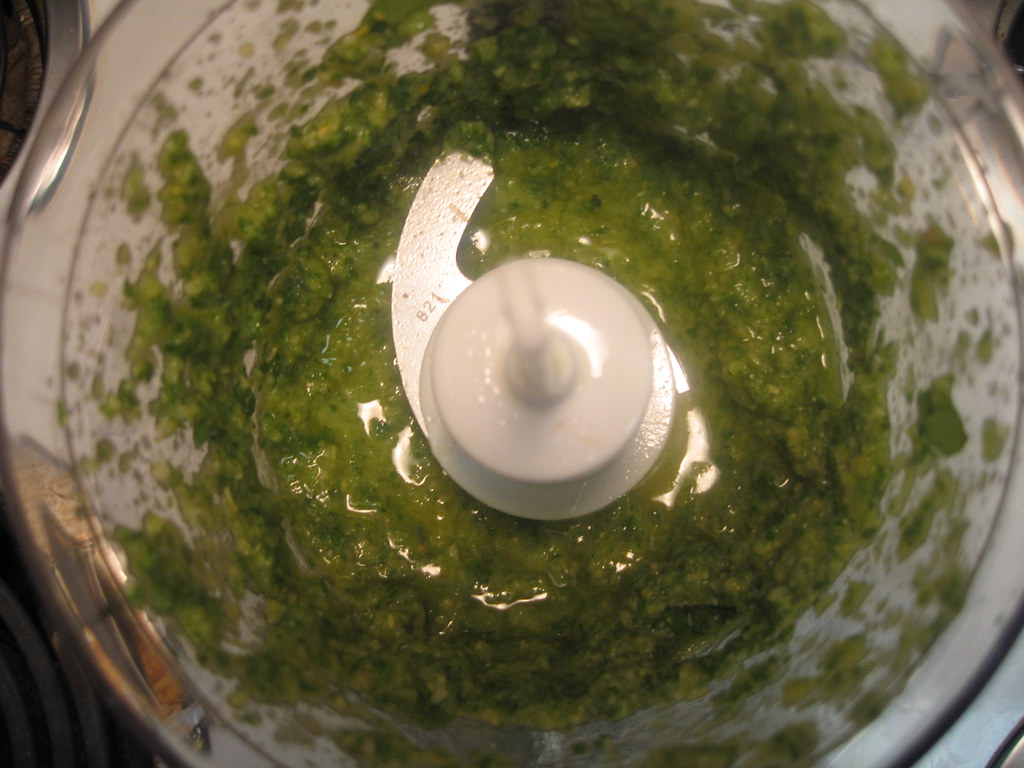
I cannot say enough wonderful things about fresh basil pesto. The possibilities are endless! Stir it in pasta, spread it on a sandwich, use it as a dipping sauce or spoon it over chicken. Basil is actually one of the few things i grow (and trust me, if I can, you can too). Just a small pot and when it's in full bloom, I make a big batch of pesto. Sure there is store bought pesto, but the strong and fresh flavor of making it at home is worth the effort! Check back later this week for a tip on how to freeze the pesto so you will always have it on hand!
Fresh Basil Pesto
Ingredients
2 cups loosely packed fresh basil leaves
2 tablespoons toasted pine nuts
2 tablespoons shredded parmesan cheese
1 garlic clove, roughly chopped
1/2 teaspoon kosher salt
1/4 cup extra virgin olive oil + 1 tablespoon
Freshly ground black pepper
Step by Step
1. Combine basil, pine nuts, cheese, garlic and salt in a food processor. Grind for a few seconds until mixed.
2. While the motor is still running, slowly pour oil in and blend until the mixture is incorporated.
3. Add pepper to taste and extra salt if needed.
4. Store in refrigerator for up to 3 days tightly covered or freeze for up to a month.
6.15.2009
6.13.2009
Weekend Update: Topsy Turvy Tomato Planter...Week 5
Failure, disappointment, shame, with a sliver of hope sprinkled on top...the emotions I am feeling as I post this update. How could I come so far since my last joyous Saturday post you ask? Remember those yellow flowers I boasted about last week, and how I was sure I was on the brink of a tomato explosion? Gone, gone... gone. When I sauntered out one morning to water my precious little plant, I could tell from afar that the bright yellow flowers that once were did not look so hot. As I got closer, I could see they were a tad shriveled up. Before I really thought through what i should do, I decided to poke one. It took my breath away as I watched the entire shriveled up bulb float to the concrete.
After looking around to see if anyone in the neighborhood witnessed my murder, I decided to douse the sweet plant in water in hopes of the other two springing back to life. Well, this was on Thursday and I have seen no springage thus far. I will say that the sliver of hope I reported comes from the fact that it appears I have some other flowers on the way. However, (knock on wood) I will not be reporting too much on these until there is actually some fruit. I feel as if I jinxed the last ones. So keep this little tike in your thoughts and prayers and maybe it will pull through. If you have a green thumb, then I beg you to share your tips and tricks with a comment. Thank you. Until next week...
shameful...
R.I.P. little bulb...
6.11.2009
Corn, Tomato & Avocado Salad
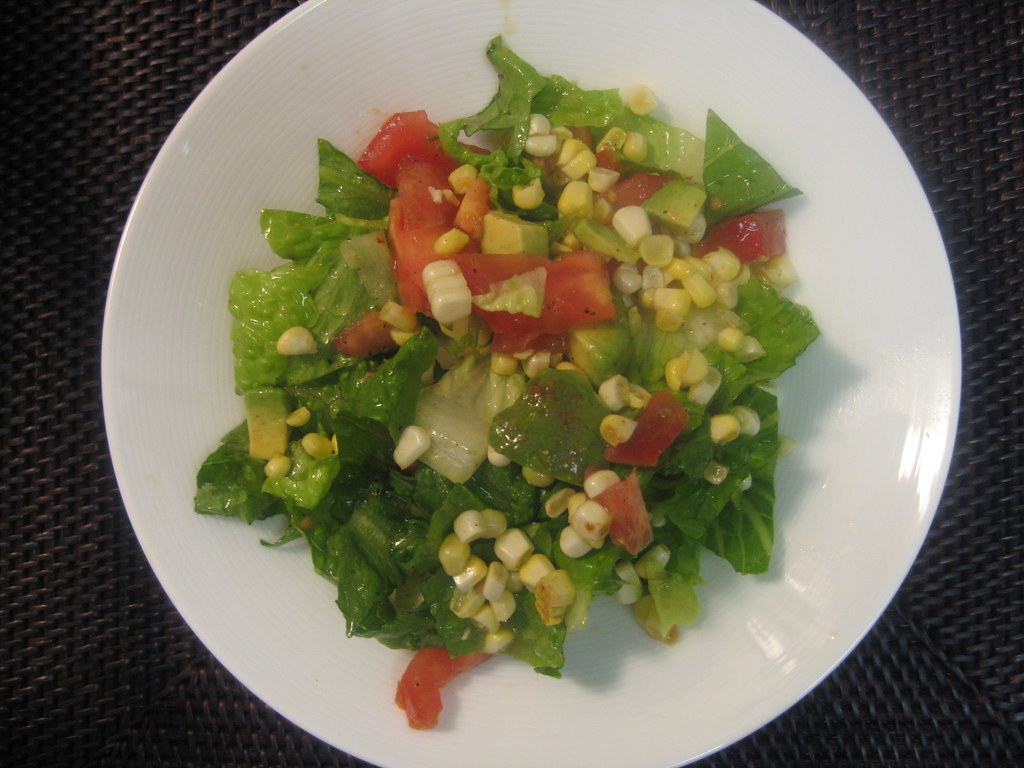
This is such a lovely summer salad. The sweet fresh corn goes perfectly with the creamy avocado and chunks of fresh tomato. You can put this together in seconds and goes great with pretty much anything. You could serve it with grilled meat, a sandwich or Mexican food. I found this lovely recipe years ago from Food Everyday and love bringing it out in the summer when all these ingredients are at their prime. Enjoy!
Corn, Avocado & Tomato Salad
Serves 2
Recipe Notes
I try to use just a little romaine lettuce because the other ingredients are what make it so delicious. And like I do with a lot of recipes, I have paired it down for two, but you can easily double it if you are feeding more.
Ingredients
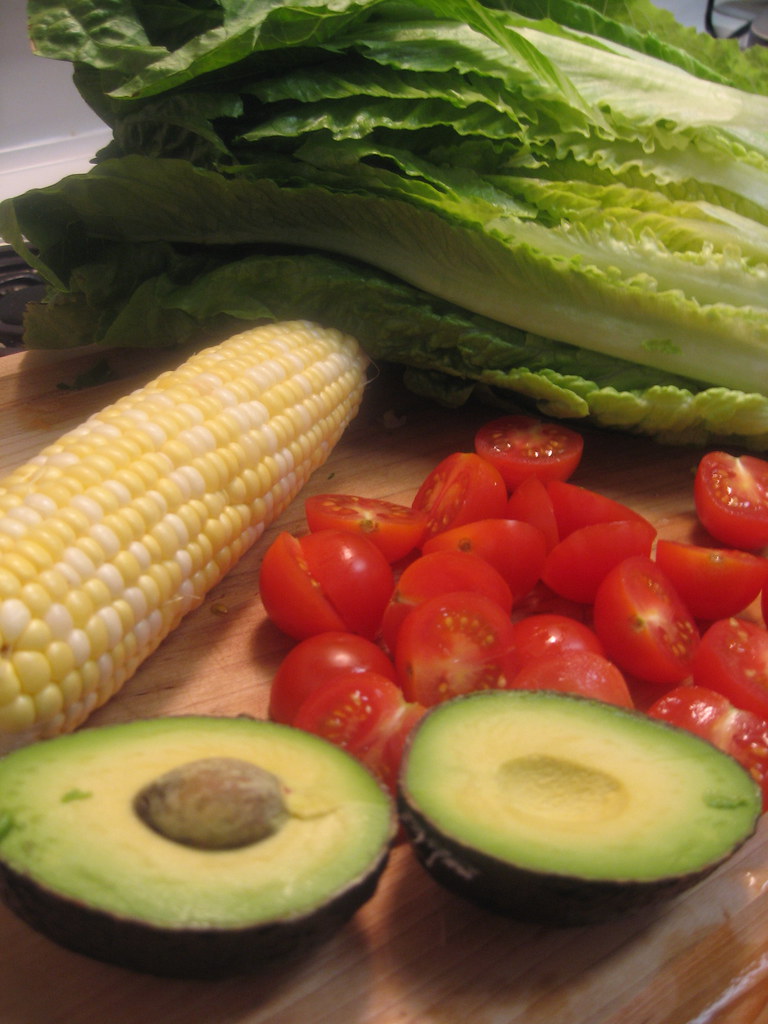
1 cup (approximate) romaine lettuce, cut into 1/2 inch strips
1 cup fresh con kernels
1 cup cherry tomatoes, halved (a vine ripened tomato cut into chunks will work as well)
1 large avocado, peeled, pitted and cubed (or two small)
1 to 2 tablespoons fresh lime juice
1/4 teaspoon of chili powder
Coarse salt & ground pepper
Step by Step
1. Combine torn lettuce, corn kernels, tomatoes
2. Separate out 1/4 cup of the avocado cubes.
3. Take the 1/4 cup of avocado and combine with 1/3 cup water, 1 to 2 tablespoons fresh lime juice and 1/4 teaspoon chili powder. Season dressing to taste with coarse salt and pepper.
4. Add the rest of the avocado cubes to the lettuce, corn and tomato. Toss salad with dressing and serve.
6.09.2009
Classic Italian Bruschetta
This is by far one of my favorite summertime dishes (and a favorite of Mr. Hungry's as well). I learned to make this bruschetta in Florence, Italy a couple summers ago. The recipe is very simple, but there are a couple of secrets to bruschetta to make it taste like what you would be served if you were in a true Tuscan restaurant. I think it is the perfect appetizer for any Italian meal. Buon Appetito!
Classic Italian Bruschetta
serves 4-6
Recipe Notes
As with most recipes with fresh tomatoes, this bruschetta is best in the summer time when tomatoes are at their prime (another reason I want that darn topsy turvy to start producing). Good olive oil is also preferred for best flavor, but I most often use Bertolli olive oil. I would also suggest making this ahead of time and letting the tomato mixture sit for awhile so all of the flavors blend well. DO NOT add to toasts until ready to serve so that the toasts do not become soggy. If you will be serving this over a long period of time, you could also serve the tomato topping in a bowl and let guest spoon over bread right when they eat it so bread is not soggy.
Ingredients
1 french baguette, sliced into 1 inch thick slices
6 vine ripened tomatoes
2 tablespoons olive oil + more for brushing on toast slices
4 cup torn basil leaves
1 1/2 tablespoons minced white onion
1 teaspoon kosher salt
1/2 teaspoon pepper
Step by Step
1. Preheat oven to 350 degrees
2. Blanch tomatoes and peel off skin (click here for a how-to on blanching tomatoes)
3. Scoop out all seeds and juice from the tomatoes with a spoon.
4. Roughly chop tomatoes and put in a medium sized bowl.
5. Add torn basil leaves, onion, olive oil, salt and pepper.
6. Stir and cover, set aside.
7. Brush slices of baguette with olive oil.
8. Toast in oven about 10 minutes, till edges are golden brown.
9. Slice garlic clove in half and rub the raw garlic on each slice of the baguette.
10. Right before serving, spoon tomato mixture on each toast and serve.
6.08.2009
How To: Blanch Tomatoes
"Blanching" was one of those terms that always seemed foreign to me and would deter me from making a recipe. I never really knew what it meant and recipes just simply said "blanch" thinking that this was something you were born knowing. Well, not me so here is the step by step of how to blanch. If you have ever been detered by blanching, I hope you will not be anymore because it is very easy! The point of blanching tomatoes, is to be able to remove the skins easily, not to cook the tomatoes.
Blanching TomatoesStep by Step
1. Bring a pot of water to boil.
2. Fill a separate, large bowl with cold water and ice.
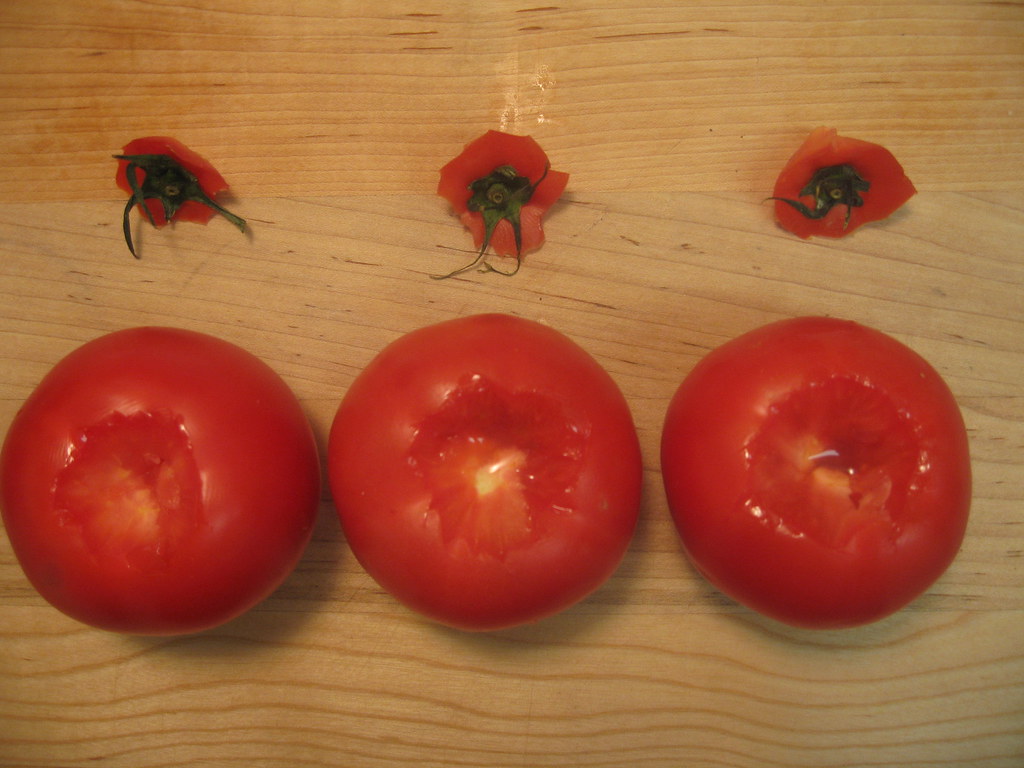
2. Remove stems from each tomato.
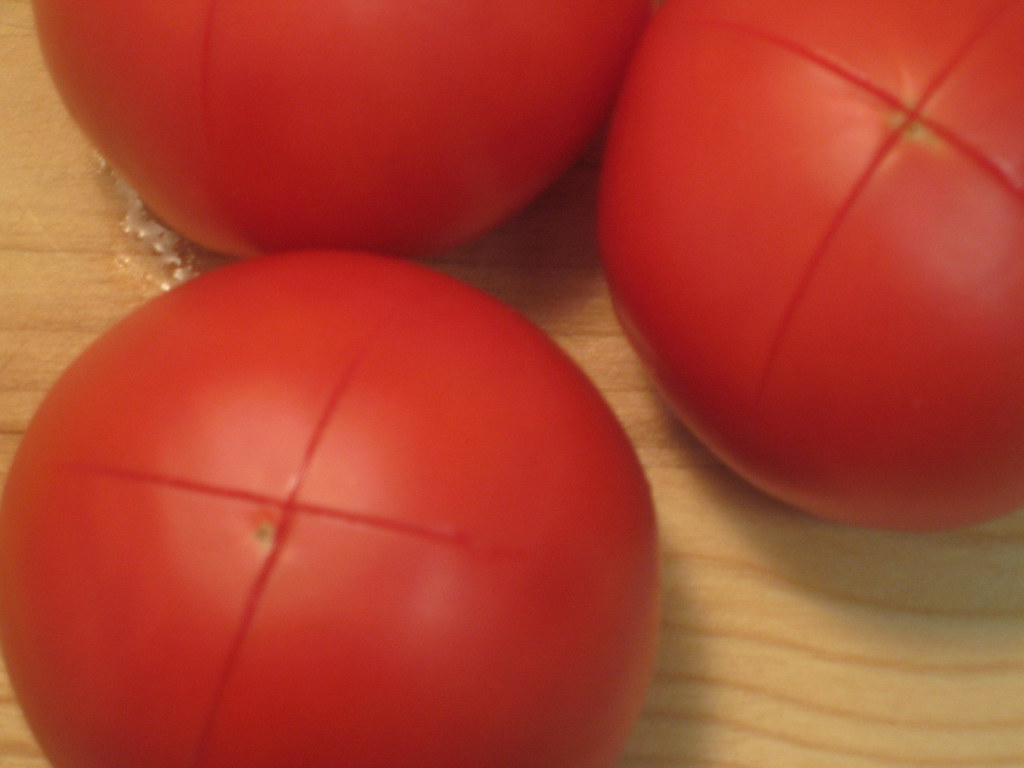
3. Make a shallow cut in the shape of an x on the bottom of each tomato with a knife.
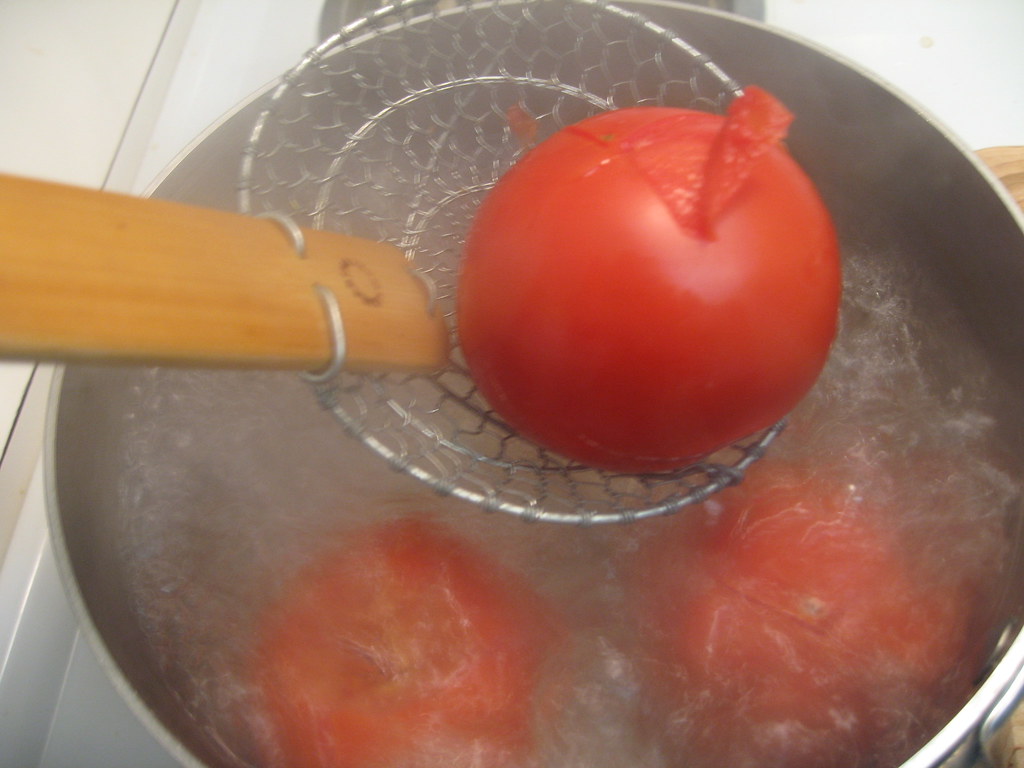
4. Drop tomatoes in water and boil for about a minute; once the skin starts to peel back, they are done. The point is not to cook them so watch the tomatoes closely.
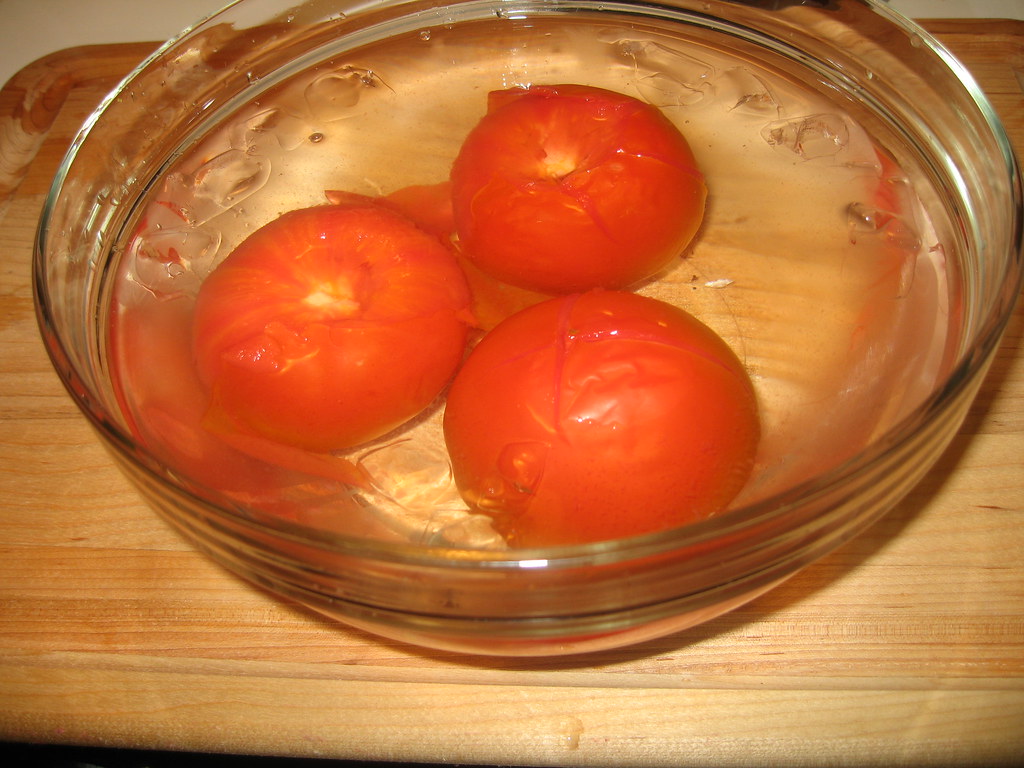
5. Remove tomatoes immediately and "shock" them in the ice water.
6. You will now be able to easily remove the skin of the tomatoes.
6.06.2009
Weekend Update: Topsy Turvy Tomato Planter... Week 4
Well, I don't want to get my hopes up, but it looks as if we have the starts of 3 tomatoes! I can hardly believe it! It's a good thing I consulted my green thumb friends when I saw these little flowers. My limited gardening knowledge would have led me to rip these little puppies off. When you see little flowers on herbs, you are suppose to remove them because they are not good for the herbs. However, I now know that with tomatoes, this is the start of actual tomatoes! Phew, that was close. Anyway, we have the beginning of something here so hopefully these posts will get a little more interesting in the next few weeks. Cross you fingers!
Yay!
Subscribe to:
Posts (Atom)