Showing posts with label sides. Show all posts

5.20.2012

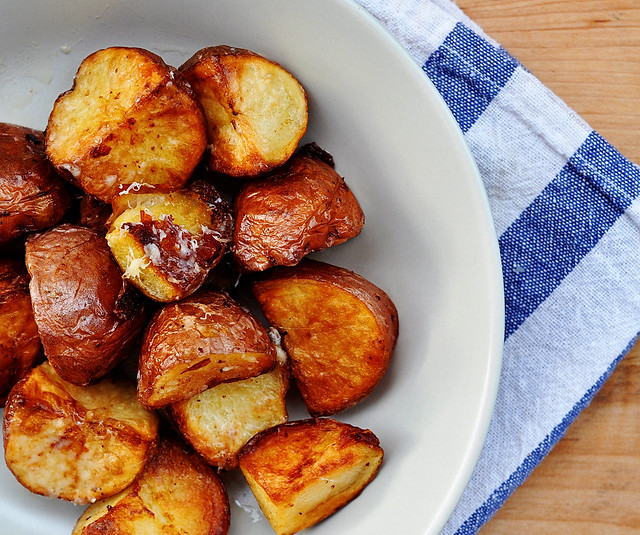
Oven Roasted Potatoes

potatoes
It's a funny thing that happens.

The louder things get in my kitchen, the quieter things seem to get around here.

It's just totally backwards, but I see no end to that reality.  Until Apple comes up with a way for me to blink my eyes to take a picture that is instantly sent to my iphone and computer, I will most likely never catch up.

There are several types of cooking that take place over here.  There is the slow cooking, which is what gets photographed and posted.  Step by step is considered and the lighting is adjusted.  It usually involves a glass of wine and sending Mr. Hungry to the grocery store a couple of times because I forgot ingredients.  But it doesn't matter because time is not important. It's my therapy and I like it that way.

And then there is what has been happening as of late.  I seem to be moving at a speed that leaves not even seconds to place something down and take pictures of the food that I am making.

So without wasting any more time on my excuses for being away, I can share with you a list of things I have learned and a recipe for potatoes you are going to need for the rest of your life.

9.12.2011

Crostinis... the best thing since sliced bread.

crostini copy
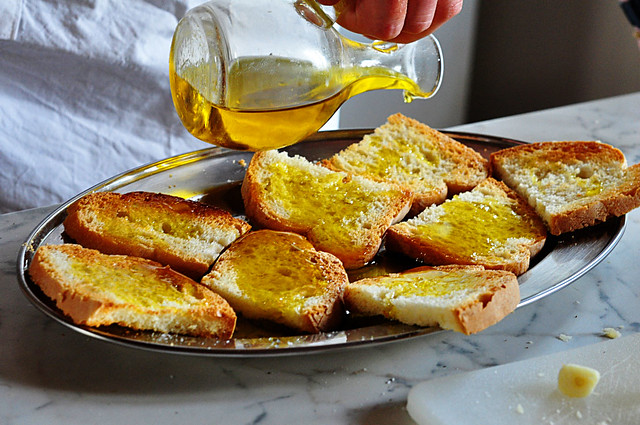
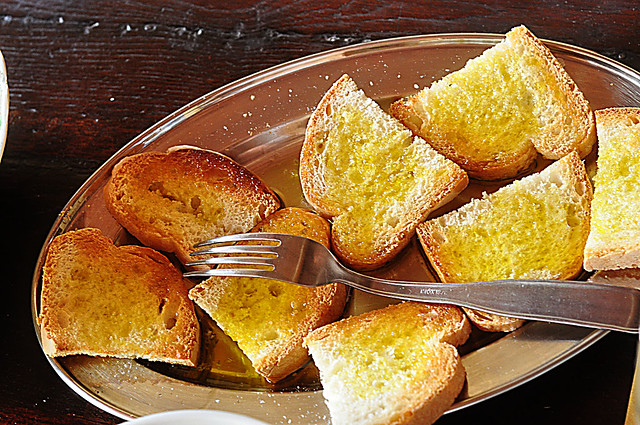
So technically crostinis are sliced bread, but the kicker is the slight toasting and the drizzle of olive oil that turns sliced bread into a sophisticated crostini.

However, it is the endless options and possibilities of what goes on top of these suckers that really gets me hyped up.  Sauteed mushrooms, tomato bruschetta, cheese and a drizzle of honey, olive tapenade... the possibilities are literally endless.  

The Italians have it right.  Make one thing... say a mushroom sauce, and eat it on pasta today and leftovers can become a mushroom crostini tomorrow.  Reason #682 my soul feels most at home in the Tuscan hills.

So this is barely a recipe, but getting this down now will make your future very bright.

From my little kitchen to yours... Enjoy.


A classic Italian way of eating crostini is to toast the bread and slice a garlic clove in half.  Rub the garlic on one side of the bread and then drench it in really good olive oil right before serving.   
crostini 3 copy
Crostinis
Recipe Notes
You can pretty much use any type of bread for crostinis, but I have two favorites... either a baguette or ciabatta bread.  You just want a nice sturdy loaf... not sandwich bread.  
Ingredients
Baguette or country-style Italian bread, sliced about 1/2 inch thick. 
Olive oil
Step by Step
Preheat oven to 375 degrees.  Lightly brush each side of the bread with olive oil and place in a single layer on a baking sheet.  Bake them until golden, about 12 to 15 minutes.  Check halfway through and if bottoms are browned but tops are not, flip each piece over and finish toasting. 

To serve plain, drizzle with extra olive oil and sprinkle with kosher salt.  

Topping Ideas:
Fresh mozzarella cheese and a thin slice of prosciutto
Marinated tomatoes to make Tomato Bruschetta
Olive tapenade
Drizzled with balsamic vinegar
Goat cheese and thinly slice roasted red peppers

5.09.2011

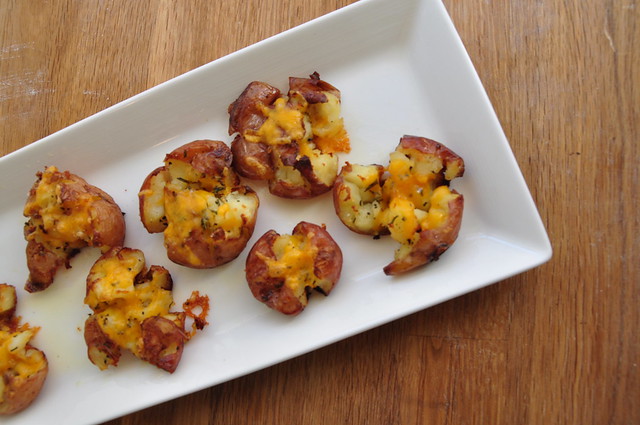
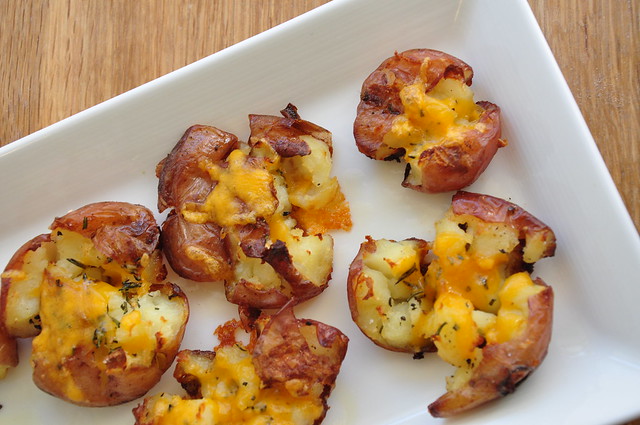
Cheesy Crash Potatoes

DSC_0099
Chances are you've seen this recipe (sans the cheese).  Cause let's get real, when the Pioneer Woman posts something, there are not many people interested in cooking that don't see it.

So I'm gonna keep this short.  She posted these little potatoes and I knew I had to try them.  I'm pretty sure ice cream is the only thing that hasn't gotten a sprinkle of cheese on it in my kitchen so I just had to use a little cheddar on these and let's just say it was a great decision.  So no matter what you're cooking tonight, chances are these potatoes could be a quick easy side.

From my little kitchen to yours... Enjoy.
DSC_0075
Cheesy Crash Potatoes
Adapted from The Pioneer Woman
Ingredients
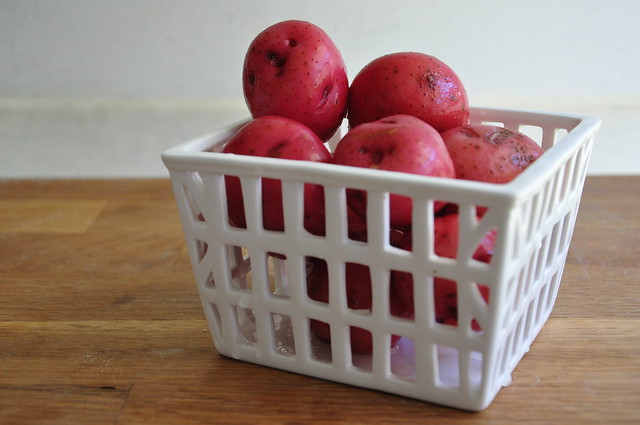
12 whole small red potatoes (or other small round potatoes)
3 Tablespoons olive oil
Kosher salt to taste
Black pepper to taste
Rosemary to taste
Shredded sharp cheddar cheese, about 1/2 cup
Step by Step
Bring a pot of salted water to a boil. Add in as many potatoes as you wish to make and cook them until they are fork-tender.  On a sheet pan, generously drizzle olive oil. Place tender potatoes on the baking sheet leaving plenty of room between each potato.

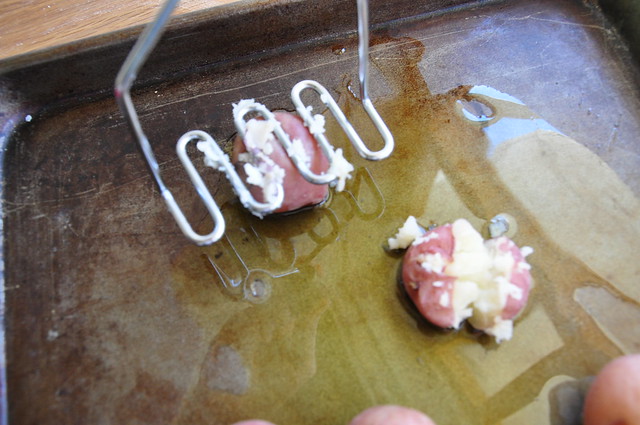
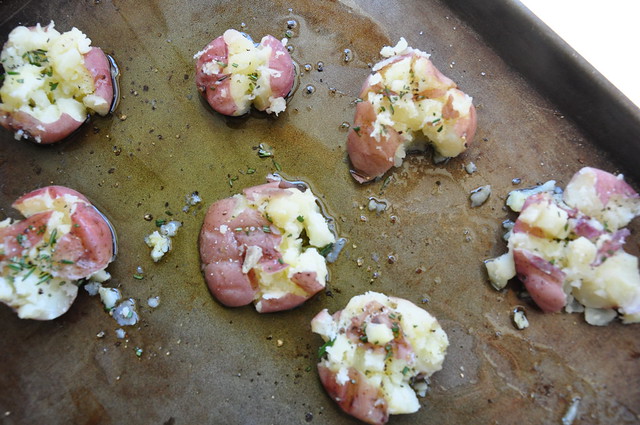
With a potato masher (or large fork), gently press down each potato until it slightly mashes, rotate the potato masher 90 degrees and mash again. Brush the tops of each crushed potato generously with more olive oil.

Sprinkle potatoes with kosher salt, fresh ground black pepper and fresh chopped rosemary (or chives or thyme or whatever herb you have available.)

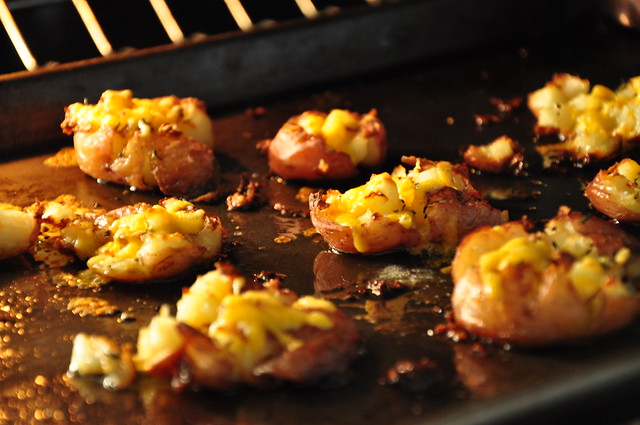
Bake in a 450 degree oven for 20-25 minutes until golden brown.  Half way through cooking, about 10 minutes, remove potatoes from oven and sprinkle each on with cheese.  Place back in the oven and bake for another 10 minutes, until cheese is bubbly and potato is browned.  

Makes 3 to 4 servings.
DSC_0087
DSC_0092
DSC_0095
DSC_0106

2.17.2011

Parmesan Thyme Crackers

thyme crackers

I'm in a lovely little book club called Read Between the Wines. That's right, we read... between the wines.  Once a month, we read a book and then we get together for dinner to discuss... and have a glass or two.  I was up this month and I chose the book The Help.  It was wonderful and to try to go along the lines of a southern book, I served a sort of southern meal... and also tried to take in account that we were having the coldest weather we have probably ever had here in Houston.  So my menu... avocado chicken salad, roasted tomato basil soup and these little parmesan thyme crackers.  Just about the best thing I could imagine with a bowl of tomato soup.  They go well by themselves with a glass of wine so I think they were just about perfect.

Very easy to make, rich, flaky and delicious.  Ina does it again.  I do have plans to try these with rosemary instead of the thyme.  The thyme was great... I just don't love trying to get those tiny little thyme leaves off of the stem.  Anyone with me? Add these to the menu for anything from a cocktail party to a hearty winter meal.

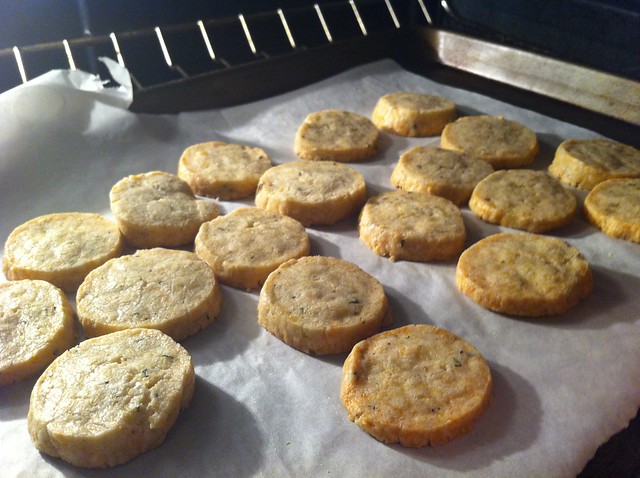
Note to self:  Take pictures before you have 6 girls show up for dinner.  At least I got one picture of the baking process because these little things went fast.

From my little kitchen to yours... Enjoy.
Parmesan Thyme Crackers
Adapted from Ina Garten

Recipe Notes
The dough might be a little crumbly so I added just a dash of water to help keep it together.  Some had reviews that they added a lot of water so add a little bit at a time so you have can keep it together, but it will not be overly moist.  You can also make this ahead of time and keep frozen until ready to use.  Bring almost to room temperature before slicing so that it doesn't crumble.
Ingredients
1/4 lb (1 stick) unsalted butter, softened
3 ounces grated parmesan
1 1/4 cup all purpose flour
1/4 teaspoon kosher salt
1 teaspoon fresh chopped thyme leaves
1/2 teaspoon freshly ground black pepper
Step by Step
Place butter in the bowl of an electric mixer fitted with a paddle attachment.  Mix until creamy.  Add parmesan, flour, salt, thyme and pepper.  Form dough into a ball.  Dough will be very crumbly so add a little bit of water to help moisten.  Roll dough into a 9 inch log.  Wrap log in plastic wrap and freeze for 30 minutes.
Preheat oven to 350 degrees. Cut log into 1/2 inch slices.  Place on a baking sheet lined with parchment paper and bake for 22 minutes.
Serve warm.

Makes 18 to 20 crackers.


8.29.2010

creamed corn + a confession

DSC_0448
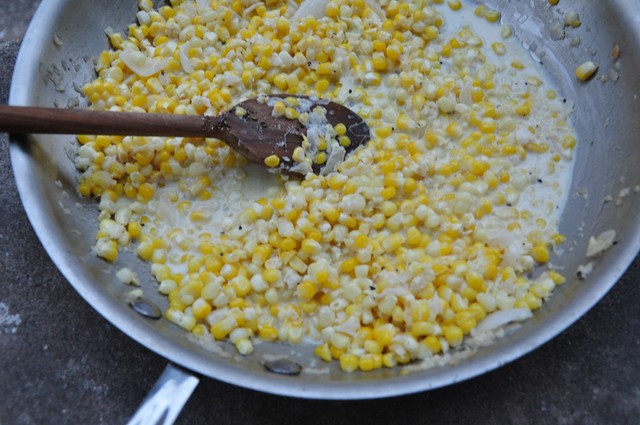
I battled the idea of renaming this altogether because I know I would personally have no interest in reading a post about creamed corn. However, I promise you should keep reading. This is the best creamed corn, maybe corn in general, that I have ever had. This is not your sloppy, goopy creamed corn that you would get served at a cafeteria.

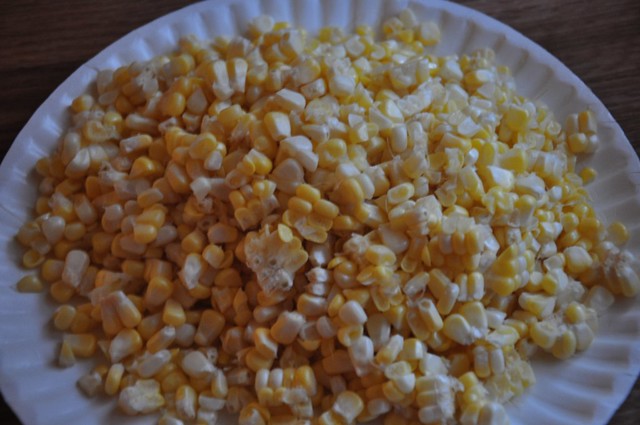
This is crisp corn kernels that have been sauteed in onions and cream sauce and is absolutely delicious. And once again, this couldn't be easier. So, please, take my word for it and try this dish while there is still great summer corn at grocery stores.
DSC_0447


Now on to the confession...

I cannot make skirt steak... also known as flank steak. I am really beside myself about it. The key to skirt steak is the way you cut, so I've heard, and I've cut this darn meat every which way and I still get a barely-able-to-chew piece of meat. I've done marinades, I've grilled, I've seared and still... nothing but hours of chewing. My friend Jennifer told me about this meal from Real Simple and I don't feel like it was a total loss because of the great sides, but if someone could give me a few hints on skirt steak I would be forever grateful.

DSC_0458
If I get any good hints and can re-make this meal, I will share... and I will tell you about the salad because it was easy and delicious, but I'm going to hold out on you in hopes someone tells me something about skirt steak.

Creamed Corn
Recipe Adapted from Real Simple
Recipe Notes
Melt the butter in a medium saucepan over medium-high heat. Add the onion and cook until soft, about 4 to 5 minutes. Add the corn, half-and-half, ½ teaspoon salt, and ¼ teaspoon pepper and simmer until the corn is tender and the half-and-half is slightly thickened, 5 to 8 minutes.

8.04.2010

Cheesy Potatoes

DSC_0384
I want to be very clear from the get-go that these are not everyday potatoes; I battled with the idea of titling this post special occasion potatoes or vacation potatoes because they are indulgent and amazing, but it is slightly scary how easy they are to make.

Confession: Earlier this summer, we spent a weekend with a whole bunch of friends at another friend's ranch.   We split up meal duties and one night I was assigned "sides."  Months earlier, when we scheduled this weekend, I had big plans of whipping up something great for a side.  My only excuse for mediocrity was that we were in the middle of this debacle, but seriously that is no excuse.  Long story short, when the day actually came and we were headed out to the ranch, I was blank... I couldn't think of anything to bring.  We ran by the grocery store and I racked my brain, but nothing, nothing came to mind.  I am embarrassed to say that I grabbed a bag of white rice.  white rice?! My brain was fried and I had no idea what anyone else was bringing and I thought maybe my rice would just blend in with the rest of the meal.

Well, I still haven't heard the end of that decision, probably because I didn't even make the rice.  When it came time for dinner on Saturday, I smelled something in the kitchen that immediately made me even more insecure about my rice.  My friend, Amy, made these cheesy potatoes and just from hearing the words cheesy potatoes, I knew my sad, white rice would not be touched.

Once I ate these potatoes, I was feeling even lower (if that is possible), because it definitely seemed like she had been slaving over these all day; and, they were amazing!  I told her how much I loved them and she quickly shared with me how easy they are to prepare.  Well, that is an understatement.  For something that seems so decadent and delicious, the 5 minutes it takes to put these together will astonish you.  You will quickly see why I have the need to call these special occasion potatoes... the ingredient list is probably enough to give you a heart attack, but it is so so worth it.

So, thank you Amy for sharing this recipe with me!

Cheesy Potatoes
Recipe Notes
The recipe called for thawing out the frozen potatoes by setting them on the counter for an hour or two.  I (as usual) was throwing this together last minute and did not have time to let the potatoes thaw.  Instead, I followed the directions on cooking the potatoes to get them warmed up.  Add a tablespoon of olive to a nonstick skillet and heat over medium heat.  Cook potatoes for 5 to 10 minutes.  You do not need to cook them through, just enough to where they are no longer frozen.
Ingredients

2 lb bag of frozen hash browns, thawed (diced potatoes) see recipe note
8 oz. bag of shredded cheddar cheese
1/2 cup chopped onion
1 teaspoon salt
1 teaspoon pepper
1 stick of butter, melted
1 can of cream of chicken soup
8 oz. sour cream
Step by Step
Mix all ingredients together.  Spread in a 9 x 13 greased pan. Bake at 350 for 20-25 covered and then remove foil and bake for additional 20-25 until gold and bubbly on top. 

9.09.2009

Jazzed Up Couscous


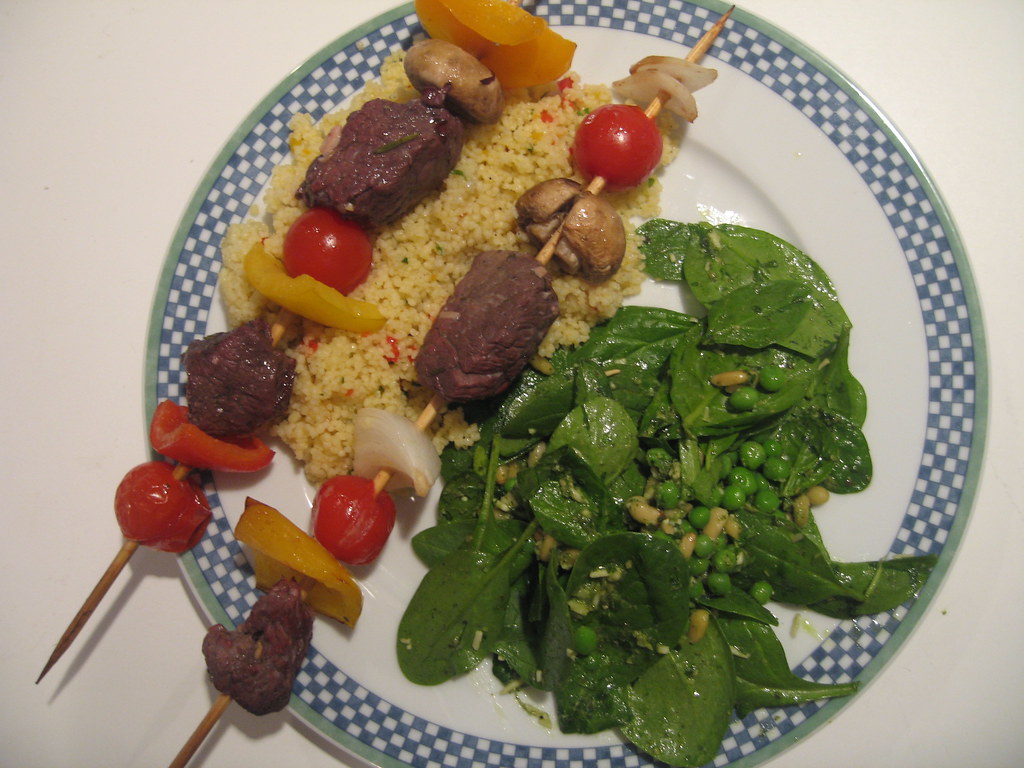
I must apologize for posting the same picture for the third time.  If you have read the last posts about this pic, I was cooking for a dinner party and didn't quite get pictures of all the food separately.  When cooking for eight, I had a few other things to worry about then getting great pictures.  If you look closely, you can see the couscous peaking out from under the kabobs.

 If you have never made couscous before, you should.  There is probably no simpler thing to cook.  For weeknight dinners, I simply grab a box of flavored couscous (roasted garlic is my favorite) and you have a great side made for almost any meal.  But for a special occasion, it is worth taking a few extra steps to jazz it up a little bit.  I served this with the wine marinated beef kabobs and it went perfectly.  Another reason this is a great side for a dinner party is because it can be made beforehand and heated up before serving.  I prepared this couscous a couple of hours before serving and simply heated it in a glass bowl before serving.  Enjoy!
Jazzed Up Couscous
Recipe Notes
Couscous can be found near other boxed pastas in most grocery stores.  Simply buy a box of plain couscous for this dish, and pick up a flavored one for another night.  Also, make sure and salt the water for the couscous to add extra flavor.
Ingredients

2 1/2 cups water
1 1/2 cups couscous
Kosher salt
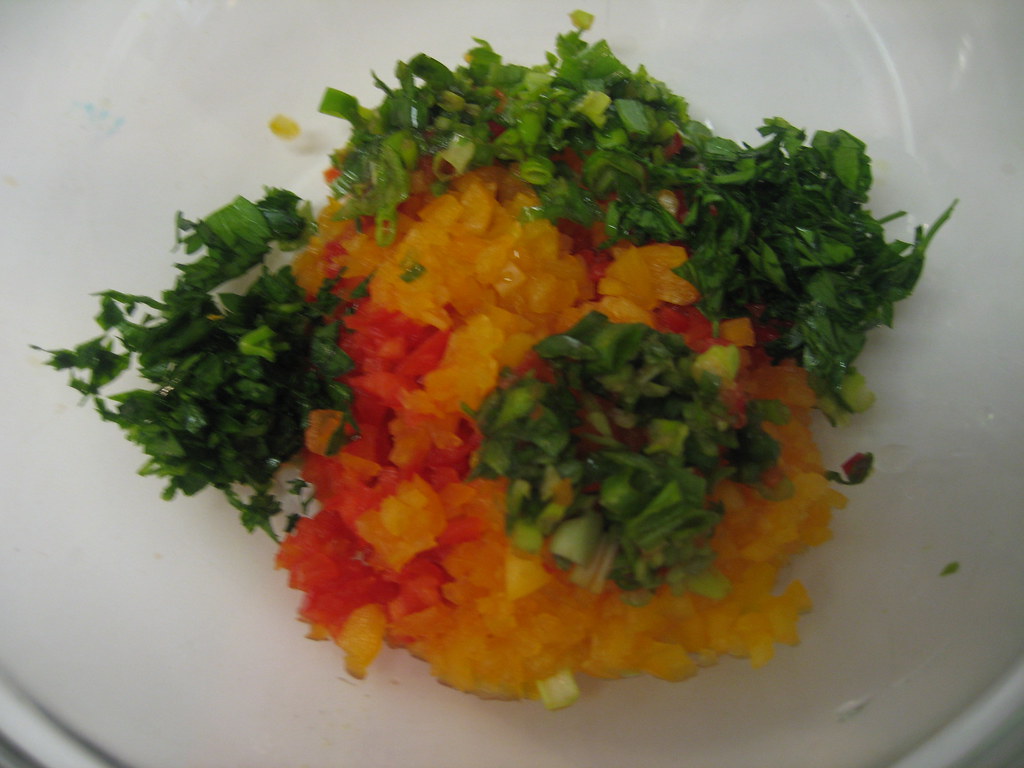
1 tablespoon chopped chives
1 tablespoon chopped parsley
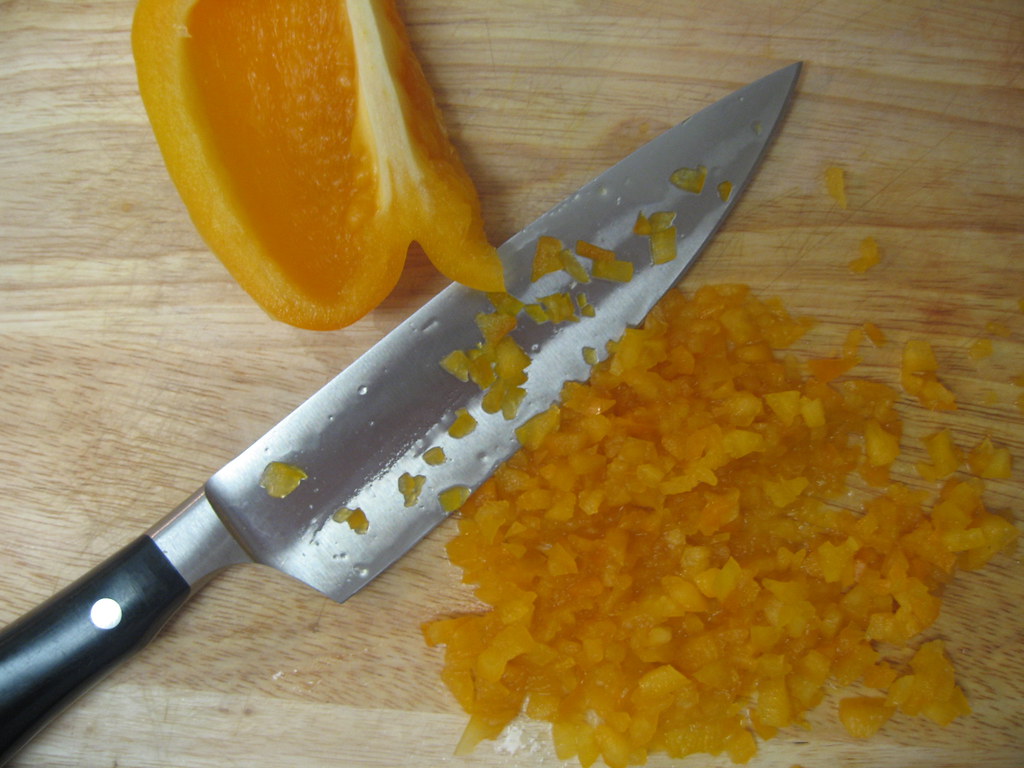
1/4 cup finely chopped red pepper
1/4 cup finely chopped yellow pepper
1/4 cup olive oil
Step by Step
1.  Bring the water to a boil. Heavily salt the water.
2.  Add the couscous and immediately remove from the heat. 
3.  Cover and let sit for 15 minutes, or until the water is absorbed. 
4.  Fluff with a fork and add the remaining ingredients. Season, to taste.

5.14.2009

Quick Cheese Grits

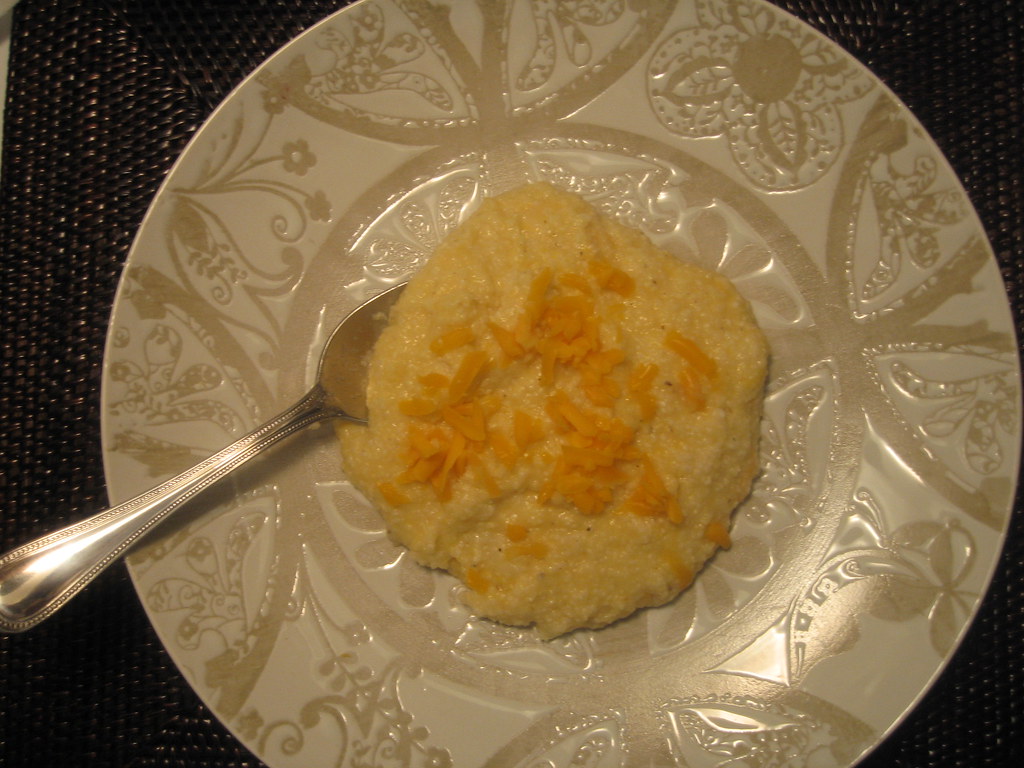
After making the same old steamed rice or pasta as a side, I was ready for something new.  These quick cheese grits are delicious and can almost always be on hand.  By simply combining the packets of instant grits I sometimes eat for breakfast, and leftover cheese, I have a whole new side.  They have worked great for me using all sorts of cheeses...whatever you have leftover.  Now of course nothing beats my mom's baked garlic cheese grits (which I hope to feature at some point), but these are perfect for a quick and easy weeknight side.  Even if you have not been a fan of grits in the past, I would encourage you to try these because they come out thick and creamy.  I used them as a side for Lemon Olive Chicken and they paired perfectly.   
Quick Cheese Grits
Recipe Notes
On this particular evening, I used shredded colby cheddar cheese because that is what I had on hand.  However I have used cheddar, parmesan and gruyere before as well.  Cheddar is my favorite!
Ingredients
2 packets of Instant Grits (you may also use two servings of grits from a cylinder of instant grits)
1/2 cup of shredded cheddar cheese + a sprinkle of cheese to serve
1 cup water
Directions
1. Combine all ingredients in a microwave safe bowl and stir to combine.
2. Microwave on high for 1 minute.
3.  Stir to ensure it is heated through.
4.  Remove from the microwave and divide into two servings.
5.  Sprinkle with cheese and serve immediately.