

This little kitchen has been keeping itself busy. Between the catering, throwing parties for family and friends and the ever important wedding cake deadline that is slowly creeping up on me, time is going faster than I could have ever imagined. I had big plans of reminding you about the perfect Fourth of July pie and equipping you with cold soups that make this summer heat seem not so oppressive. But between the long days of cooking, many nights have been spent on these little fluff balls to spice up parties and gatherings. And I promise to be back with cold soups and other goodness soon.
For now, let's pom!
For now, let's pom!
I have also spent a good amount of time emailing out instructions on how to make these since I first posted about this party in January so I figure it's about time I share in pictures. My brilliantly creative friend Abby brought these pom poms for her sister's baby shower and I have been using them ever since.
They are cheap, easy and the possibilities are endless, but before you head off to the craft store, let me warn you of one thing... they seem to take way longer than you would ever imagine. The process of making one is not that involved, but to create a great effect, you need quite a few.
If you plan on diving into this endeavor, I would assemble a crowd and maybe put on a movie while you pom. Yeah, I've made so many of these, I've turned it into a verb... pomming.
Materials:
Yarn
Scissors
Hot Glue Gun (for securing poms to yarn... see note at the bottom of the post for other ways to string)
Materials:
Yarn
Scissors
Hot Glue Gun (for securing poms to yarn... see note at the bottom of the post for other ways to string)
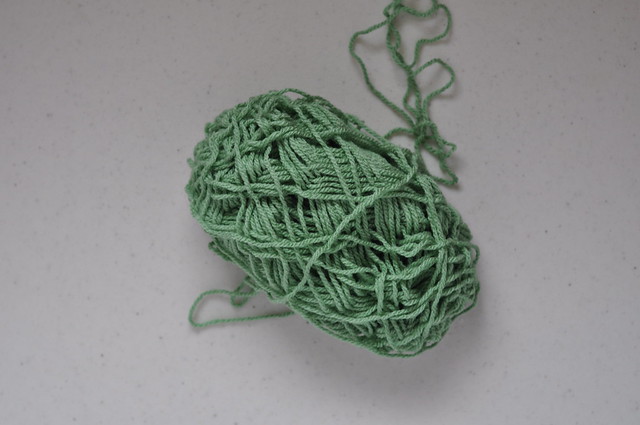
Grab some yarn.
Michael's craft store has a great selection and often goes on sale for 1/2 the price.
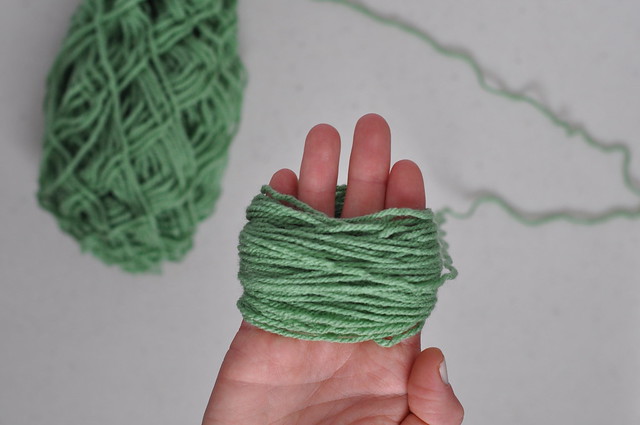
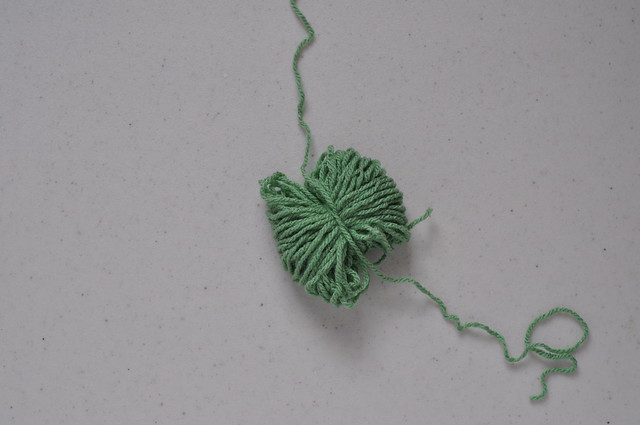
Begin to wrap yarn loosely around four fingers. Do not wrap really tight or you will have a hard time removing your hand from the middle. Depending on how think you want the poms, you can change up how many times you want to wrap, but I would guess mine were between 30-50 wraps per pom.
Cut yarn and remove yarn from your fingers. Find the middle of the loop.
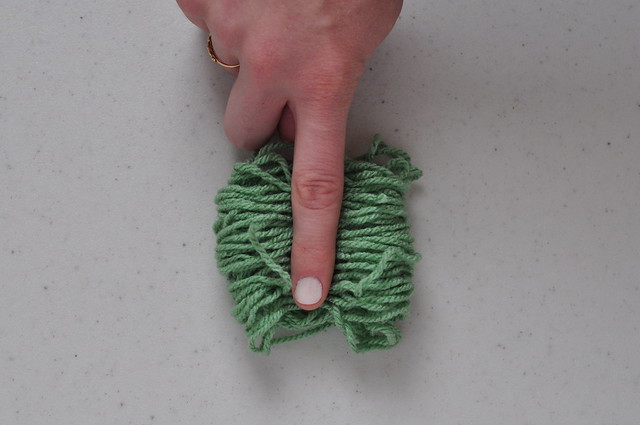
Cut a small piece of yarn from the roll and wrap it around the center of the loop.

Tightly knot the string around the middle.
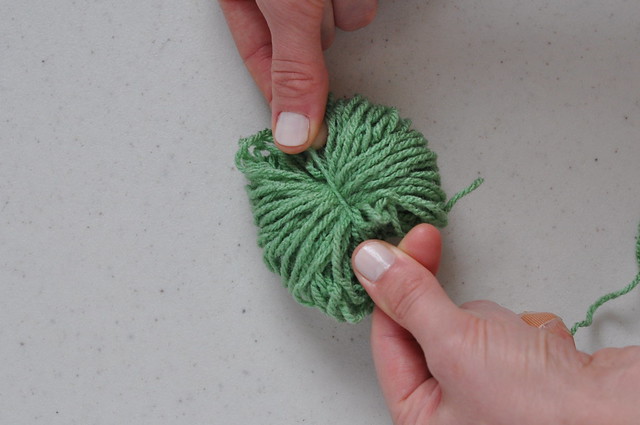
Trim ends of yarn tied around the middle.
Insert scissors to the middle of the loop and cut. Turn pom over and do the same thing to the other side.

Now you will have a frilly little pom on your hands.
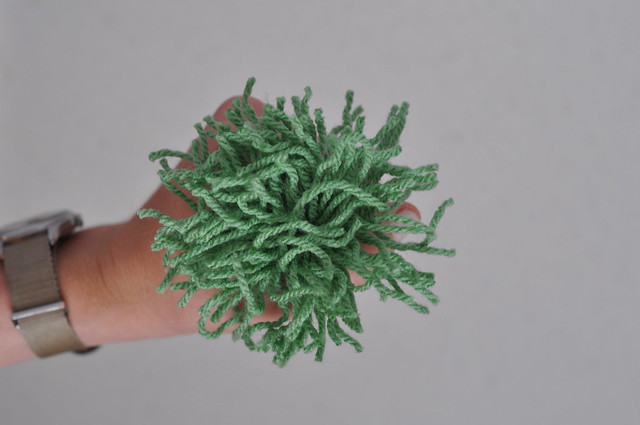
Trim long edges of pom so that you have a perfectly round ball.

When ready to string, heat up the glue gun. Using the same ball of yarn (or a different color), pull out a large strand from the yarn ball. I do not cut the yarn until I am finished gluing the poms so I have the right length. Put a couple of dots of glue in the middle of the ball. Press piece of yarn onto glue. Press pieces of yarn on pom ball into the hot glue to make it stick. Depending on how far you would like the poms spread out, continue to glue on piece of yarn.
Note: When I saw these originally made, Abby used a straight pin and yarn to string them together. I have never been talented with a thread and needle and I could not make this work. I found gluing them to be really easy to get each pom exactly where I wanted it. You can easily cut the string off and change up the order or color after you have used them once.
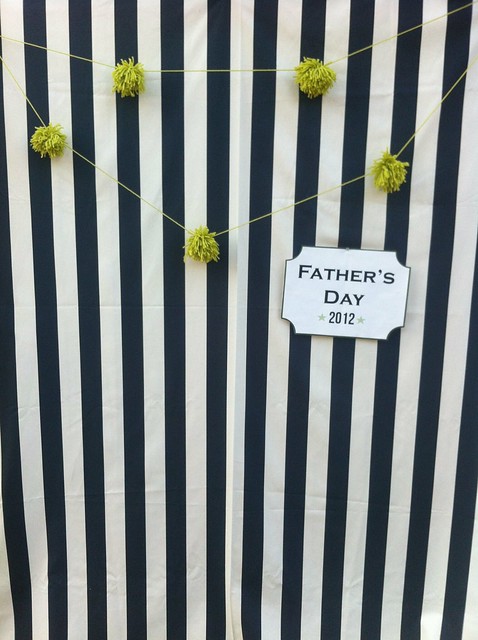
These poms are great for a photo back drop...
 Or provide a pop in trees...
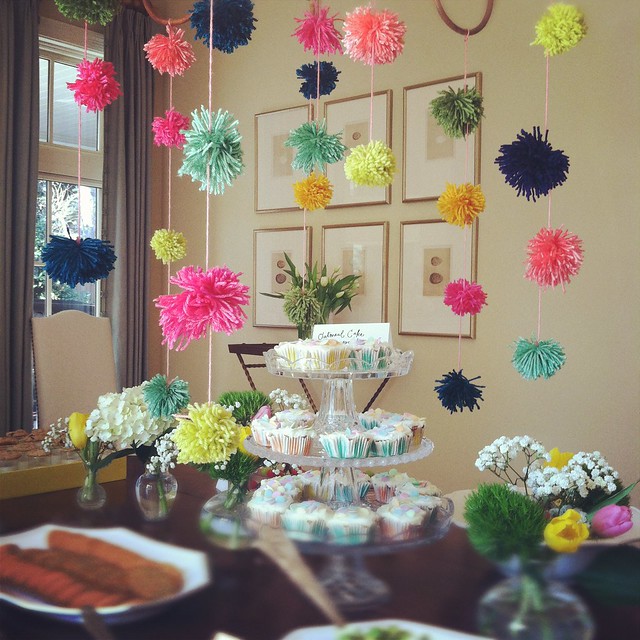
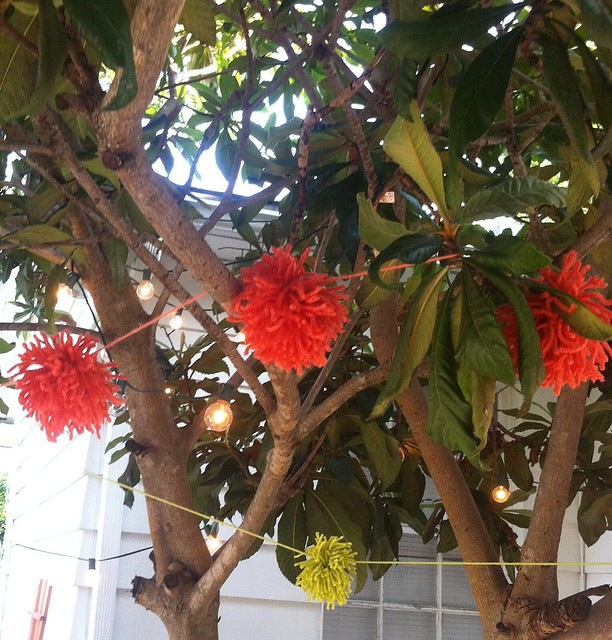 Maybe dangling over a food table...
 The possibilities are endless.
Happy pomming.
These poms are great for a photo back drop...
Happy pomming.


Thanks for the step by step. I love these pops of color!
ReplyDeleteYay!!! I had been searching all over the internet to figure out how to make these. Great step by step.
ReplyDeleteLove it blogged it : )
ReplyDeleteThank you for sharing :)
ReplyDelete