4.01.2010

Pork & Chive Pot Stickers

IMG_6723

And I quote, "This is the absolute best thing you have ever made." 

The context:  I made these potstickers for dinner and these were the exact words Mr. Hungry used as he looked at me with the most wide eyed happy face I have seen in awhile.  I don't think there is much more I can say to tell you how good they are (oh yeah, except I absolutely loved them too) so I will go on to trying to convince you to make these.  I could literally see the loss of interest in people's faces when I told them about these little sussies and I blame that wholly on the fact that the minute you hear about something you have only had in a  restaurant, you assume it is too complicated to be on anyone's list of things to try.
IMG_6705
Well, let me tell you that couldn't be farther from the truth.  These are so easy and more than that, they were pretty fun to put together.  I don't have any munchkins of my own, but I have a feeling kids would love to help you make these for dinner.  Kind of makes we want to have children of my own so I could have a little assembly line of dumpling makers and crank these out by the hundreds.  (Okay, before you call Child Protective Services on behalf of my future children, I'm just joking...kind of).
IMG_6706
Previously, I found my favorite version at our local grocery store (name to remain anonymous because of the rest of this story).  The small problem is the hair that Mr. Hungry found in his last batch that we got from there so I decided I needed to come up with my own.  And I actually prefer knowing exactly what goes into these.  As Mr. Hungry explained it, he says half the joy of eating the homemade version is not having to be worried about biting into something weird.  Moral of the story... these are actually the best pot stickers I have ever had including restaurant and store bought versions and I am extra happy to avoid the mystery of what is inside. 

IMG_6707


IMG_6708

IMG_6712
IMG_6715

IMG_6718


IMG_6720
IMG_6730
Pork & Chive Pot Stickers
Adapted from Everyday Food
Recipe Notes
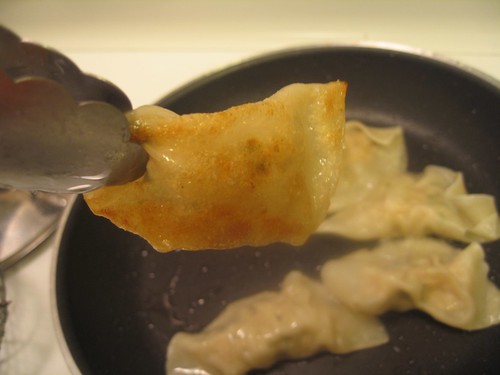
The key to making these really tasty is to let the fry up for awhile until they are golden brown and crispy.  If you are unfamiliar with wonton wrappers, they can be found in most any grocery store in the refrigerated section.  At my grocery, they are located next to the herbs and mushrooms. 
Ingredients
1/4 pound ground pork
1 tablespoon minced chives
1 1/2 teaspoons soy sauce
1 1/2 teaspoons dry sherry
1 teaspoon minced peeled fresh ginger
1/2 teaspoon sesame oil
1/2 teaspoon cornstarch
1/2 teaspoon salt
20 wonton wrappers (from a 12-ounce package)
1 tablespoon vegetable oil
Soy-Ginger Dipping Sauce
1/4 cup soy sauce
3 tablespoon rice vinegar
1 tablespoon minced peeled fresh ginger
2 teaspoons sugar
1/4 teaspoon sesame oil
Step by Step
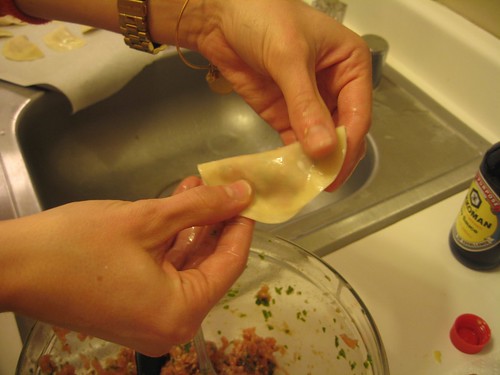
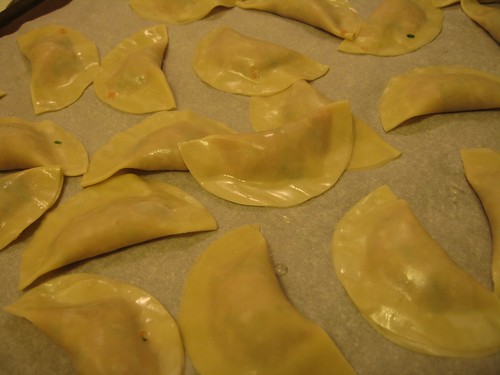
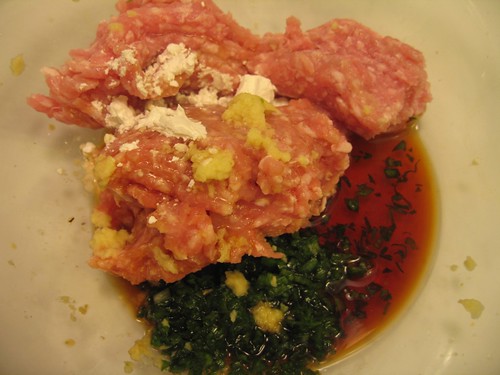
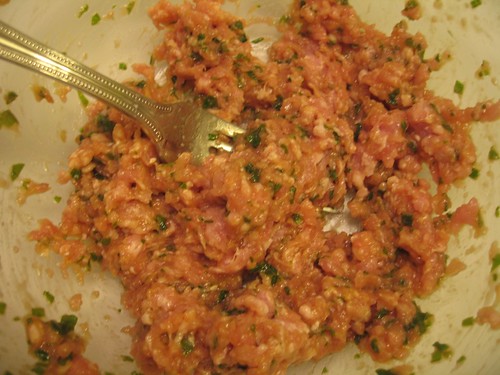
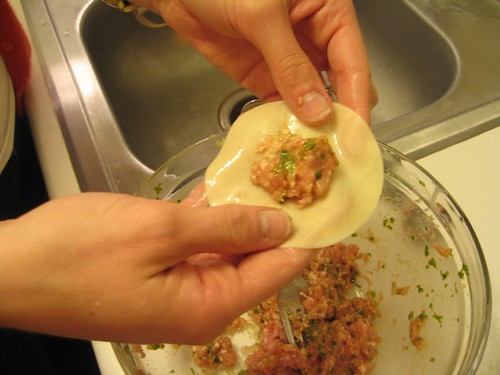
 In a bowl, combine pork, chives, soy sauce, sherry, ginger, sesame oil, cornstarch, salt and 1 tablespoon water.  Place an overflowing teaspoon of the pork mixture in the center of the wonton wrapper.  Lightly wet the out edge of the wonton wrapper and press together to seal, forming a half moon.  Place on parchment paper or wax paper to keep from sticking to the counter.  Repeat with remaining dumplings.

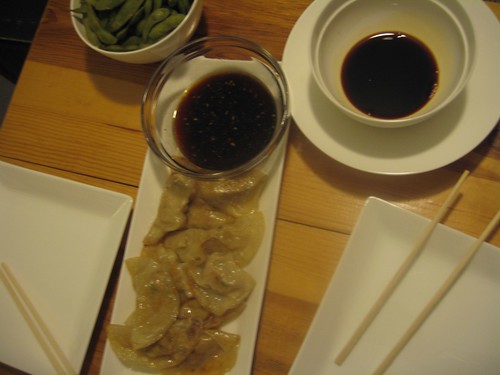
Cook dumplings in two batches so they do not crowd the pan.  Cook in boiling water until cooked through, about 5 minutes.  Transfer to a plate with a slotted spoon or an asian strainer.  Heat vegetable oil over medium-high.  In two batches, cook until golden brown and slightly crispy, about 2 minutes per side.  Serve with dipping sauce.

To make Dipping Sauce
In a bowl, stir together all ingredients listed above.  

To Freeze:
Prepare through the first paragraph (prepare, but do not boil) and freeze between layers of parchment paper in an airtight container.  When you are ready to make them, take them out of the freezer and continue with the steps.  You can stick them right in the boiling water in their frozen state.  Allow to cook a few extra minutes. 

3.31.2010

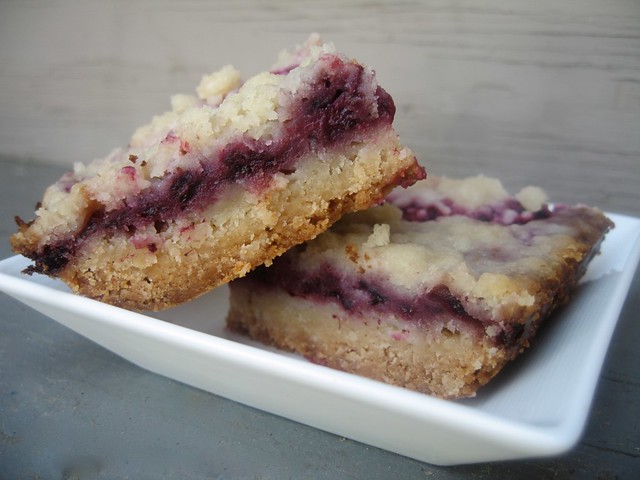
Blackberry Shortbread Bars

IMG_6769
Do you happen to be searching for a dessert for an Easter brunch?  You can stop.  Even if you aren't, this is my favorite spring time dessert.  These little bars are the perfect mix of a decadent buttery crust with a sweet and tangy layer of blackberries.  I made them this weekend when our place was quite the revolving door.  Between parents, in-laws and our of town friends, these went fast.  Everyone was raving about them and while quite I'm sure not any one of these groups would tell me to my face that they did not like them, I will take the fact that most came back for seconds as a good sign.

Oh, and can you possibly guess where this recipe came from?  Again, the Junior League of Houston's Peace Meals has delivered one of my favorite recipes.  I have shared a couple of recipes, but I promise you this one is worth owning.  So you should probably buy it here, and you can thank me later.

Blackberry Shortbread Bars
Adapted from Junior League of Houston's Peace Meals
Recipe Notes
Make sure and drain the extra water and juice out of the bag when you thaw the blackberries.  I didn't do this the first time and the middle layer was a little bit soupy (but still tasty).  Two other keys to making this work.  Make sure the butter is very cold when you add it.  I actually put mine in the freezer after I cut it into cubes to keep it extra cold.  This helps make a good crumbly crust.  You also want to fit your food processor with the metal blade so that it cuts through the butter and again helps with the crumbly crust.   
Ingredients
Crust
3 cups all-purpose flour
1 1/4 cups sugar
3/4 teaspoon salt
1 1/2 cups (3 sticks) unsalted butter, chilled
Filling
2 eggs, whisked 
1/2 cup sugar
1/2 cup sour cream
1/2 cup all-purpose flour
16 ounces frozen blackberries, thawed
Step by Step
Crust:
Preheat the oven to 350 degrees F. Prepare a 9 by 13-inch baking pan with butter or cooking spray; set aside.  Combine the flour, sugar and salt in a food processor for about 45 seconds.   Cut the butter into 1/2-inch cubes and process with the flour mixture for 30 seconds or until the butter is evenly distributed but the mixture is still crumbly.  Reserve 2 cups of the crust mixture to use for the topping.  Press the remaining crust mixture firmly into the bottom of the prepared pan.  Bake for about 25 minutes or until golden brown; allow to cool for at least 10 minutes before adding the filling.
Filling:
Combine the eggs, sugar, sour cream and flour in a large bowl.  Fold in the blackberries.  Spoon the fruit filling evenly over the crust and sprinkle the reserved crust mixture over the filling.  Bake for 45 to 55 minutes or until the top is lightly browned.  Let cool for at least 1 hour before cutting into bars. 

3.29.2010

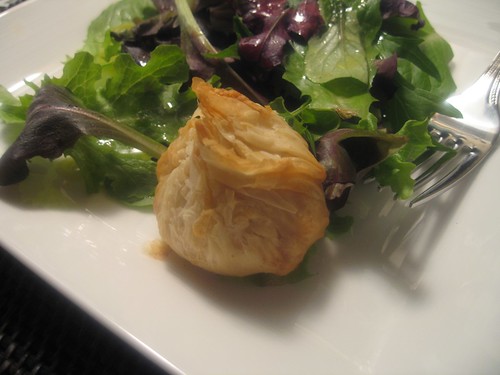
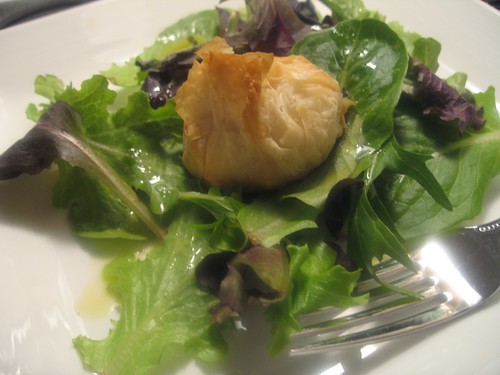
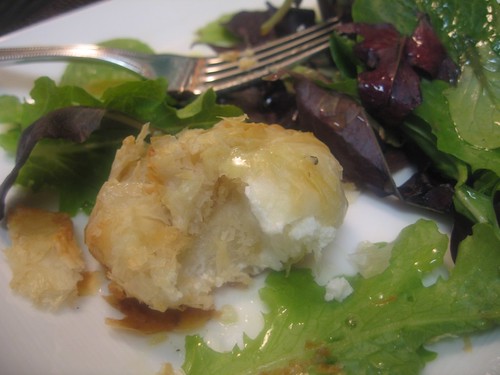
Warm Goat Cheese in Phyllo Salad

IMG_6621
I have a bit of a disorder when it comes to the weather.  I usually gage what I will be wearing for the day off of what I feel that the weather will be and not what it actually is.  For example, last week... it's 7:30 a.m. and I'm thinking it's the middle of March in Houston... hmm, sounds hot... I'll go with a skirt and short sleeved shirt. Then as I'm running out the door, I realize it's about 45 degrees with not a lot of time to turn back and change.  But I still justify that it's March in Houston and it has got to be at least 75 degrees by about 10. Wrong again... we had a cold windy spell and I spent most of the day freezing.  What's the point of this story you are wondering?  I seem to ignore the weather when it comes to food too.  I had already bought all the ingredients for this salad I had been dying to try so even though it might not have been the night for a light, spring salad, I made it for dinner.  Not too worried about it now because I am finally getting around to sharing this and the weather has cooperated. 

But what you really need to know is how amazing this salad is.  I have to admit that it seems fancy to me so I wanted to try it because I thought if it was successful, it would be something impressive to serve for company. And even more than being delicious, it is pretty easy. 

From my little kitchen to yours... Enjoy.
IMG_6602
IMG_6613
IMG_6619
IMG_6624
Warm Goat Cheese in Phyllo Salad

Adapted from Ina Garten's Back to the Basics
Recipe Notes
The original recipe calls for regular bread crumbs. I happened to have panko so I substituted, but either one will work. I did enjoy the little bit of crunch from the panko, but if you don't feel like venturing into the world of Japanese bread crumbs, you can use regular. The phyllo dough I bought ended up being quite tricky. Mine was less in sheets and more in little strips. As you can see the picture below, I just made a pinwheel with the strips and built the little cheese sacks from there. I was worried it would not work out because I did not have nice sheets, but there was no problem. Bottom line... don't worry if the bundles are kind of messy when they come together. Whether you have to adjust the amount of goat cheese that will fit or your phyllo dough is acting funny, just keep going and worry about making the bundles look pretty at the very end. You can always add extra phyllo layers to make the outside have a good presentation.
Ingredients
12 sheets phyllo dough, defrosted
6 tablespoons unsalted butter, melted
2 to 3 tablespoons panko bread crumbs (or plain bread crumbs... see note above)
12 tablespoons of goat cheese, divided into 6 balls
Baby salad greens, such as a spring mix or arugula
For the Vinaigrette
2 tablespoons champagne vinegar
1 teaspoon Dijon mustard
1/2 teaspoon minced garlic
1 teaspoon kosher salt
1/2 teaspoon freshly ground black pepper
1/2 cup good olive oil
Step by Step
Preheat the oven to 375 degrees.
Unroll the sheets of phyllo dough on a flat surface and cover them with a slightly damp towel. (if the towel is too wet, the dough will get sticky). Working quickly so the dough doesn't dry out, place one sheet of phyllo on a board, brush lightly with melted butter, and sprinkle lightly with bread crumbs. Place a second sheet of phyllo on top, brush with melted butter, and sprinkle with bread crumbs. Continue until you have 4 sheets stacked up. Cut the sheets in half crosswise to make 2 almost-squares.

Using two tablespoons of goat cheese at a time, make 6 small balls of goat cheese. Place each ball in the center of one phyllo square. Starting at one corner, fold the phyllo up over the cheese and continue folding and pleating the phyllo around the cheese, as though you're wrapping a round gift that's tied on top. You will end with extra phyllo dough on top; twist the excess into a top knot. Brush the discs all over with melted butter and place on a sheet pan lined with parchment paper. Continue with the remaining phyllo dough and goat cheese to make 4 additional packages.

Bake for 20 minutes, until the phyllo is lightly browned. Allow to cool for 5 minutes.

While the cheese packages bake, place the salad greens in a large bowl. Whisk the vinegar, mustard, garlic, salt, and pepper together in a small bowl. Still whisking, slowly add the olive oil, making an emulsion. Toss the salad greens with enough vinaigrette to moisten.

Distribute the salad among six plates and place on warm goat cheese package in the center of each plate, Sprinkle with salt and pepper and serve.

Leftover goat cheese bundles can be refrigerated in an airtight container for up to 2 days. Reheat in the oven at 350 degrees until bundle is heated all the way through, about 10 minutes.

3.25.2010

armed & ready

IMG_6751

I wish I was normal...

It seems to me that when most people know that their in-laws are coming in town, their brother-in-law is staying with them and they all of a sudden find out that a very exciting and rare event will be taking place where they live, which will likely bring lots of out of town friends through their door this weekend, this spurs most people on to get their home looking extra clean for the weekend.  Not me... I know of all these events and all I can seem to do is come up with more things to make in the kitchen because I can't stand the thought of anyone coming over and not having something to eat.

IMG_6741
I also don't like the idea of being stuck in the kitchen when we do have guests (doesn't work well with the little kitchen... guests always want to help out if everything is not finished and we all know this kitchen is most conducive to a one man operation... although it has been pushed to the limit before).  We will be having my parents and Mr. Hungry's family over on Friday night to watch that very exciting event I was telling you about so I did all the prep work I could beforehand.  I thought homemade pizzas would make for a delicious and casual meal.   And I'll cut to the chase about this event... Baylor has made it to the Sweet 16!  This is a very big deal for quite a few reasons... We are Baylor alumni, this hasn't happened in... (I won't even talk about how long it's been), and the game is in Houston! The last reason being why I also felt the need to pop a few other treats in the oven... We have friends from college who might be stopping by.


IMG_6737

So that brings me to my current situation... it's a little past 10 p.m. on Thursday and here I sit taking a small break from what I have done... grated 5 lbs. of cheese, made 8 pizza doughs, sliced up some grilled chicken... and what I am still working on... blackberry shortbread bars and banana chocolate chip snack cake and still hoping to get motivated to clean this place up.  A blackberry bar can only keep you distracted from undusted shelves for so long...

...will be back with the recipes.

3.22.2010

Chocolate Peanut Butter Cupcakes

IMG_6670
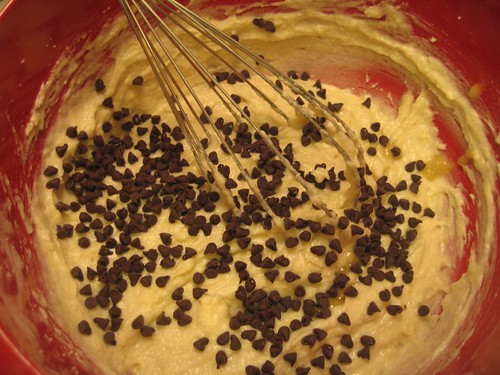
So I talked about these cupcakes the other day... I had an order for 24 birthday cupcakes and it was decided that half would be these chocolate peanut butter cupcakes.  Oh, these are one of my absolute favorites and I was glad to hear they went over well at the party.  The little kick of peanut butter frosting that is hiding inside of these is what makes them so special.  Well, that's about it... these are delicious... knock yourself out.

From my little kitchen to yours... Enjoy.
IMG_6652
IMG_6657
IMG_6655
IMG_6659
IMG_6662
IMG_6664
IMG_6667
Chocolate Peanut Butter Cupcakes
Recipe Notes
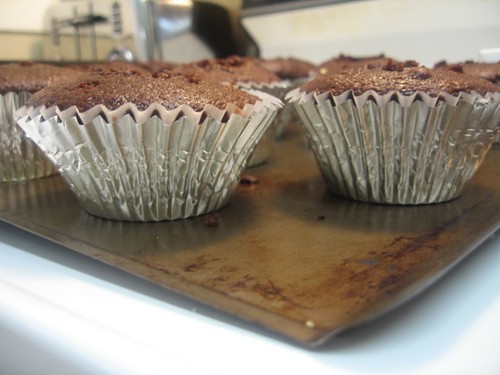
These cupcakes are made in XL foil cupcake liners because having a bigger cupcake allows for more peanut butter frosting.  These cups are also nice because you don't even need a cupcake pan to make cupcakes.  They stand alone on a regular baking sheet and you can remove the foil layer when they are finished baking.  You can make these in a regular cupcake pan, but you will not have as much cupcake left after you carve some out for the peanut butter frosting.  The XL cupcake cups can be found in almost any grocery store next to regular cupcake liners.  To make these extra special, you can make homemade chocolate frosting, but the peanut butter frosting and mini chocolate chips are two new twists that make this cupcake seem very special even if you use boxed cake mix and frosting.  If you are piping the icing on, you will need 2 cans, but if you are just spreading the chocolate frosting on top, you will have enough with one can.
Ingredients
12 XL stand alone cupcake cups (see recipe notes above)
1 boxed devil's food cake mix + ingredients to make cupcakes
1 cup of smooth peanut butter
1 1/4 cup of powdered sugar
1 stick of butter, softened
2 cans of chocolate fudge flavored frosting 
2 cups mini chocolate chips
Step by Step
Bake cupcakes according to directions, filling cupcakes cups 2/3 of the way full.  Allow a few minutes extra baking time for extra large cupcakes.  To test: Push cupcake with finger... when it springs back, cupcakes are done.  Allow to cool completely.
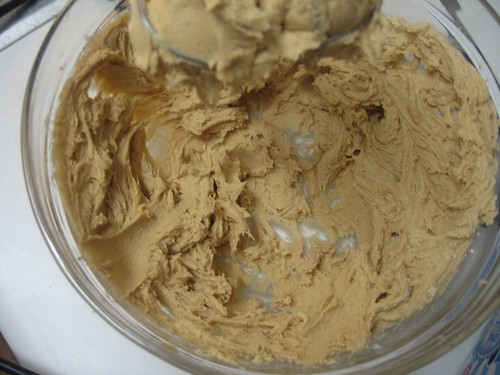
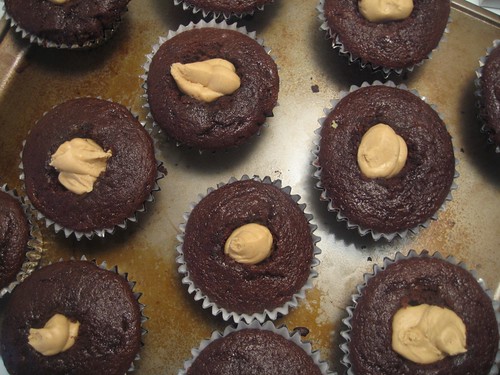
While cupcakes are baking make peanut butter frosting.  Combine peanut butter, powdered sugar and butter in a bowl.  Beat until combined and a smooth frosting has formed.  Spoon peanut butter frosting into a ziploc bag.  Cut the tip off of the bag.   
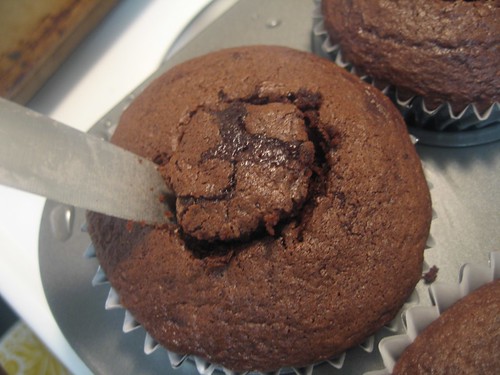
Using a sharp knife, cut a small cone shape in each cupcake and remove cone.  To do this, cut into cupcake diagonally and draw a circle.  (see picture above)  Pipe a small dollop of frosting into each cupcake.  Cover and place cupcakes in the refrigerator.  Allow the peanut butter icing to firm up.  (This will make frosting the top easier.) 
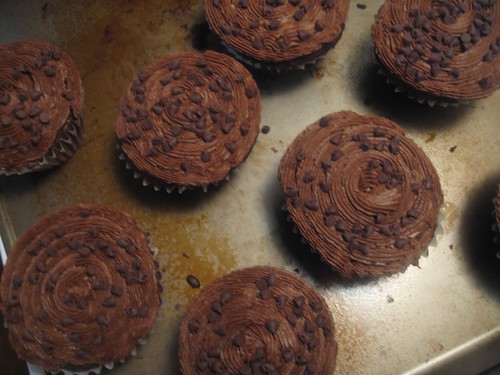
Remove from refrigerator and top cupcakes with chocolate frosting.  Option #1:  Spread icing on with a knife.  Option #2:  Place chocolate frosting in a piping bag and pipe icing on to cupcake.  Immediately sprinkle each cupcake with mini chocolate chips before the icing dries.


3.17.2010

Birthday Cupcakes

IMG_0335

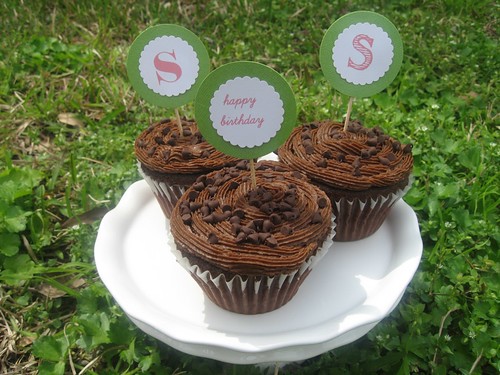
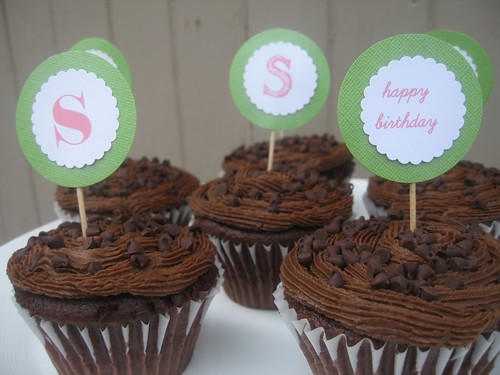
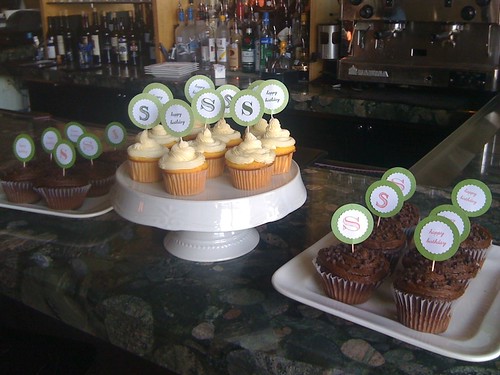
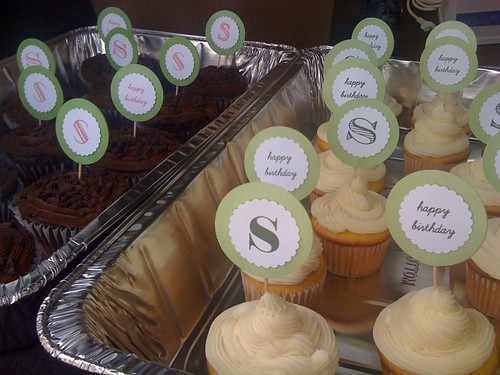
I had an order for birthday cupcakes this weekend and considering I didn't get any, I sure was excited about them.  I suspect the excitement was because I wanted to experiment with cupcake toppers.  These were for a 60th birthday party and the order was for a dozen triple lemon cupcakes and a dozen chocolate chip peanut butter cupcakes (recipe coming soon).  The birthday girl's name started with an S so I decided to do different font S's on one side with happy birthday on the other.  I have to say they sure do spruce up a cupcake and can be made with paper and toothpicks.  If you don't love this idea, I'm sorry... because I have a feeling you will be seeing these at every opportunity I get to top something.
IMG_0326


IMG_0334
IMG_0325