2.18.2010

Pesto Pizza with Feta & Tomatoes

IMG_6425

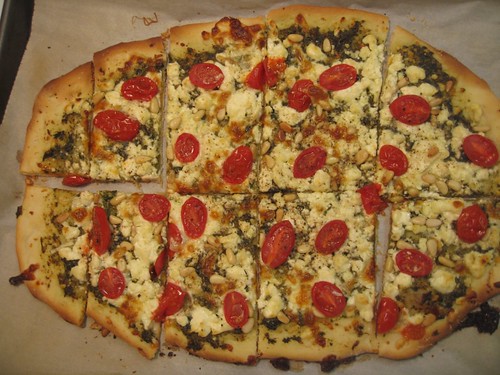
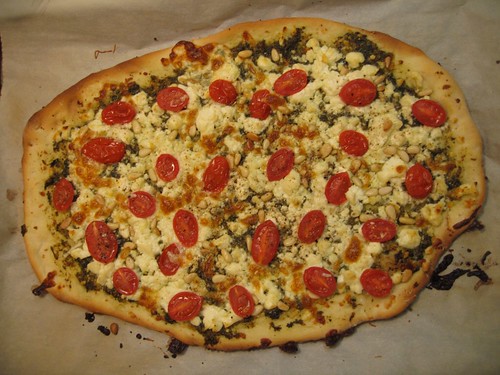
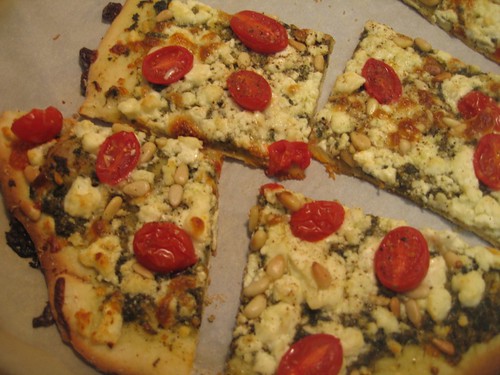
This right here makes me very happy I discovered homemade pizza.  I looked in the fridge and saw a few leftovers here and a few leftovers there.... and voila, the creation of this pizza.  I didn't buy a darn thing.  I had half a block of feta, half a bag of grape tomatoes, some leftover toasted pine nuts and some pesto in the freezer.  Sadly, I had no crust in the freezer or this would have been a cinch.  But after making up a batch, the pizza only took about 10 minutes.  So enough about me, let's talk about you... go look in that fridge of yours... come on, there is got to be something you could throw on a pizza.

From my little kitchen to yours... Enjoy.
IMG_6424

Pesto Pizza with Feta & Tomatoes
Recipe Notes
As I mentioned before, this was all leftovers and I just took stuff out of the fridge and started throwing it on.  I tried to estimate about how much of each ingredient I used, but you will be able to judge that based on what kind of pizza you like... whether you like a lot of cheese or a little, just a bite of tomato or a ton... you get the point.
Ingredients
1 recipe of basic pizza dough, or store bought
3/4 cup pesto
3/4 cup feta
3/4 cup grape tomatoes, sliced in half longways
1/2 cup pine nuts, toasted
Step by Step

1.  Preheat oven to 425 degrees.
2.  Heavily flour a clean surface.
3.  Roll out pizza dough on floured surface into a rectangular shape that will fit a baking sheet.
4.  Cover baking sheet with parchment paper.  Transfer pizza dough to parchment paper.
5.  Spread a thin layer of pesto on entire crust.
6.  Sprinkle with an even layer of feta cheese.
7.  Top with halved tomatoes and pine nuts.
8.  Bake for 15 minutes, until crust is golden brown and cheese is bubbling.
IMG_6426

2.16.2010

Heart Cookie Explosion

IMG_6474

First of all, I would like to apologize for another Valentine's post.  You either a.) like Valentine's Day, but already celebrated and have moved on or b.) you hate the day to begin with and would rather be spared for at least another year.  But I just had to share...
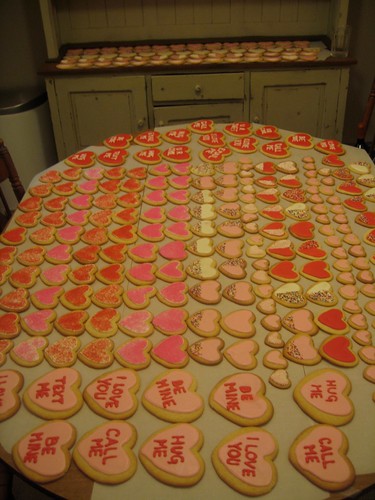
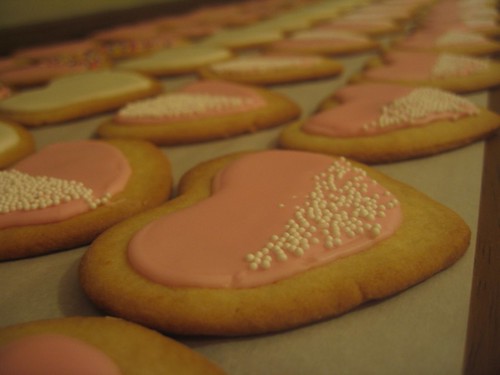
Our home was invaded this weekend  with pink, red and white icing and lots of sprinkles.  I was hired to make 300 valentine's cookies and while I just had a ball making these, they kind of took over our sweet little 900 square feet that we live in.  I am pretty sure the bed is the only surface that was not drying cookies on Saturday (and if Mr. Hungry had not been taking a nap, I do not think it would have been spared).  I ended up with 3 sizes... a teeny mini heart with pink icing, a medium sized heart that I adorned with different sprinkles, and a fairly large heart, which I made into conversation hearts.
I share these because I have picked up a few tricks on how to make that perfectly iced sugar cookie that I thought only existed in magical bakeries.  I realize some bakeries can still blow these out of the water with their precision, but I thought these hearts turned out pretty darn cute.  Just thought I would share and I will be back soon with the tips I picked up on how to ice a sugar cookie.
IMG_6470


IMG_6473
IMG_6471

IMG_6460

IMG_6456

IMG_6454

2.14.2010

Happy Valentine's Day

IMG_6477
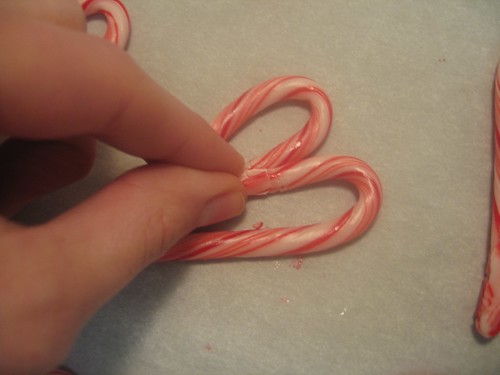
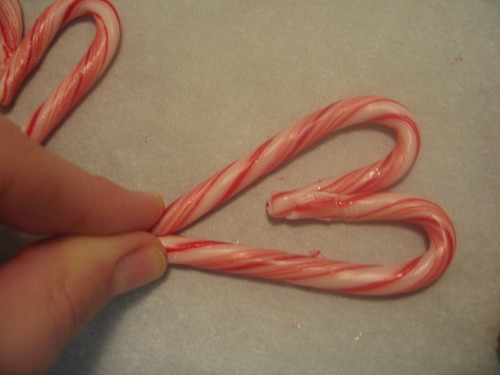
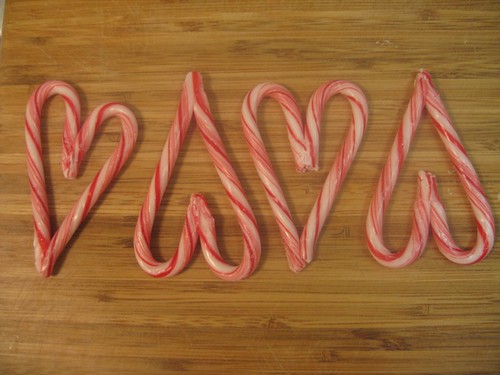
Happy Valentine's Day.  For more about the little candy cane heart sussies, click here
IMG_6403
IMG_6405

IMG_6406

IMG_6409

IMG_6476

2.11.2010

Rolo Pretzel Bites

IMG_6418

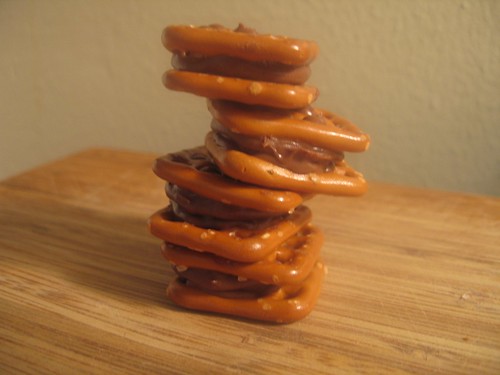
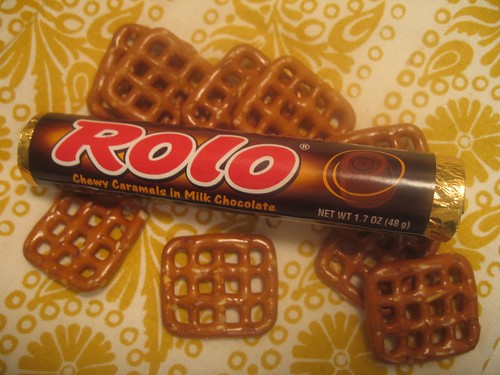
I had quite a few people tell me they loved the pretzel bites and many told me of other sweet and salty treats using the same square pretzel.  Many of you mentioned the Rolo Pretzel Bites and I just couldn't wait to try them!  I have to say my heart still belongs to the Pretzel Bites with peanut butter M&M's but if you are looking to change it up a bit you should try these too! 

From my little kitchen to yours... Enjoy.
IMG_6411

IMG_6412

IMG_6414

IMG_6417

Rolo Pretzel Bites
Ingredients
Square Pretzels (I used Snyder's brand)
Rolo's (one per bite)
Parchment Paper
Step by Step
1. Preheat oven to 200 degrees F.
2.  Line a cookie sheet with parchment paper.
3.  Place a single layer of pretzels at least an inch apart.
4.  Place a Rolo on top of each pretzel.
5.  Bake in oven for about two minutes.  When Rolo's are slightly melty, remove from oven.
6.  Place a pretzel on top of each and push down slightly.
7.  Allow to cool in refrigerator until completely hard, about 30 minutes.
8.  Before serving, bring pretzel bites back to room temperature.  Make sure and do this or the center of the Rolo's will be quite chewy.
9.  Store in an airtight container for up to two weeks.

2.08.2010

A Lovely Ladies Luncheon

IMG_0225

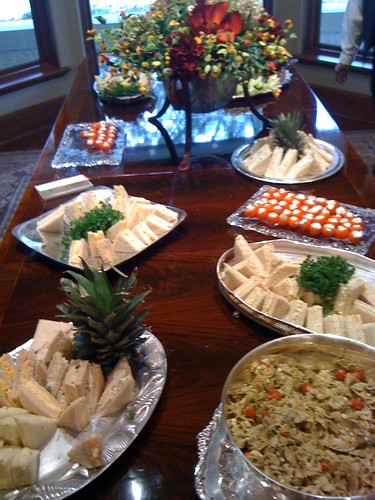
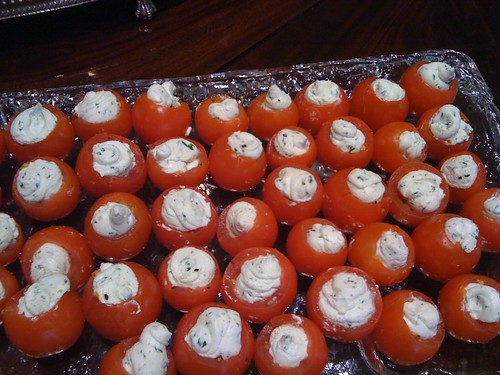
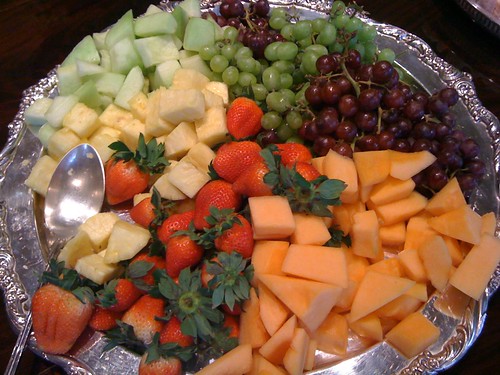
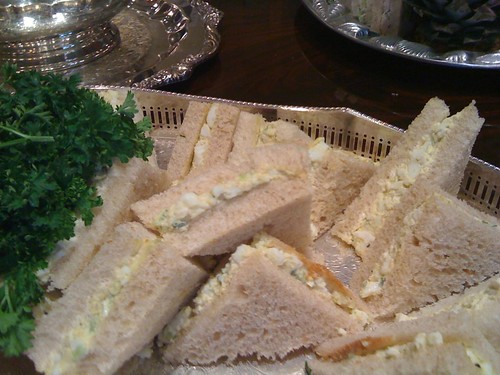
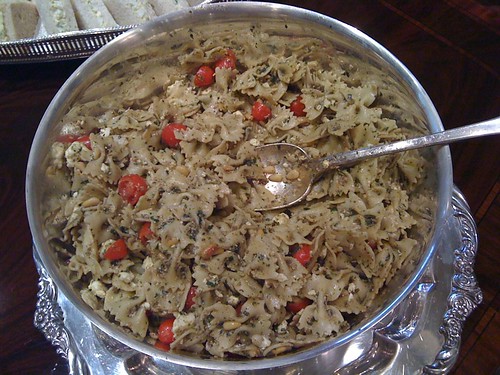
I find it quite ironic that the busier the little kitchen is, the quieter this site is.  But that's just the way it goes when the cook, photographer and writer is yours truly (who also has a little thing called a full time job).  And when I say busy, I mean real busy... I catered a luncheon for eighty women on Friday and three hundred finger sandwiches later, I lived to post about it.  I thought I would give you a little sneak peak with the pictures and promise the recipes to follow.  This doesn't really give you an idea of how much food there was because there were two servers that were refilling the trays, but this was the menu...

Herbed Goat Cheese Stuffed Cherry Tomatoes

Pasta Salad with Tomatoes, Feta & Pesto

Egg Salad Tea Sandwiches

Pimento Cheese Tea Sandwiches

Chicken Salad Tea Sandwiches

Fresh Berries and Melon

IMG_0219

IMG_0220

IMG_0221

IMG_0222

IMG_0223

IMG_0224
Oh yeah, and these aren't the greatest pics, but I tried to snap a few shots with my phone when I went to the party.  Another problem, the busier with the cooking, the less time I have to document with photographs... my apologies.  So instead, I creeped around the party trying to get a few quick photos.  The women at the party who did not know I made the food probably thought I had a weird obsession with tea sandwiches as I shot them from all angles. 


I also have to give a very big thank you to my wonderful mother and sweet friend allison for helping me with all those teeny little sandwiches!

2.04.2010

Pretzel Bites

IMG_6342

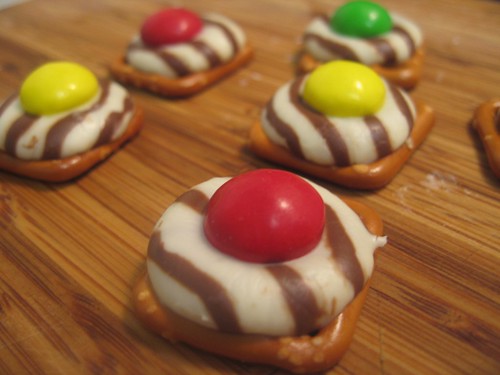
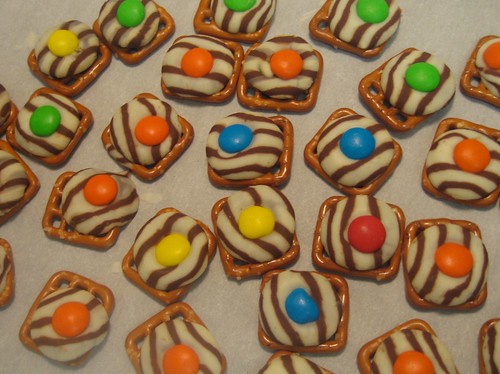
In the land of taste, the combination of sweet and salty is the bee's knees as far as I'm concerned.  Sometimes, you taste the salty first, and just when you've had enough, you get the perfect balance as the sweet kicks in.  Sometimes the sweet comes first, but no matter which way it comes, you end up with the perfect satisfying treat.

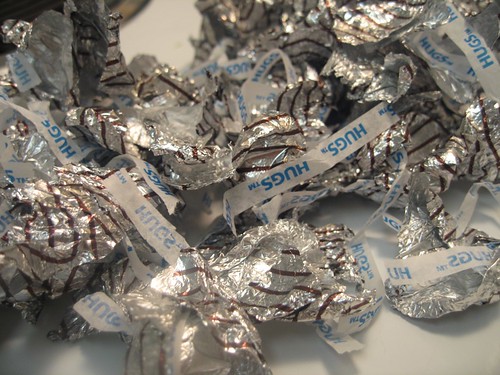
These little nuggets are my new favorite in the salty and sweet combo.  And the best news is they couldn't be easier.  The largest time commitment is unwrapping the Hugs and if you have a Mr. Hungry of your own or maybe a few kids, you can give them this task while they watch TV.  And once Mr. Hungry had a couple of the finished product, he is always more than willing to do the unwrapping. 

I have to thank my friend Rachel for passing on this wonderful recipe.  They make a great snack or dessert for any group.  I would also dare you to try and find a treat that is so adaptable to any holiday.  Valentine's Day?  Only use red M&M's... Christmas? Use red and green M&M's... St Patrick's Day?  Use green M&M's... okay, hopefully you get the point.  And the combinations are endless... At certain holidays,
IMG_6334

IMG_6344

IMG_6335

IMG_6348

{read the recipe note below if you want to know why I didn't use a bunch of these little guys}

IMG_6364
Pretzel Bites
Recipe Notes
You might be wondering why I don't suggest the obvious Hershy Kisses for this recipe.  They will work, but I find them to be not as pretty if you are making them for company (or in my case, a catering job I did over Christmas).  The white chocolate Hugs melt really well and the chocolate Kisses tend to crack and not melt down quite as well.  I have also decided that I definitely prefer peanut butter M&Ms over the regular, but you will have to find out for yourself which one you like better.
Ingredients
Square pretzels (Snyder's makes a great square pretzel)
Hershey Hugs, unwrapped
M&M's or Peanut Butter M&M's
Parchment Paper
Step by Step
1.  Preheat oven to 200 degrees f
2.  Line a baking sheet with parchment paper.
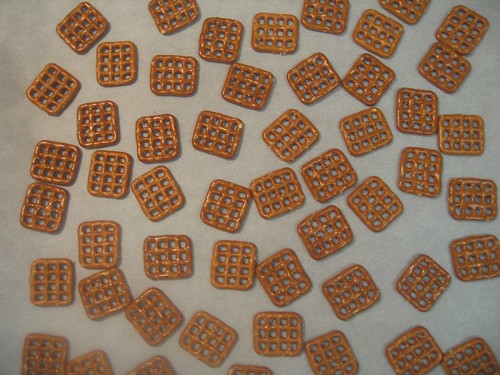
3.  Spread pretzels in a single layer about an inch a part.
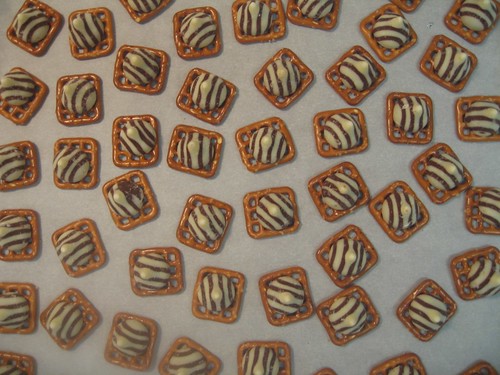
4.  Place a Hug on the center of each pretzel.
5.  Place in the oven and watch carefully.
6.  Remove from oven after 4 to 5 minutes of being heated.  To test pretzels to see if they are ready to come out of the oven, place an M&M on top of one Hug.  If it melts down, they are ready.  If just the tip melts down, continue to bake.
7.  Place one M&M on top of each Hug.  Place baking sheet in the refrigerator and allow to cool and harden completely; at least 30 minutes.

Store in an airtight container for up to two weeks.