6.24.2009

Roasted Corn and Avocado Dip

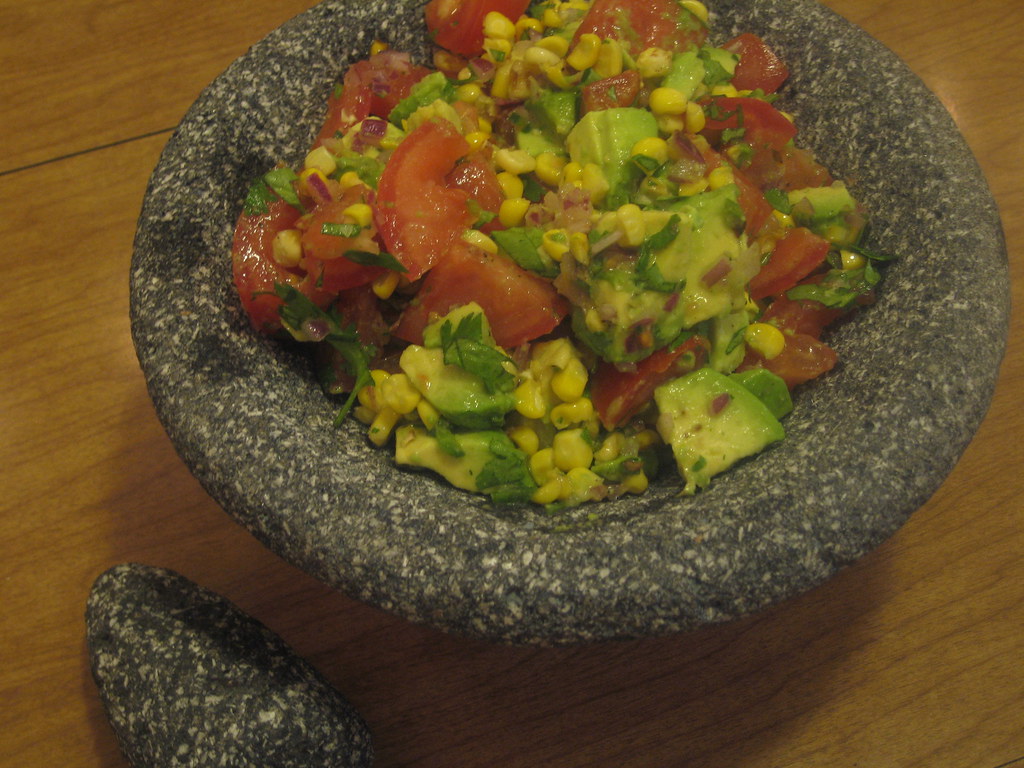
If you would like to be a popular guest for any summer soiree, bring this dip along.  I promise you will be a hit.  The combination of sweet roasted corn, creamy avocado, plump tomatoes and fresh cilantro is undeniably wonderful. With just a few other ingredients, you will have a dip that is sure to please.  I had this once in someone else's home and knew it had to be in my cookbook.  I used the same main ingredients and added a few of my own.
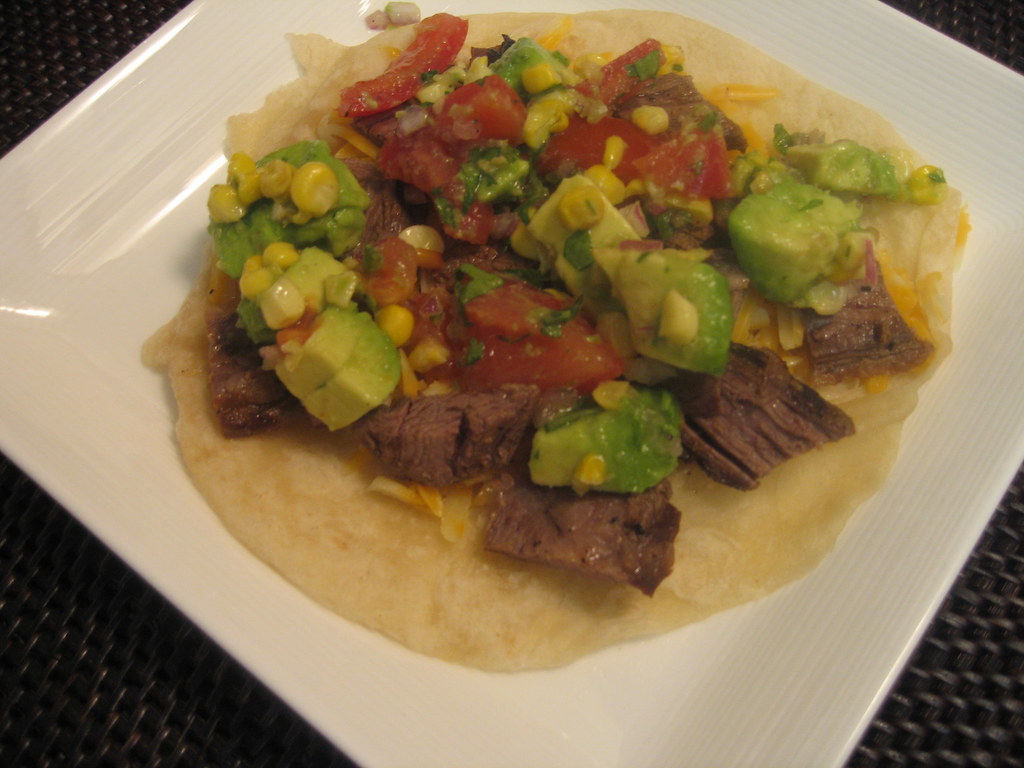
You can also see below how I used this dip to spice up steak fajitas.  Of course it pairs well with mexican food, but is tasty with most any summertime meal or barbecue.  Enjoy!
Roasted Corn and Avocado Dip
serves 2-4
Recipe Notes
You can use either fresh corn cut off the cob or frozen corn.  Whatever you have on hand works great, but I will say you can hardly beat fresh, sweet summer corn cut off the cob.
Ingredients
1 cup corn cut off the cob (or 1 cup frozen kernels)
2 teaspoons canola oil (or olive oil)
1 avocado, cut into small chunks
1 large vine ripened tomato, cut into small chunks (or two small tomatoes)
3 tablespoons fresh red onion, minced
1/2 teaspoon ground cumin
1 teaspoon fresh jalapeno, minced
3 tablespoons fresh lime juice
2 teaspoon cider vinegar
2 tablespoons fresh cilantro, chopped
1 pinch of salt and pepper, extra to taste
Step by Step
1.  Preheat oven to 400 degrees.
2.  Spread corn kernels onto baking sheet;  toss with oil and sprinkle with salt.
3.  Roast corn for about 10 minutes, until lightly browned.
4. In a medium bowl, combine all remaining ingredients.  Mix gently to combine.
5.  When corn has cooled, add to dip.
6.  Serve with favorite tortilla chips or as a topping to fajitas.
Works great as a fajita topping as well!

6.22.2009

Perfect Party Pizza


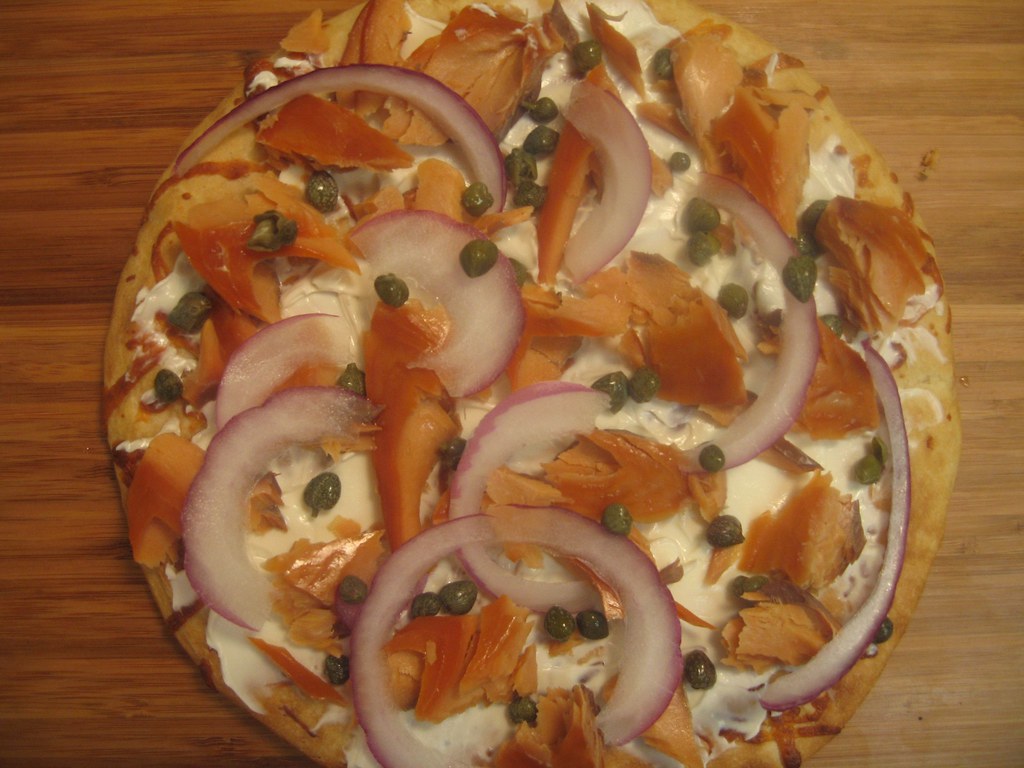
Serendipity... That's what I like to call the fact that in the same week, I received sockeye smoked salmon from Alaska as a souvenir from my parents, as well as a great new recipe from my friend Frances.  She told me how this is a recipe she has made for years and it's perfect as an appetizer or to take to any party. Of course I had to make it immediately and I can also say it's great for a quick dinner.  Whether you use an individual sized Boboli pizza or a large one for a crowd, you can easily adapt this recipe to however many people you are feeding.
Smoked Salmon Party Pizza
Recipe Notes
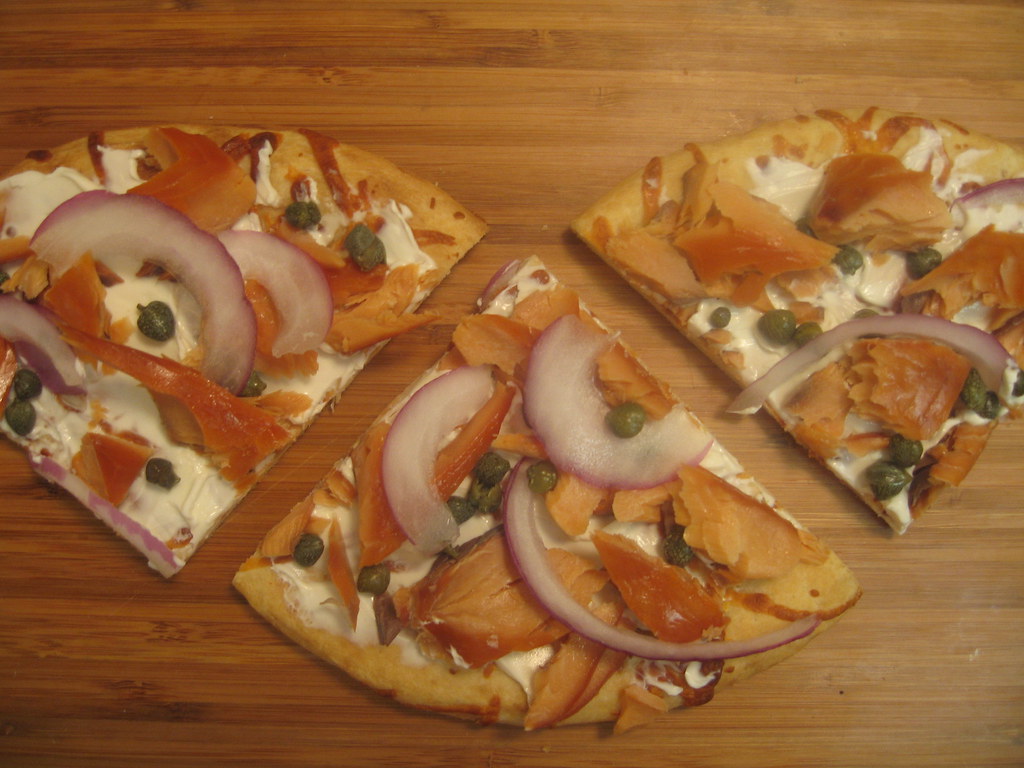
There are not really amounts below because you just eyeball the ingredients based on the size of your crust.  Boboli crust is a pizza crust that is sold at most grocery stores.  Make sure you let the Boboli crust cool completely before spreading the cream cheese on top.  A large knife is much easier to cut through the pizza then a pizza wheel.
Ingredients
Boboli Pizza Crust (small or large)
Cream Cheese, plain
Smoked Salmon, cut into bite size pieces
Red onion, sliced thinly
Capers, drained
1 or 2 tablespoon fresh dill, chopped
Step by Step
1.  Prepare crust according to package; let cool completely.
2.  Spread cream cheese in a thin layer to cover entire crust.
3.  Layer red onion on crust; followed by smoked salmon.
4.  Sprinkle capers and dill on top.
5.  Cut into pie slices or strips before serving.

6.21.2009

Weekend Update: Topsy Turvy Tomato Planter...Week 6

Here we are in Week 6 of the Topsy Turvy Tomato Planter experiment.  And if you caught last week's post , this little tike had taken a turn for the worst.  However, (drumroll.........) there is still hope! We now have a whole new set of little flower bulbs providing a glimmer of light at the end of the tunnel.  I will not be proud this time or talk about my "abundant crop on its way" until I have taken a big juicy bite out of my first harvest (novel thought, I know). 
So on to the changes I have observed... The back part of the plant that really doesn't see sunlight, has shriveled up completely.  The front leaves seem to be growing towards the sun and just yesterday, the leaves fell.  I am hoping that the weight of all those baby tomatoes is what caused this. I will have to say the ups and downs of this experiment are downright exhausting, but I will continue!  So stay tuned! Oh, and just when you thought the ambiance couldn't get any worse, it did.  
Our new neighbors have decided to leave their garages open so the new background of this experiment will be the inside of lovely sheds.  
Hope for a future...

6.18.2009

Healthy Banana Walnut Muffins

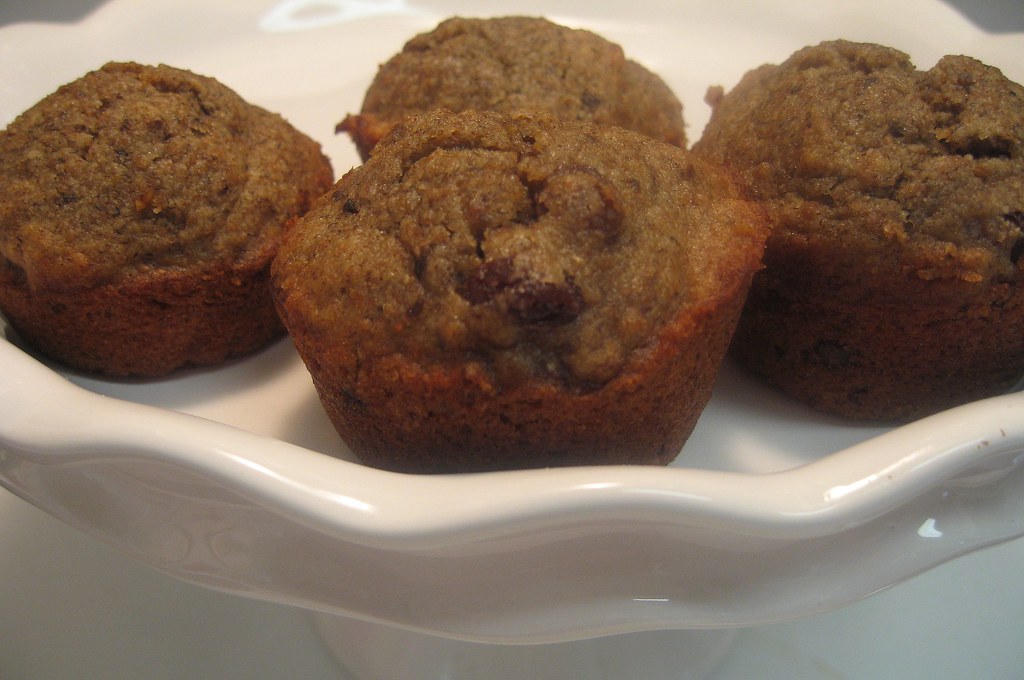
I love a good challenge.  So when my friend Denni asked me to find healthy dessert recipes with no refined sugar, I was thrilled.  I am now officially beginning this challenge by posting these banana walnut muffins.  Gwyneth Paltrow has a great site called GOOP, and these muffins were one of her first recipes to post (however, they are no longer on the website for some strange reason... good thing I wrote it down).  Since things like brown rice syrup and barley flour are not usually found in my kitchen, I changed up the recipe to what I thought would yield similar results without having to search the ends of the earth for extra ingredients.  I hardly miss the sugar at all!
Warning:  These are not miracle muffins!  Sure my mom's banana nut muffins are more delicious and just melt in your mouth.  However, for the healthiness of these, I say they are pretty darn good.  I enjoy making a batch and having them for breakfast.  For today's muffins, I decided to skip sifting all the flours together... sometimes, you just don't have the time!  And I really did not notice a difference.  So here I start my challenge of finding healthier recipes... stay tuned for more!


Banana Walnut Muffins
Makes 1 dozen muffins

Recipe Notes
I know some people like to take the raisins out of a recipe, but I would not do it here! I think they are essential to adding moisture and sweetness.  The recipe calls for 3 ripe bananas.  I sometimes use four and I like them to be almost black for the most flavor. This recipe also calls to puree bananas in a food processor.  This is the best way, but I have hand mashed the bananas and added the liquid ingredients when I didn't have a food processor.  To save time, I do not sift the flours in this recipe.  Instead, I sifted and fluffed them together with a large fork.
Ingredients
3 ripe bananas (4 if they are small)
3/4 cup maple syrup
1 tablespoon vanilla extract
1 1/2 cups whole spelt flour (or whole wheat pastry flour)
1 teaspoon baking soda
1/2 cup raisins
1/2 cup walnuts
2 teaspoon fine sea salt
6 tablespoons canola or sunflower oil
1/2 cup white spelt flour (or all purpose white flour)
Step by Step
1.  Preheat oven to 350 degrees.  Roast walnuts on a baking sheet for about 7 minutes; Coarsely chop.
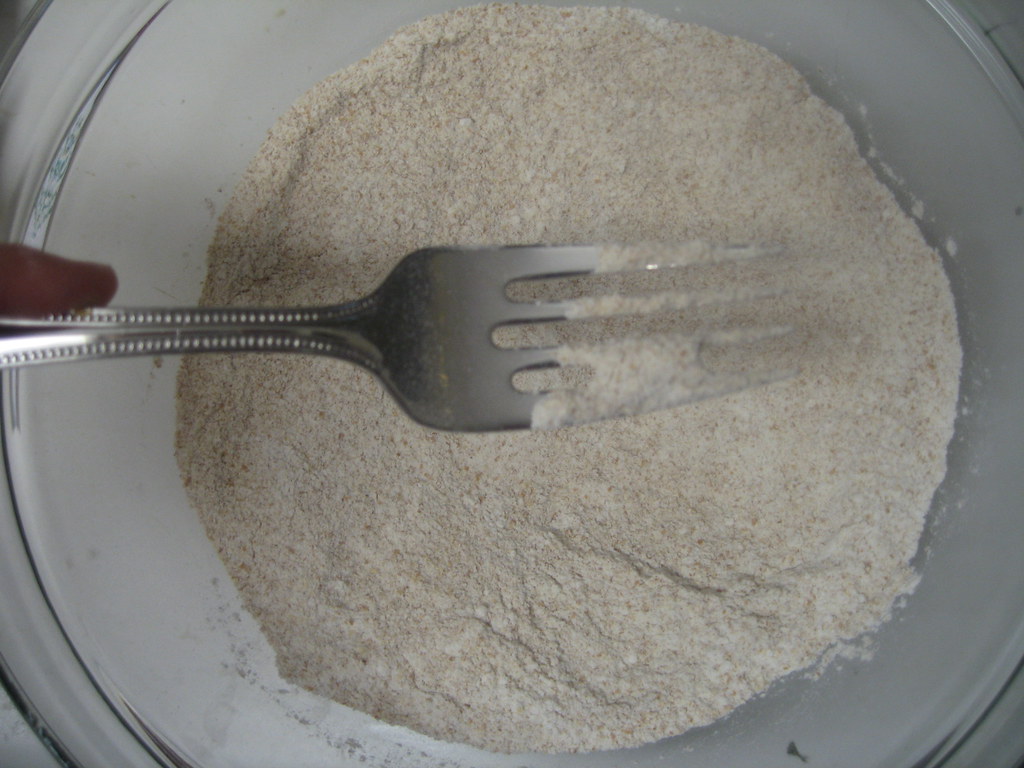
2.  Combine flours, baking soda and salt in a medium size bowl.  Using a large fork or slotted spoon, gently sift ingredients together to combing and get out any lumps.  (see first picture below)
3.  Puree bananas in a food processor and add remaining liquid ingredients; Mix well.
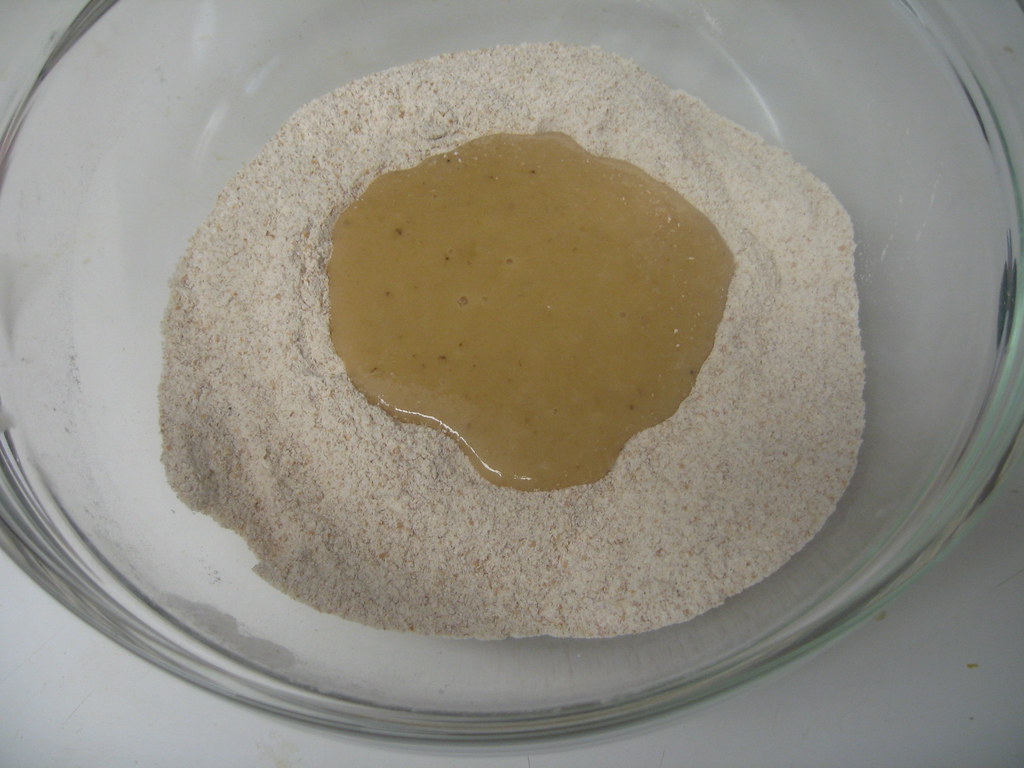
4.  Make a well in the flour and pour in the wet mixture. (make sure to scrape bowl well)
5.  Fold together unitls flour is moistened.  Do not overmix or the muffins will be tough!
6.  Add walnuts and raisins and fold just a few times to combine. 
7.  Line muffin tins or spray with cooking spray.
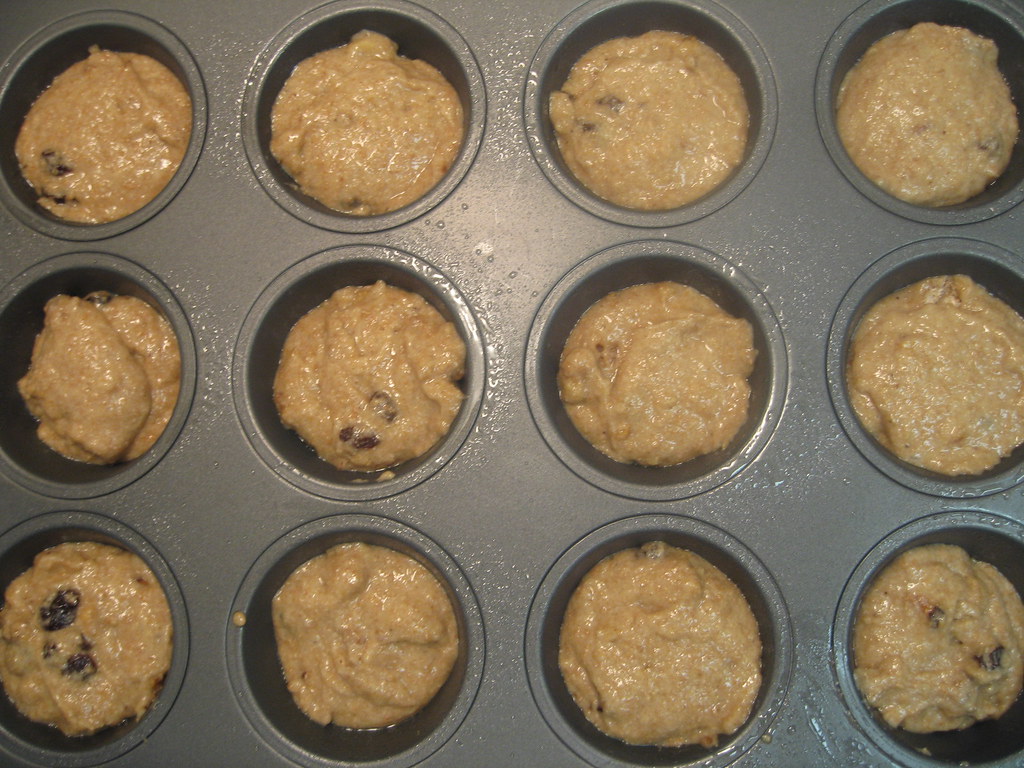
8.  Use an ice cream scoop (or large spoon) to evenly distribute batter among cups.
9.  Bake approximately 25 minutes.  Test with a toothpick until it slides out clean with no crumbs on it.
10.  Cool in pan for a few minutes and then transfer to a cooling rack and continue to cool.

6.17.2009

Swiss Chard and Sweet Pea Manicotti

I was recently in Austin and had the pleasure of going to one of the local farmer's markets with my friends Lindsey and Allison.  I find it very exciting to pick up a fresh ingredient and try it in a new dish.  We had just been thumbing through Giada de Laurentis's newest cookbook, "Giada's Kitchen," and thought this Swiss Chard & Sweet Pea Manicotti looked wonderful.  However, I knew nothing about swiss chard.  Well, it must have been serendipity when we happened upon just that at the farmer's market... fresh rainbow swiss chard.  I had never seen a green so colorful and we decided it was just what we should pick up to try this recipe.  When we returned home, we noticed the recipe called for white or red swiss chard, but I have to say the recipe was amazing with our rainbow colored variety!  
I have always been pleased with Giada's recipes so we thought this had to be good.  However, if you are going to make it, I will tell you right now it is not on the cheap or quick list.  With all of the cheeses, this dish can be a little pricey (if you are on the thrifty side).  However, after having it, I can definitely say it would be worth making for company!  Check the recipe notes for a couple adjustments we made to make this dish a little more reasonable.  Bottom Line:  Very delicious dish, but be willing to spend some time and a few extra bucks!
Thanks for the fun afternoon gals! And thank you to Richard, the grower of this swiss chard, for taking our picture... we owe you one!
Swiss Chard & Sweet Pea Manicotti
Recipe Adapted from "Giada's Kitchen" by Giada de Laurentis
12 Manicotti, 4 to 6 servings
Recipe Notes:  The cheeses in this dish can make it kind of expensive.  We substituted a cheese called “fontal” for the fontina.  It was a similar cheese that was a little less rich, but was half the cost.  While we never tried it with the fontina, the dish seemed very flavorful and not lacking at all.   This recipe calls for a pastry bag.  If you do not have one or don't want to mess with it, you can fill a plastic bag and cut off the tip like we did below.  Make sure you cut a very small hole so that it easily fits in the pasta shell.
Ingredients:
Butter, for greasing the pan
12 manicotti or cannelloni pasta shells
Filling
1 bunch (12 oz) red, white or rainbow swiss chard… about 10 large leaves
2 tablespoons olive oil
1 medium yellow onion, chopped (white will work too)
1 garlic clove
1 15 oz container whole-milk ricotta cheese
¾ cup frozen petite peas, thawed
1 cup (4 oz) shredded mozzarella cheese
¾ cup (2 oz) grated Parmesan cheese
¼ cup fresh basil
¾ teaspoon kosher salt
¼ teaspoon freshly ground black pepper
Fontina Fonduta Sauce
¾ cup whole milk
½ cup heavy cream
3 cups (6 oz) grated fontina cheese (or fonduta for a cheaper version)
2 tablespoons grated parmesan cheese
2 tablespoons chopped fresh basil
Topping
1 ½ cups (6 oz) shredded mozzarella cheese
Step by Step
Dish prep
  1. Preheat oven to 400 degrees; heavily grease a 13x9 inch glass baking dish with butter.
  2. Bring a pot of water to boil; heavily salt.
  3. Add the pasta and cook until tender but still firm to the bite, stirring occasionally 6 to 8 minutes.
  4. Drain the pasta and rinse with cold water.  Set aside.
For the Filling
  1. Using kitchen scissors, a knife or gently tearing, remover the swiss chard stems.  You want to only have the tender leaves.  Chop the leaves into one inch pieces and discard of the stems. 
  2. In a large nonstick skillet, heat the olive oil over medium high heat.  Add the onion and cook until soft, 5 to 7 minutes.
  3. Add the garlic and cook 1 minute longer, then add the swiss chard leaves and cook, stirring constantly, until wilted, about 2 minutes.  Allow the mixture to cool slightly.
  4. Place the ricotta cheese, peas, mozarella, Parmesan cheese, basil, salt, and pepper in the bowl of a food processor.  Add the cooled chard mixture and blend until smooth.  Spoon the mixture into the prepared pastry bag and stuff each manicotti shell with the filling.  If using a ziploc bag, fill bag with chard filling.  Then cut a very small hole in one corner and fill shells.  Place the stuffed manicotti in the prepared baking dish.
  1. In a medium- heavy saucepan, bring the milk and cream to a simmer over medium heat.  Reduce the heat to low.  Add the fontina cheese and cook, stirring constantly, until the cheese is melted and the mixture is smooth.  Remove the pan from the heat.  Stir in the Parmesan cheese and basil.
  2. Pour the sauce over the stuffed manicotti and sprinkle with the 1 ½ cups mozzarella cheese.  Bake for 30 to 35 minutes, until the top is golden.  Let the baked manicotti stand for 5 minutes before serving.
This dish is great for leftovers as well!

6.16.2009

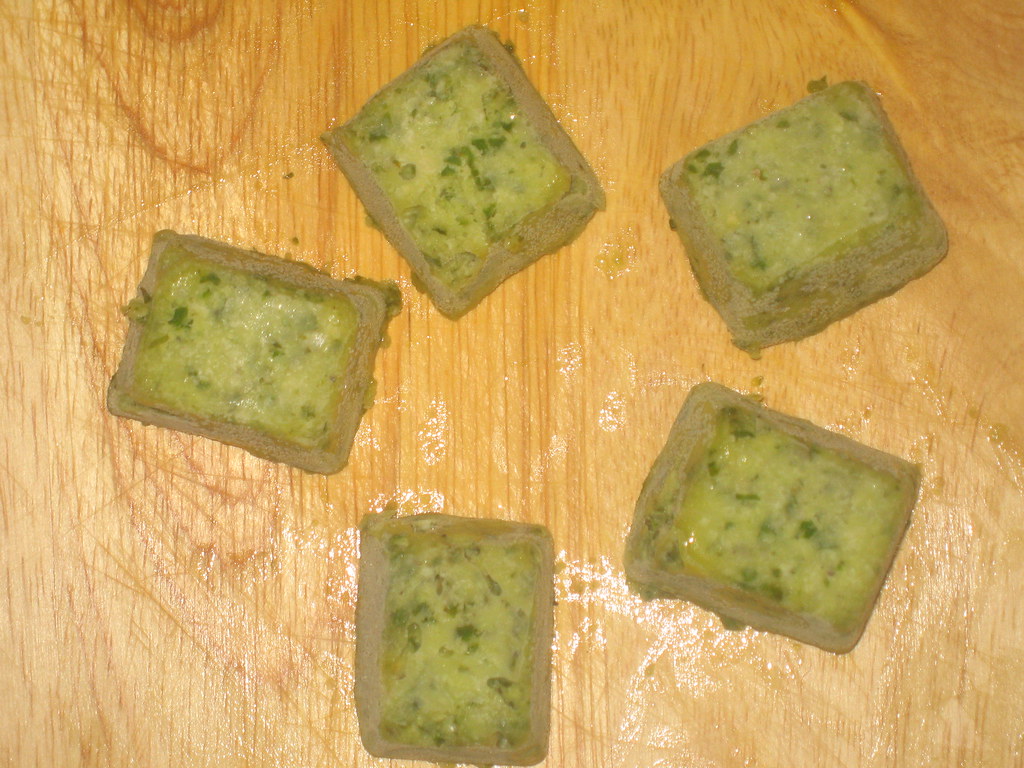
How To: Freeze Basil Pesto


A common complaint from those who are only cooking for one or two at a time is that it is cheaper to eat out once you by all of the fresh ingredients.  This does not have to be the case if you know just a few tricks.  Fresh basil pesto is a favorite of mine and with this trick, you can have it on hand pretty much all the time.  The pesto can be taken out of the freezer and thaws within about 10 or 15 minutes so it is always ready.  For extra convenience, I scoop one tablespoon portions into an ice cube tray to serve.  That way, you can only take out exactly what you need at a time.  You could also scoop tablespoon size portions onto wax paper and freeze them that way as well if you do not have an ice cube tray. 
Step by Step
1.  Using a tablespoon, scoop leftover pesto into ice cube trays.  
2.  Cover and freeze overnight.
3.  Either leave in ice cube trays, or pop out pesto cubes and place in freezer bag; return to freezer.
4.  When ready to use, let exact amount of pesto thaw on the counter for 10 to 15 minutes.
No Ice Cube Tray Option:
1.  Cover a baking sheet with wax paper (or parchment paper)
2.  Using a tablespoon, scoop leftover pesto onto wax paper being careful not to let each one touch.
3.  Freeze overnight.
4.  Remove pesto discs and add to a freezer bag; return to freezer.
5.  Thaw same as above.