
Two words make me weak at the knees when used in the same sentence.
Peanut Butter & Chocolate.
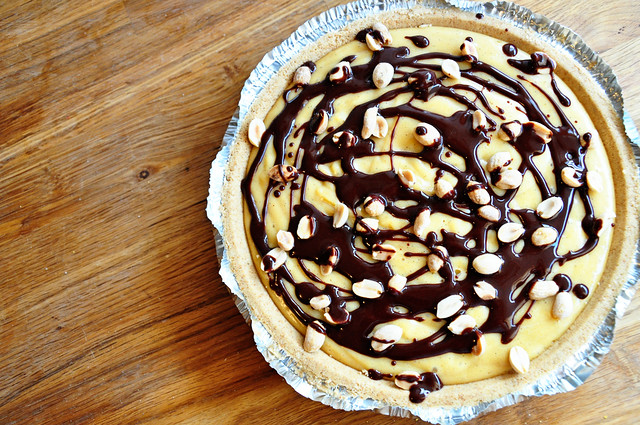
I should not be left alone with large amounts of anything that contains these two ingredients. The fact that this particular combo takes peanut butter and turns it into a smooth thick peanut buttery sugary whipped custard topped with drizzled chocolate and crunchy peanuts, and not to mention that it is nestled in a graham cracker crust, is breathtaking.
Are you ready for the best part?
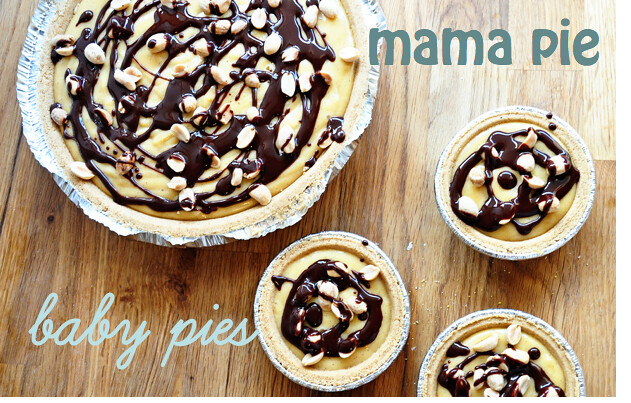
It just so happens that this recipe can make you one big pie and four baby pies.
It just so happens that this recipe can make you one big pie and four baby pies.
Discovering a recipe like this is the equivalent of what I can only imagine some people feel when the get to the top of Mt. Everest. Yep, that epic.
Here are a few of my favorites about this dish:
1. I hate taking a dessert to someone when you haven't tasted it yourself and as far as I know, it is still socially unacceptable to deliver 9/10 of a pie to someone.
2. Mr. Hungry gets irritable when I bake and he doesn't get a good portion of the goods.
3. This pie in particular happens to the be the bees knees because both the mama crust and baby crusts came straight from the grocery.
Who's ready to jump on the bandwagon and make this pie? I mean come on, it will change your life. Let's do this.
From my little kitchen to yours... Enjoy.
Peanut Butter & Chocolate Icebox Pie
{loosely} Adapted from Bon Appetit
Recipe Notes
You have got three options for what this pie will yield. You can have one 6 oz. pie and four mini pies (this is what I did), you can have one extra large pie or at least twelve mini pies. You can't go wrong, but just know you might use a few more peanuts or a little less chocolate so use the toppings to your taste. Graham cracker crusts both small and large are sold at most all grocery stored on the baking aisle. If you cannot find them or just cannot find anything else to do with your time besides making a graham cracker crust, grab a box of graham cracker crumbs and use the recipe on the back. But store bought works great for this recipe. You should definitely use a fresh vanilla bean for best results, but you can replace with two teaspoons of vanilla extract if you must.
Ingredients
Graham cracker crust (see recipe notes)
8 large egg yolks
12 Tbsp. sugar, divided
1 1/2 cups whole milk
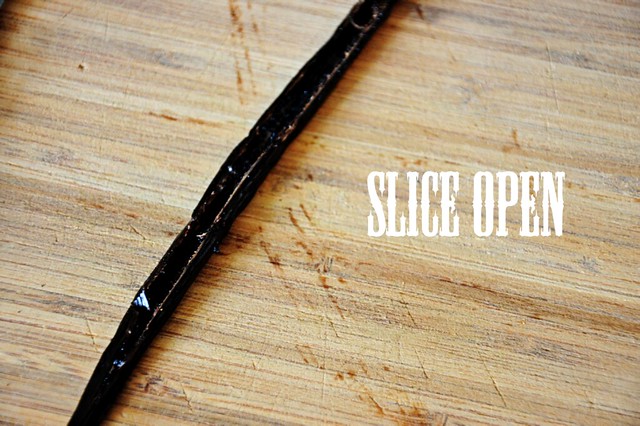
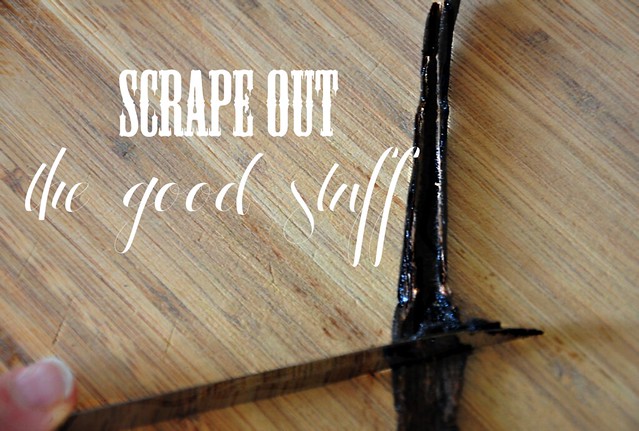
1 vanilla bean, split lengthwise (click here for details on using a vanilla bean)
3/4 cup (1 1/2 sticks) unsalted butter, room temperature
1 cup creamy peanut butter
2 Tbsp. powdered sugar
1/2 tsp. kosher or sea salt
For the Topping
2 oz. bittersweet chocolate (no more than 61% cacao), chopped
2 1/2 Tbsp. unsalted butter
1/2 cup roasted, salted peanuts
Step by Step
Mix yolks and 6 Tbsp. sugar in a medium size bowl using a handheld mixer. Beat at high speed until ribbons form, stopping once to scrape down side of bowl, about two minutes. Combine milk and remaining 6 Tbsp. sugar in a large saucepan; scrape in seeds from vanilla bean and add bean. Bring to a boil, stirring to dissolve sugar. Remove bean. With mixer running, gradually add hot milk mixture to yolk. Pour mixture back into saucepan. Clean bowl. Whisking constantly, bring to a boil over medium heat. Remove pan from heat; whisk vigorously for one minute. Return custard to mixing bowl; beat on high speed until cool, about 4 minutes. Mix in butter one Tbsp. at a time. Add peanut butter, powdered sugar, and salt; beat to blend. Scrape filling into graham cracker crust and smooth top. Chill until set, 2-3 hours.
While pie is cooling stir chocolate and butter in a medium size glass bowl set over a saucepan of simmering water until melted and smooth. Remove pie from refrigerator. Drizzle the chocolate over the top in a thick layer. Sprinkle with roasted peanuts and add more chocolate if desired.
Here are a few of my favorites about this dish:
1. I hate taking a dessert to someone when you haven't tasted it yourself and as far as I know, it is still socially unacceptable to deliver 9/10 of a pie to someone.
2. Mr. Hungry gets irritable when I bake and he doesn't get a good portion of the goods.
3. This pie in particular happens to the be the bees knees because both the mama crust and baby crusts came straight from the grocery.
Who's ready to jump on the bandwagon and make this pie? I mean come on, it will change your life. Let's do this.
From my little kitchen to yours... Enjoy.
Peanut Butter & Chocolate Icebox Pie
{loosely} Adapted from Bon Appetit
Recipe Notes
You have got three options for what this pie will yield. You can have one 6 oz. pie and four mini pies (this is what I did), you can have one extra large pie or at least twelve mini pies. You can't go wrong, but just know you might use a few more peanuts or a little less chocolate so use the toppings to your taste. Graham cracker crusts both small and large are sold at most all grocery stored on the baking aisle. If you cannot find them or just cannot find anything else to do with your time besides making a graham cracker crust, grab a box of graham cracker crumbs and use the recipe on the back. But store bought works great for this recipe. You should definitely use a fresh vanilla bean for best results, but you can replace with two teaspoons of vanilla extract if you must.
Ingredients
Graham cracker crust (see recipe notes)
8 large egg yolks
12 Tbsp. sugar, divided
1 1/2 cups whole milk
1 vanilla bean, split lengthwise (click here for details on using a vanilla bean)
3/4 cup (1 1/2 sticks) unsalted butter, room temperature
1 cup creamy peanut butter
2 Tbsp. powdered sugar
1/2 tsp. kosher or sea salt
For the Topping
2 oz. bittersweet chocolate (no more than 61% cacao), chopped
2 1/2 Tbsp. unsalted butter
1/2 cup roasted, salted peanuts
Step by Step
Mix yolks and 6 Tbsp. sugar in a medium size bowl using a handheld mixer. Beat at high speed until ribbons form, stopping once to scrape down side of bowl, about two minutes. Combine milk and remaining 6 Tbsp. sugar in a large saucepan; scrape in seeds from vanilla bean and add bean. Bring to a boil, stirring to dissolve sugar. Remove bean. With mixer running, gradually add hot milk mixture to yolk. Pour mixture back into saucepan. Clean bowl. Whisking constantly, bring to a boil over medium heat. Remove pan from heat; whisk vigorously for one minute. Return custard to mixing bowl; beat on high speed until cool, about 4 minutes. Mix in butter one Tbsp. at a time. Add peanut butter, powdered sugar, and salt; beat to blend. Scrape filling into graham cracker crust and smooth top. Chill until set, 2-3 hours.
While pie is cooling stir chocolate and butter in a medium size glass bowl set over a saucepan of simmering water until melted and smooth. Remove pie from refrigerator. Drizzle the chocolate over the top in a thick layer. Sprinkle with roasted peanuts and add more chocolate if desired.







 Posts
Posts

