
Showing posts with label seasonal cooking: winter. Show all posts
Showing posts with label seasonal cooking: winter. Show all posts
11.26.2012
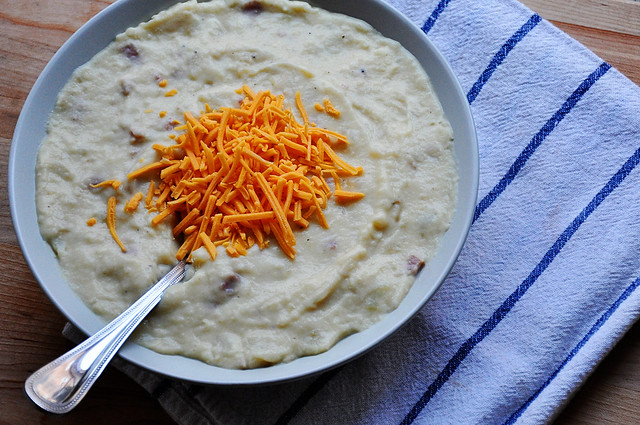
Ham & Cheddar Potato Soup


2.20.2012
How To: De-Seed a Pomegranates
I'm sorry... what? Excuse me? Did you just say it's the middle of February?
Please, stop. Just stop.
I didn't make it through my list of soups to make... oh great, it's already 70 degrees outside.
I went to San Francisco and haven't even told you about it yet. (one word for now... Tartine)
I didn't get a chance to get crafty for v day this year.
At least I'm trying to be proactive... I'm trying to wipe the cobwebs off this place.
Sure, it's only been a couple of weeks but there has been a lot I want to share. Time will come back one day... I can feel it.
For now, I must talk about pomegranates and I must do it quickly. These exotic puppies are already at the end of their season. They are getting noticeably smaller and a bit sad on the grocery aisles... not nearly as plump and cheap as they were during the height of the season in December and January, but alas, it is still not too late.
Grab a pom and let's get the seeds out of that sucker.
Throw them in Greek yogurt, toss them in a salad or eat spoonfuls all on their own. They are great.... and apparently super healthy... bonus points.
What you need...
a pomegranate
a sharp knife
plastic cutting board (or anything you don't mind staining red)
a medium sized bowl, filled halfway with water
Warning: Pomegranate juice will stain everything! Wood... clothes... white dish towels. Unless you want everything a tinge of pink, make sure you are careful with this guy. I like to use a plastic cutting board on top of my wooden board and I wouldn't be wearing my favorite white shirt... those seeds can spit.
Warning: Pomegranate juice will stain everything! Wood... clothes... white dish towels. Unless you want everything a tinge of pink, make sure you are careful with this guy. I like to use a plastic cutting board on top of my wooden board and I wouldn't be wearing my favorite white shirt... those seeds can spit.
Lay your pomegranate on a plastic surface (or something you do not care about staining).
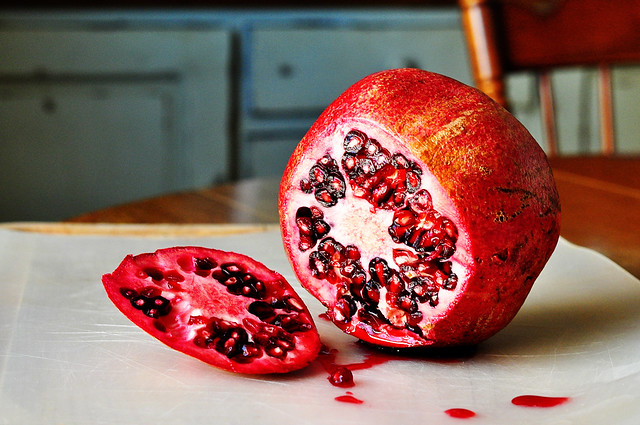
Slice off the top.
Slice off the top.

Oh, now we are talkin... what a piece of art.
Using a sharp knife, cut along the white stuff... also known as the membrane.
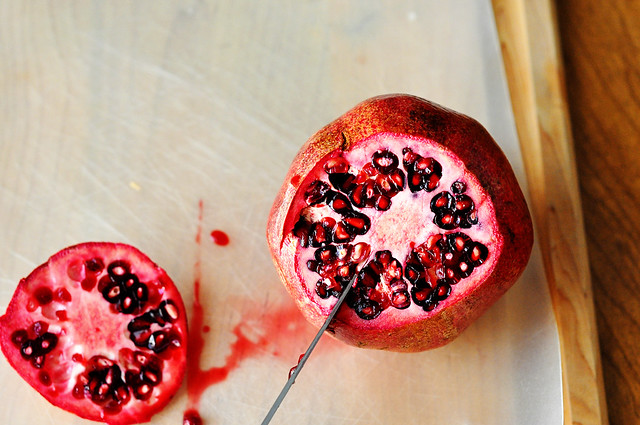
Gently break apart the segments of the pomegranate.
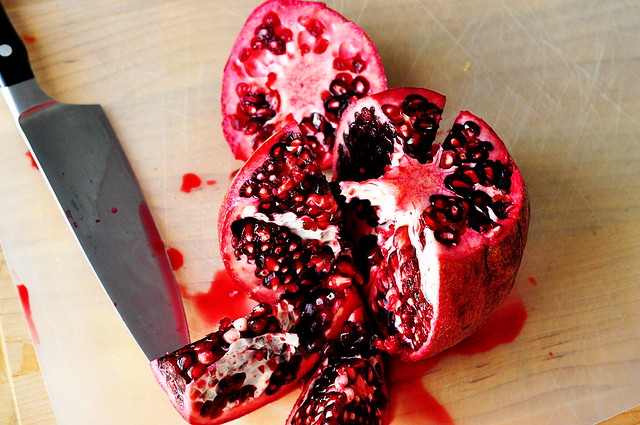
Place each segment over the bowl of water. Submerge the segment and loosen the seeds.

The seeds will sink to the bottom and the white stuff will float to the top.
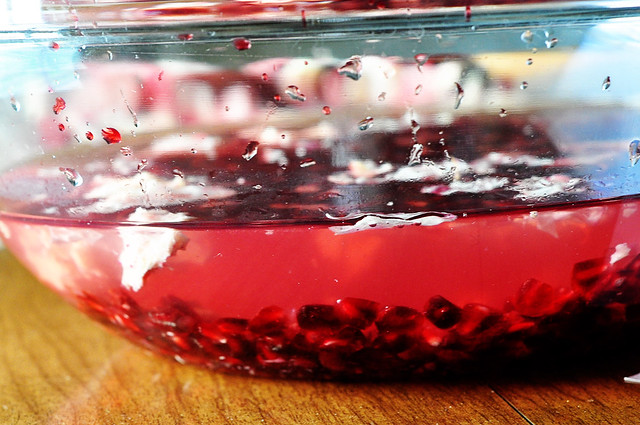
Skim the white parts off, drain the water...
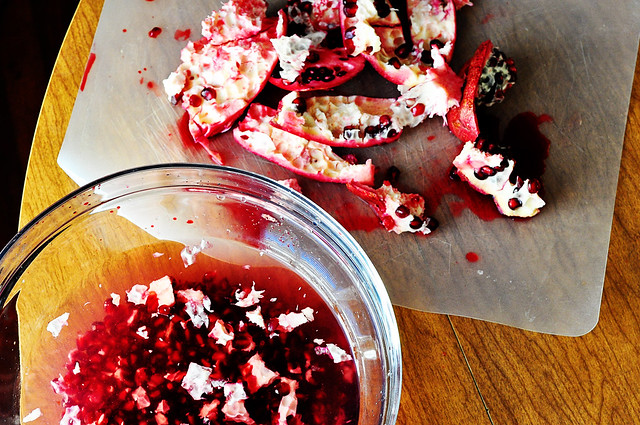
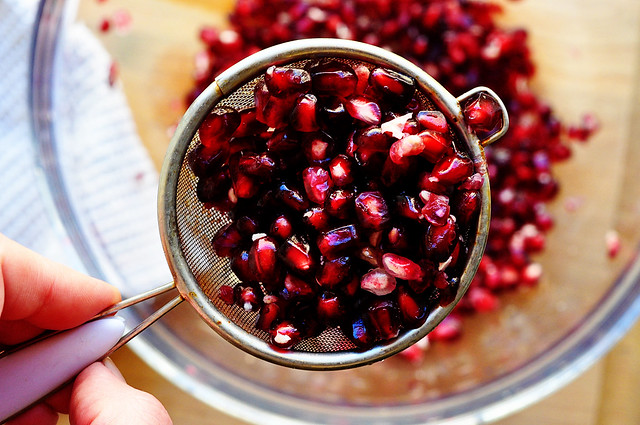
and there you have it... a bowl full of gems.
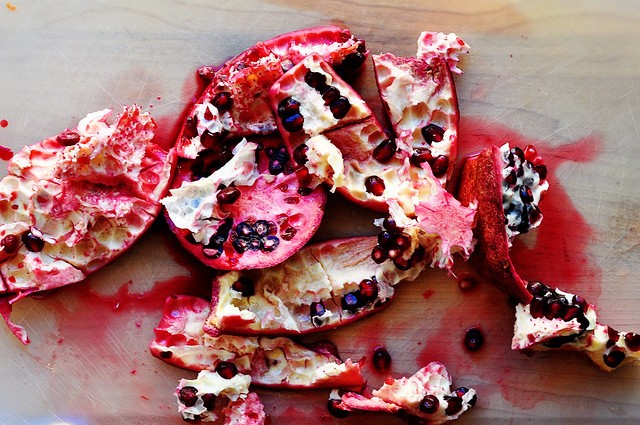
I had quite the plump pomegranate so I did not go after every seed. If you want to get every last one, continue to submerge each piece in your bowl of water a loosen the seeds.
11.28.2011
{Pull yourself together} Kale & Kiwi Smoothie
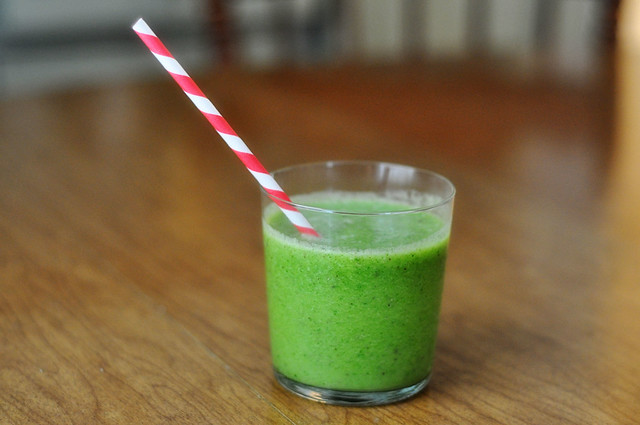
So here we are. The Monday after Thanksgiving and at the cusp of holiday treats, festive cocktails and party buffets. Yes, my friends, just as soon as the Thanksgiving day closes, it seems Christmas and all the calories that come with it begin immediately.
So let's be good for just one day.
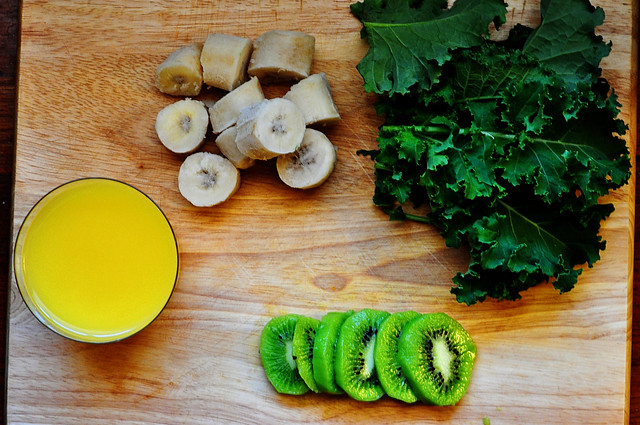
Please allow me to introduce... the kale and kiwi smoothie.
Now I have a feeling that most of you would blow right past this post when you saw kale in a smoothie, but something about that extra slice of pie you had on Thursday and that leftover pie you had on Friday and Saturday kept you reading.

Don't be scared. This is actually unbelievably delicious.
I would dare to say that if you found yourself on Top Chef and you were in one of those name the ingredient challenges, you would never guess kale. Besides the groovy color, nothing about this tastes like kale.
So let's be super healthy and sneak a super food into fruit smoothie. Let's feel light and airy and super skinny. Am I over promising here? Well maybe, but here is one more really exciting piece of info. You do not need a juicer! I love the idea of a juicer, I love the idea drinking fresh juices, but there is just no way my tiny kitchen can take one more honking appliance right now.
Did you know kale and spinach will puree up beautifully in a blender? Yay.
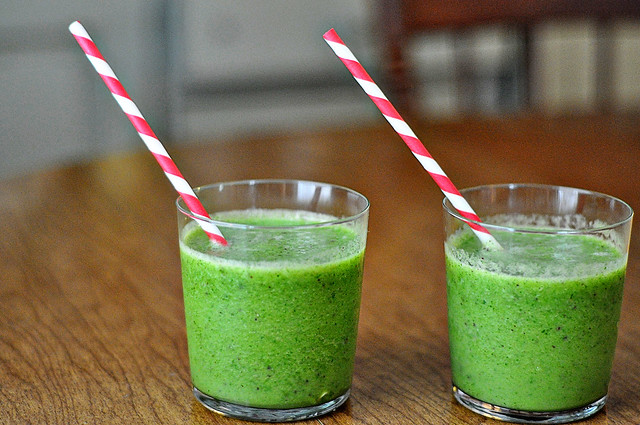
One for me and one for you... Cheers.
Kale & Kiwi Smoothie
Ingredients
1 frozen banana, chopped into 1-inch pieces
1/2 cup chopped kale, stems removed
1 kiwi, peeled and sliced
1 1/2 cups fresh squeezed orange juice
Step by Step
Combine all ingredients in a blender and puree until blended smooth. Pour into 12 ounce glasses and serve. Add a fancy straw and feel good about yourself.
Makes 2 glasses.
11.15.2011
Pumpkin Nutella Cupcakes
At the ripe age of 27, I have yet to take the main responsibility for Thanksgiving dinner. I have made a side dish or two, but the brunt of responsibility (and the turkey) have yet to come my way (and hoping I have quite a few years before that day comes).
If you are in charge, good luck.
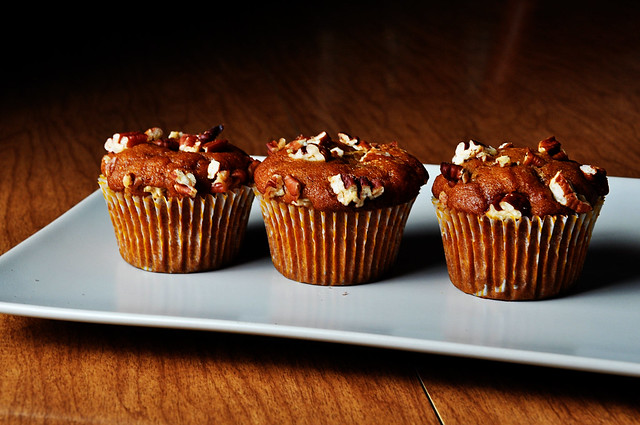
If you are not, turn yourself into a really good guest and make these muffins/ cupcakes.
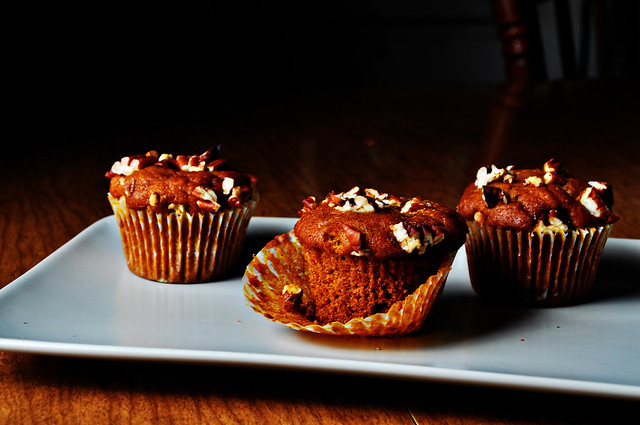
If this looks a little familiar, that is because without the pecan topping and a different pan, you just saw this a few weeks ago in the form of loaves.
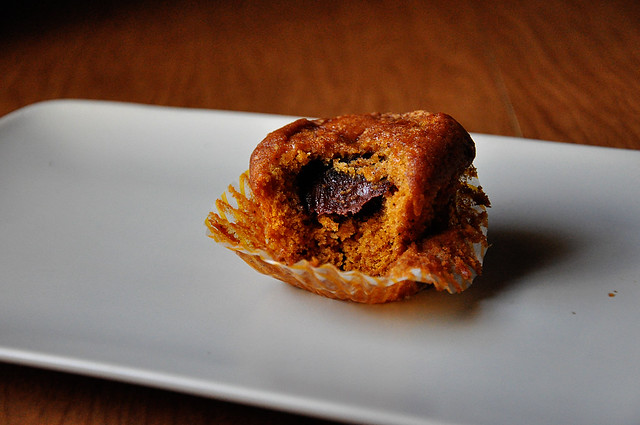
But some occasions just call for the oh so wonderful and portable cupcake... and the pecans just added the perfect crunch to this combo.
Oh heavens you could be such a star at your relative's house when you show up with a plate of these. Thanksgiving day is decadent... maybe share these for breakfast? Get the morning started right.
Pumpkin Nutella Cupcakes
Ingredients
1 cup granulated sugar
1 cup brown sugar
1 cup vegetable oil
3 large or extra large eggs
3 cups all-purpose flour
2 teaspoons baking soda
1 teaspoon ground cinnamon
1 teaspoon ground nutmeg
1/2 teaspoon salt
1/4 teaspoon ground cloves
1 package instant vanilla pudding mix
1 can (15 ounces) canned pumpkin (not pumpkin pie filling)
Cooking Spray
24 teaspoons of Nutella
1 to 2 cups chopped pecans
Cupcake liners
Step by Step
In a large bowl, combine sugar and oil until blended. Add eggs, one at a time, beating well after each addition. In a separate bowl, combine flour, baking soda, cinnamon, nutmeg, salt, cloves and pudding mix; add to egg mixture alternately with pumpkin, beating well after each addition.
Preheat oven to 350 degrees F. Line two 12-cup cupcake pans with cupcake liners. Fill each cup 1/3 full with the pumpkin batter. Place 1 teaspoon of Nutella in the middle of each cup on top of the pumpkin batter. Using a toothpick, swirl each dollop of Nutella slightly into the batter. Top each cup with more batter until they are filled 3/4 full. Top each cupcake with pecans completely covering the batter. Pack the pecans in tight because they will spread out once the batter rises a bit. Bake each pan for 25 minutes. Cool for 20 minutes and then remove from pan and cool completely.
Store in an airtight container for up to five days.
3.29.2011
Lemon Pistachio Tartlets + a confession + some news
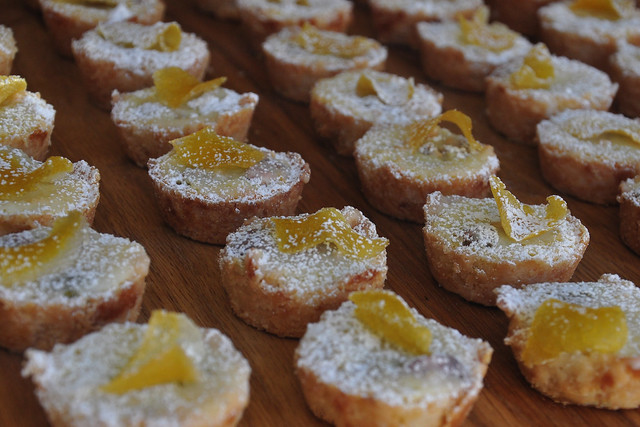
Have you heard of Food52? I have and I have been secretly holding out on you because I want to to win and I would like to keep the entries to a minimum. Okay, so I realized this was unfair of me and if you haven't, you should check it out.
It is a website that requests a certain type of recipe each week for a contest {for example: give us your best late winter tart recipe} and you have one week to turn in a recipe. If you win, you are published in a cookbook that they publish once a year... get it? 52 recipes for 52 weeks= food 52. Anyway, they upped the ante big time a couple of weeks ago and when they asked for late winter tarts, they announced that if you won, you would be flown to New York to be on the Martha Stewart Show to make your tart to help celebrate her new pie and tart cookbook.
I was beside myself. Being on the Martha Stewart show is on my bucket list and although I'm at the ripe old age of 26, you can never check things off too soon. Anyway, I went to work on lots of versions of this original recipe and came up with my lemon pistachio tartlets. By the time I finally turned it in, I really didn't have much hope of actually winning. There seem to be true professionals on this site who have been entering for years and I was up against 265 other tarts.
No I did not win, but...
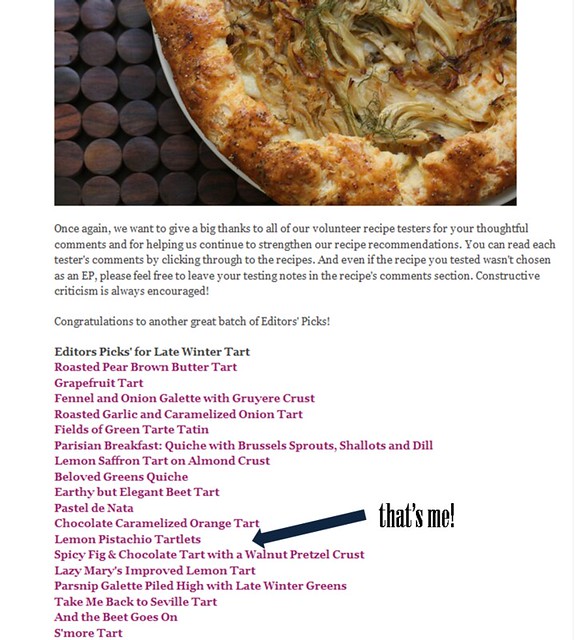
So when I found out I wasn't chosen as one of the top two to be voted on, I wasn't that surprised, but I had high hopes of being a part of the honorable mentions... aka editor's picks. Food52 puts out a few of their picks of all the entries and asks members of the community to test them out. Those that are given great reviews are picked as Editor's Picks.
So I am happy to say that I did get picked as an Editor's Pick! It was exciting for me and especially because I am still venturing into the world of making recipes my own.
So all that to say, I just wanted to share a little foodie triumph and share this recipe that would be pretty darn perfect for brunch or shower. I love easy, mini pick up food, which is why I insisted on these being mini and they turned out to be quite addictive too.
Just in case you want to check out other editor's picks, click here for a link to the blog post...
Now for the tartlets...
Lemon Pistachio Tartlets
Recipe Note: If you would rather not mess with candied lemon peels, you can leave that garnish off, but I do like the extra layer of lemon myself.
Makes 48 tartlets For the crust and candied lemon peels:
- FOR THE CANDIED LEMON PEELS
- 3 large lemons (look for ones with thick skin)
- 3 cups sugar
- FOR THE CRUST
- 3/4 cups unsalted butter
- 1/4 cup sugar
- 1 tablespoon powdered sugar
- 2 cups all purpose flour
- 2 teaspoons fresh lemon zest
- 1 teaspoon almond extract
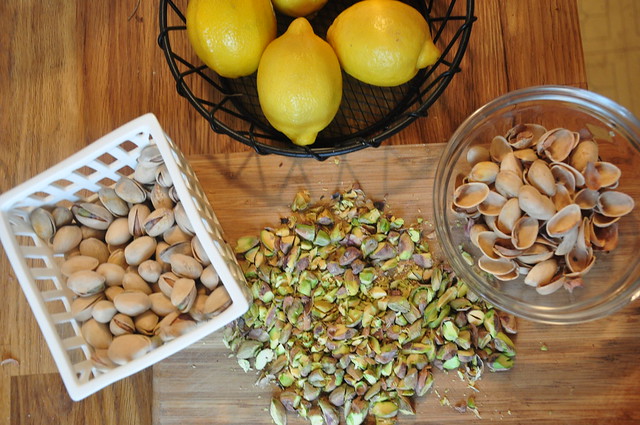
- 144 whole roasted and salted pistachios, shelled (about 2 cups unshelled)
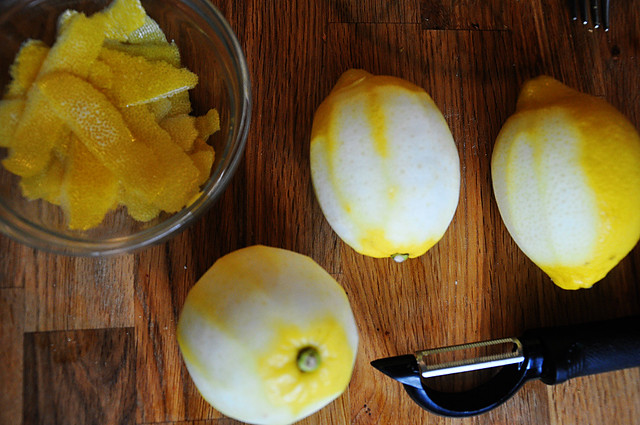
- Preheat oven to 325 degrees. Using a vegetable peeler, peel off pieces of the skin from top to bottom into long ribbons. Place peels in a saucepan and cover with water. Bring water to a boil and simmer for one minute. Drain water and repeat one more time. Dissolve 3 cups of sugar into 2 cups of cold water. Bring water to a boil and add lemons. Turn heat to low and let simmer for one hour.
- Meanwhile, melt butter in medium sized saucepan over low heat. Remove from heat and add sugars, zest and almond extract. Stir to combine. Add flour and stir with a wooden spoon until combined and crumbly. Let crust rest for 15 minutes.
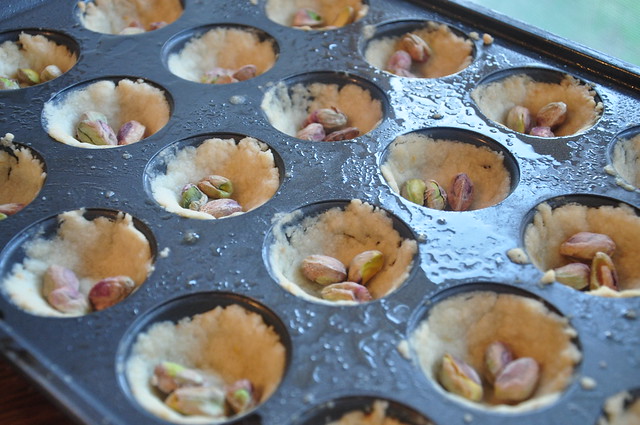
- Spray two mini muffin tins with a good coat of nonstick cooking spray. After crust has rested for 15 minutes, spoon a heaping teaspoon of crumbly dough into each cup. The goal is to get the entire cup covered with the least amount of dough. Technique: Using your thumbs, press dough into the bottom of the pan. Then, use your thumbs to spread the dough up the sides until whole cup is covered evenly. Bake crusts for 8 minutes. Allow to cool and drop 3 pistachios into each cup.
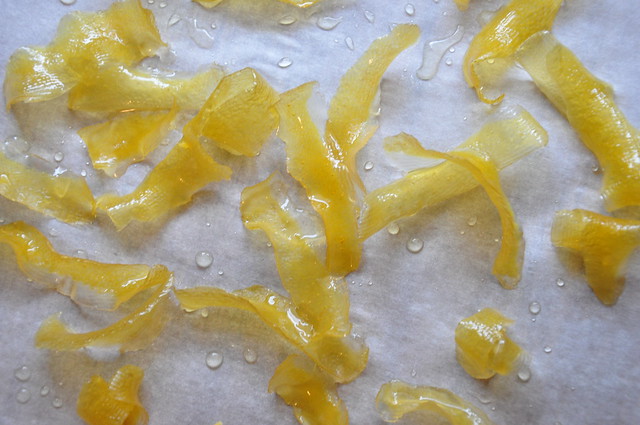
- After lemon peels have simmered for an hour, remove from liquid and allow to cool. Cut peels into 1 inch chunks. Lemon peels will not dry out completely, but can be stored in an airtight container for up to two weeks.
- FOR THE FILLING
- 1 1/2 cup sugar
- 3 tablespoons all purpose flour
- 3/4 teaspoons baking powder
- 3/4 teaspoons salt
- 3 XL eggs, room temperature, beaten
- 2 teaspoons grated lemon zest
- 3 tablespoons fresh lemon juice
- FOR THE GLAZE
- 1/2 cup powdered sugar, sifted
- 1 tablespoon fresh lemon juice
- 1 tablespoon butter, melted
- FOR FINAL TOUCHES
- 1/4 cup powdered sugar
- Prepare filling while crusts are baking and lemon peels are simmering. In a medium sized bowl, stir together sugar, flour, baking powder and salt. Add eggs, zest and juice and stir to combine. Using a tablespoon, fill each crust cup with lemon filling. Fill to the top of the crust line, but do not go over. (if filling floods out over crust, it will be more difficult to remove from pan). Bake for 15 minutes. Remove from oven and cool in pan.
- Meanwhile, prepare glaze. Combine powdered sugar, lemon juice and butter in a small bowl. Using a pastry brush or small spoon, paint the top of each cooled tartlet with the glaze and place a sliver of candied lemon on top of each. Slide a small, sharp pairing knife in between the crust and pan until each tartlet pops out. When ready to serve, dust heavily with powdered sugar.
- Can be stored in an airtight container up to one week.
3.25.2011
baked sweet potato fries
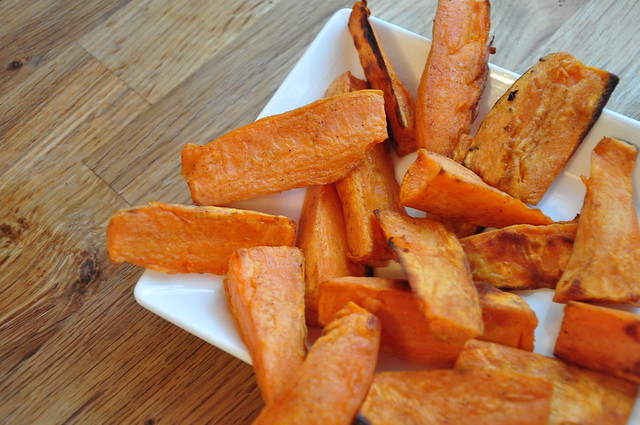
I'm on such a roll. Looks like I might have made this whole resolution thing a little too easy on myself. Which I know it was downright silly that I had never used sweet potatoes in the kitchen, but I'm hooked. I had one bad experience trying to bake them and they just turned out half burned, half uncooked with not much flavor. After looking at lots of recipes, I came up with this combo and it's been working really well.
I have to make another plug for even those who think they do not like sweet potatoes. Another reason I have not had these in my kitchen is because Mr. Hungry claims he does not like sweet potatoes. What do you know, even he likes these sweet potato fries. So if you have stayed away from sweet things, maybe give this one a try.
{sidenote: This is one of those recipes that I researched and copy and pasted from the internet and printed out. Somewhere along the way, I have lost the source so if you recognize it, let me know and I will be happy to give credit!}
From my little kitchen to yours... Enjoy.
Baked Sweet Potato Fries
Recipe Note
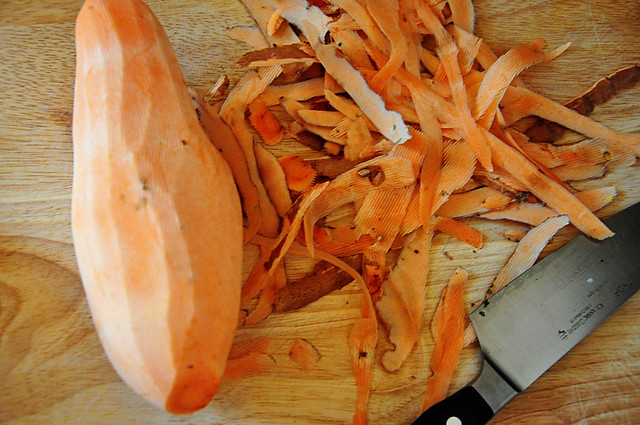
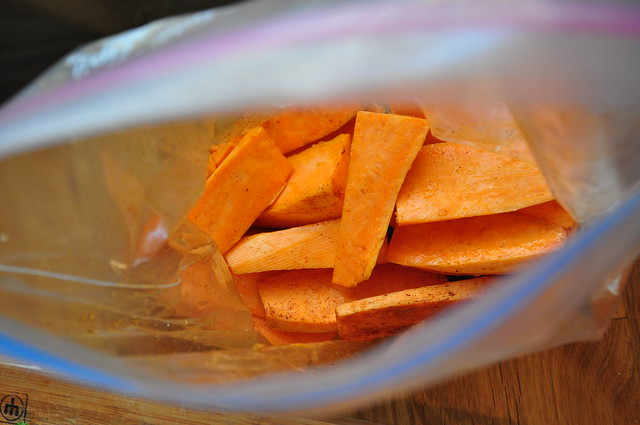
In these pictures, the fries are pretty wide. I have made them several time now and actually get better results when they look more like traditional french fries, 1/2 inch wide on all sides.
Ingredients
1 lb sweet potatoes
1/4 cup olive oil
1/2 teaspoon paprika
1/2 teaspoon kosher salt
1/4 teaspoon cinnamon
Step by Step
Preheat oven to 425 degrees. Line a baking sheet with aluminum foil.
Peel sweet potato with a vegetable peeler. Using a sharp knife, cut sweet potato into long strips, about 1/2 inch on each side. Try to make the pieces as even as possible so they will cook for the same amount of time. Place sweet potato strips in a sealable plastic bag. Add olive oil, paprika, salt and cinnamon. Toss to coat evenly.
Spread the potatoes in a single layer on the baking sheet. Bake for 30 minutes until just browned, turning every 10 minutes to prevent burning. Transfer to a paper towel lined plate and serve warm.
12.10.2010
Gingerbread Cupcakes with Cinnamon Cream Cheese Frosting
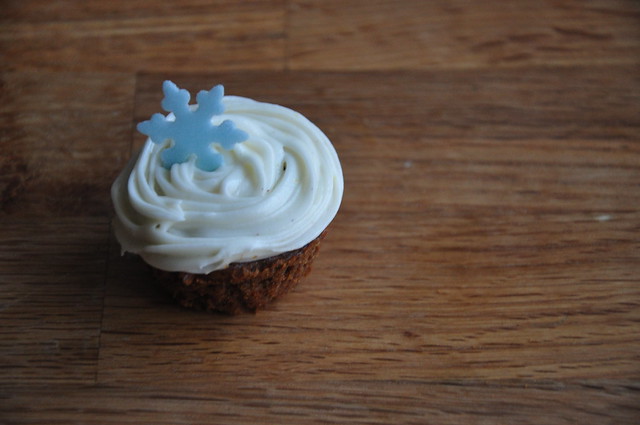
It's that time of year where you are bound to go to a Christmas party, cookie exchange, or be hosting a few friends. These little cupcakes are a sweet treat. I made a mini version, but if you don't own mini cupcake pans, I'm sure the regular size will be tasty too. The best part... the bottom is a cake mix, but the icing is sweet and creamy with a hint of cinnamon and orange. So since everyone is busy in the holiday spirit, I'll keep it short.
From my little kitchen to yours... Enjoy.
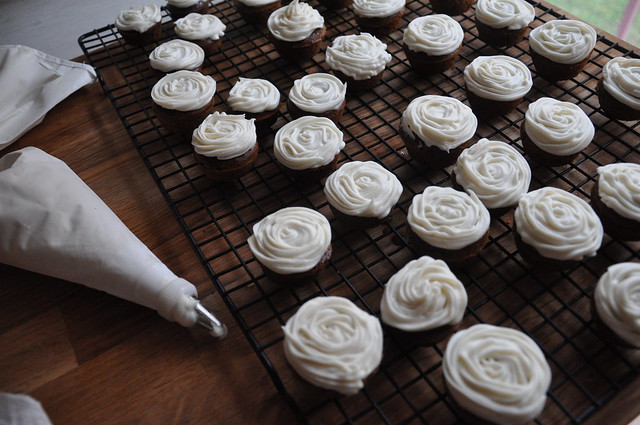
Gingerbread Cupcakes with Cinnamon Cream Cheese Frosting
Recipe Notes
Depending on the size of the cupcake, the baking time will vary. Once the tops seem done, stick a toothpick in one and take them out when it comes out clean. Start to check as soon as they start to not look done so you don't overcook them. FYI, if you happen to shop at HEB grocery store, I have not been able to find the Betty Crocker Gingerbread Cake Mix there, but did have luck at Kroger.
Ingredients
Betty Crocker Gingerbread Cake Mix (check back of box for other ingredients)
1 cup (2 sticks) butter, softened
2 packages (8 oz) cream cheese, softened
8 cups (about 2 lbs) powdered sugar
1 tablespoon milk
1 tablespoon orange juice
1 teaspoon orange zest
1 teaspoon cinnamon
1/2 teaspoon vanilla
Step by Step
Bake cupcakes according to instructions on the back of the box. In a large bowl, cream the butter and cream cheese together until soft a fluffy. Add the powdered sugar one cup at a time and mix well. Mix in the milk, orange juice, zest, cinnamon and vanilla. Pipe or spread on the cupcakes. Store in an airtight container for up to 2 days.
Subscribe to:
Posts (Atom)


 Posts
Posts

