It's hot as blazes around here. Until further notice, my oven is closed.
Who's with me? If you're not with me, it means you live in one of those places with perfect summer weather and I would rather not hear from you right now.
But if you are in my boat... the temps are above 95 or the humidity hits you in the face like a wool blanket when you walk outside...then get ready.
This heat has even changed my taste buds. I've never been one for cold soups. Just no appeal really. I liked em hot and savory, but since this i-must-eat-only-cold-things hit, it sounded like a pretty good idea to have something both cold and savory.
Not to mention the fact that tomatoes are out of this world right now. It's amazing how good foods taste when they are actually in season.
There is a little bit of prep work here, but no heat so that's a plus. Have any favorite chilled or frozen recipes you'd like to share? Email me, please. Let's band together against this heat, shall we?
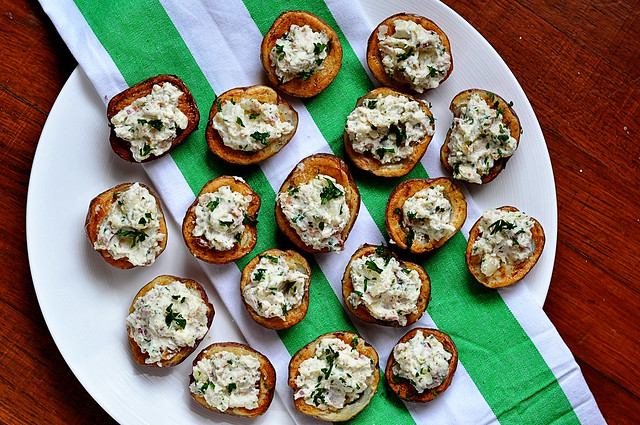
From my little kitchen to yours... Enjoy.
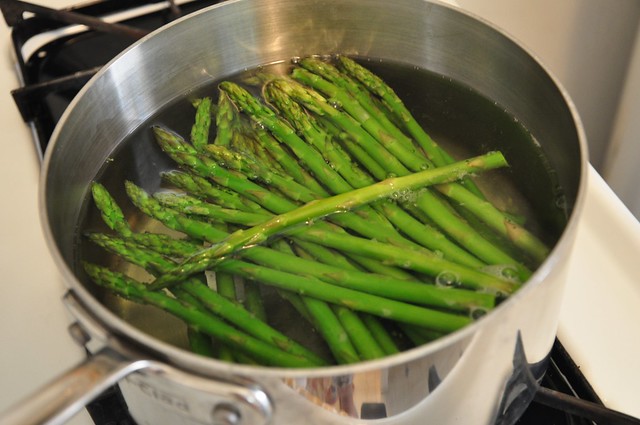
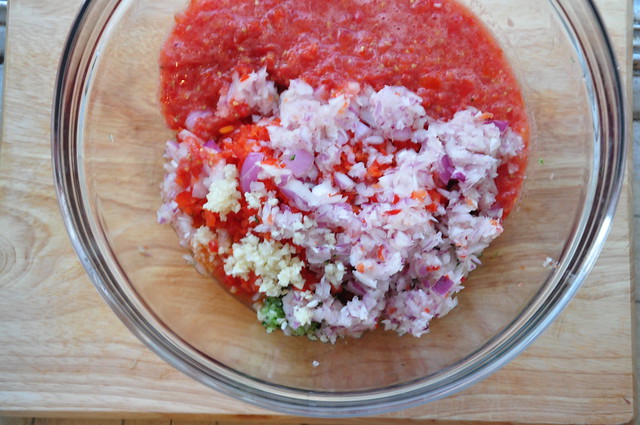
Here are a few pics from the process...
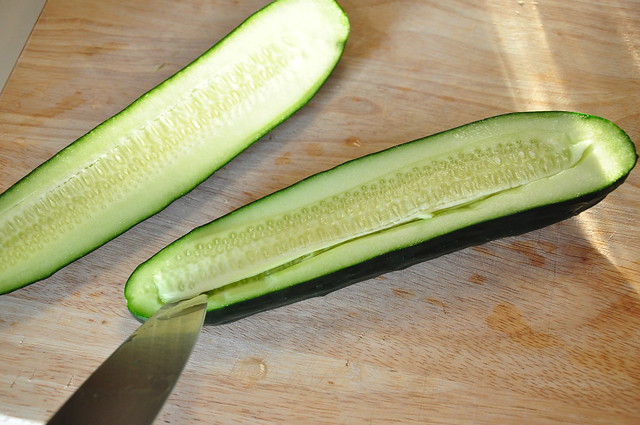
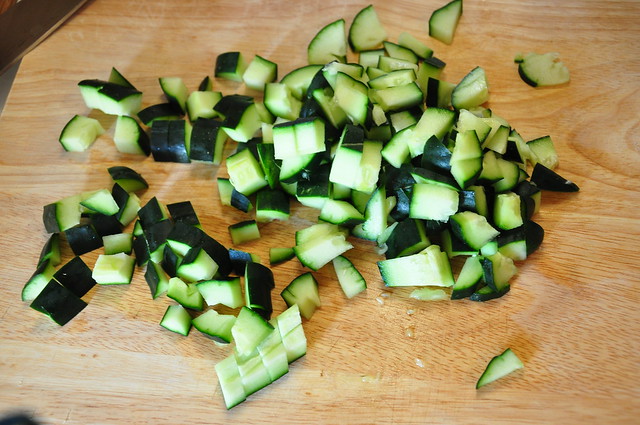
The way I like to go about getting the seeds out of a cucumber. Slice in half and then slice diagonally on both sides to remove the strip of seeds.
but as the saying goes, there's more than one way to skin a cat.

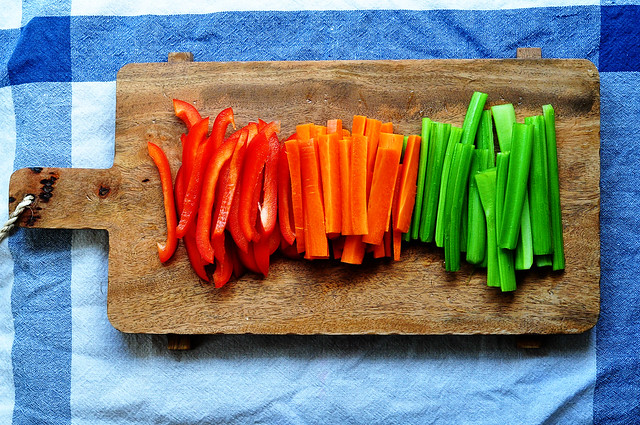
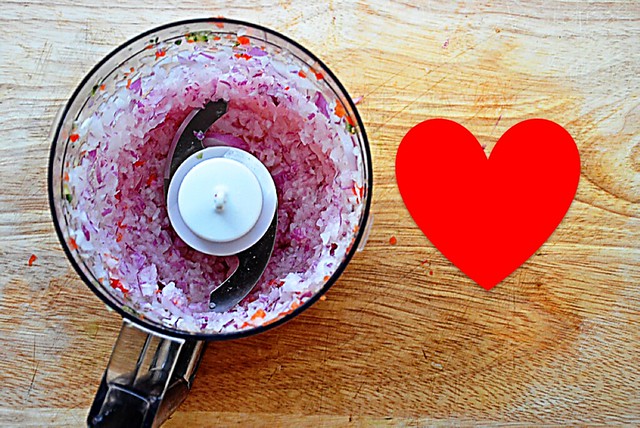
This is a good size chunk to aim for with all your veggies...
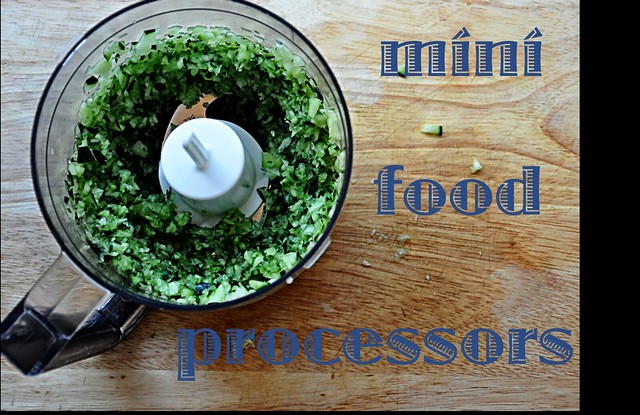
This thing is a work horse...
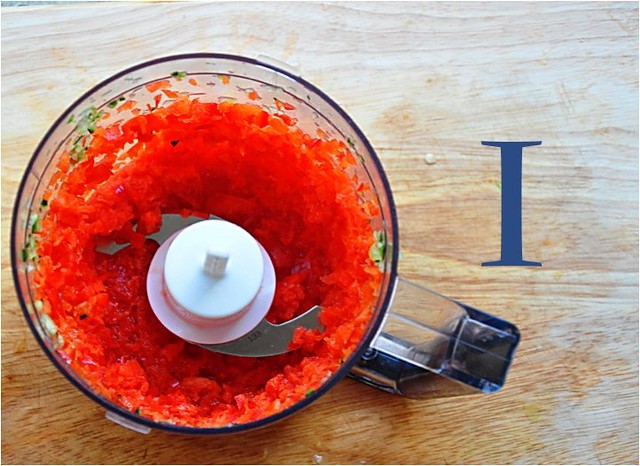
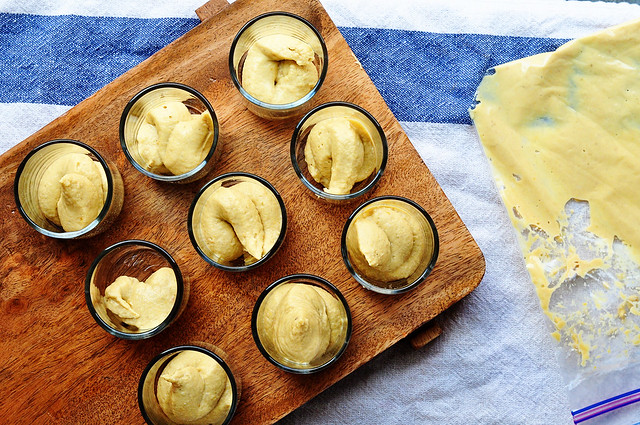
Finally got all those veggies processed. As you can see, I still had some chunks, which is why I chose the hand blender to help me out at the end.
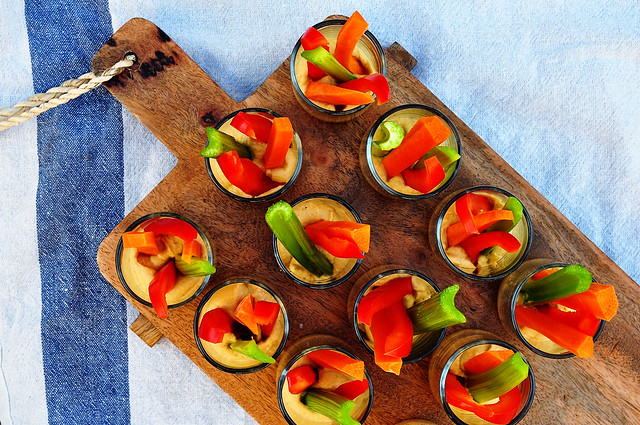
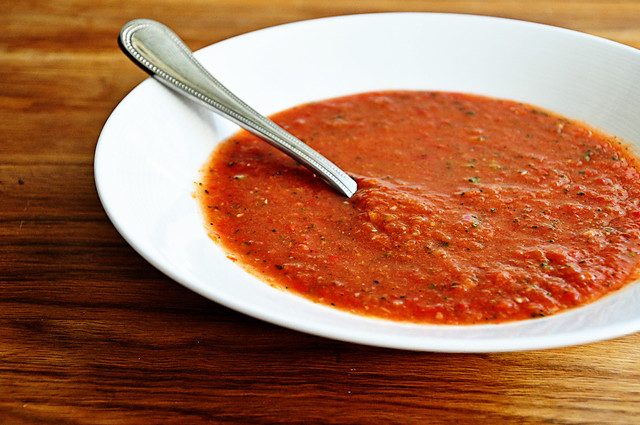
Tomato Gazpacho
Adapted from Ina Garten
Recipe Notes
I prefaced that this was slightly chunky because if you like gazpacho and you like it extremely smooth and creamy, that is not what you are going to get from this recipe, but I love the texture.
Ingredients
1 cucumber, halved and seeded, but not peeled
1 red bell pepper, cored and seeded
4 plum medium sized vine ripened tomatoes
1 small red onion
3 garlic cloves, minced
3 cups tomato juice (23 ounces)
1/4 cup white wine vinegar
1/4 cup olive oil
1/2 tablespoon kosher or sea salt
1 teaspoons freshly ground black pepper
Special Equipment
Small food processor
Optional Equipment
Hand blender
Step by Step
Roughly chop the cucumbers, bell peppers, tomatoes, and red onions into small 1 inch chunks. Put each vegetable separately into a small food processor fitted with a steel blade and pulse until it is coarsely chopped. Leave slightly chunky; do not completely liquefy.
After each vegetable is processed, combine them in a large bowl and add the garlic, tomato juice, vinegar, olive oil, salt, and pepper. Mix well and chill before serving. Optional: If you would like a little more creaminess with small chunks, you can use a hand blender at the end to get the consistency that you like.
The longer gazpacho sits, the more the flavors develop.
Keep covered in the refrigerator for up to 3 days.
Serves 4-6.