3.29.2011

Lemon Pistachio Tartlets + a confession + some news

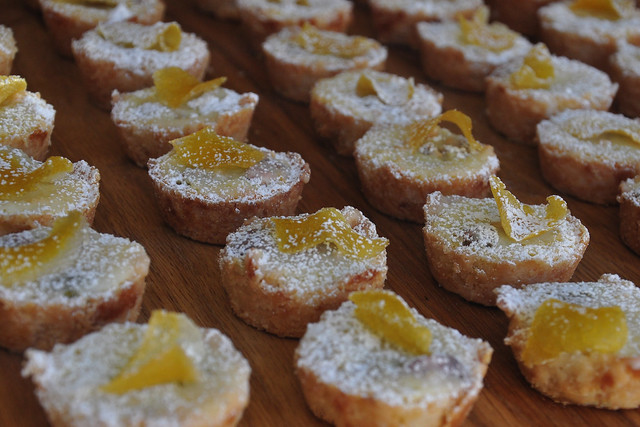
tartlet pic
First the confession...
Have you heard of Food52?  I have and I have been secretly holding out on you because I want to to win and I would like to keep the entries to a minimum.  Okay, so I realized this was unfair of me and if you haven't, you should check it out.

It is a website that requests a certain type of recipe each week for a contest {for example: give us your best late winter tart recipe} and you have one week to turn in a recipe.  If you win, you are published in a cookbook that they publish once a year... get it? 52 recipes for 52 weeks= food 52.  Anyway, they upped the ante big time a couple of weeks ago and when they asked for late winter tarts, they announced that if you won, you would be flown to New York to be on the Martha Stewart Show to make your tart to help celebrate her new pie and tart cookbook.

I was beside myself. Being on the Martha Stewart show is on my bucket list and although I'm at the ripe old age of 26, you can never check things off too soon.  Anyway, I went to work on lots of versions of this original recipe and came up with my lemon pistachio tartlets.  By the time I finally turned it in, I really didn't have much hope of actually winning.  There seem to be true professionals on this site who have been entering for years and I was up against 265 other tarts.

No I did not win, but...
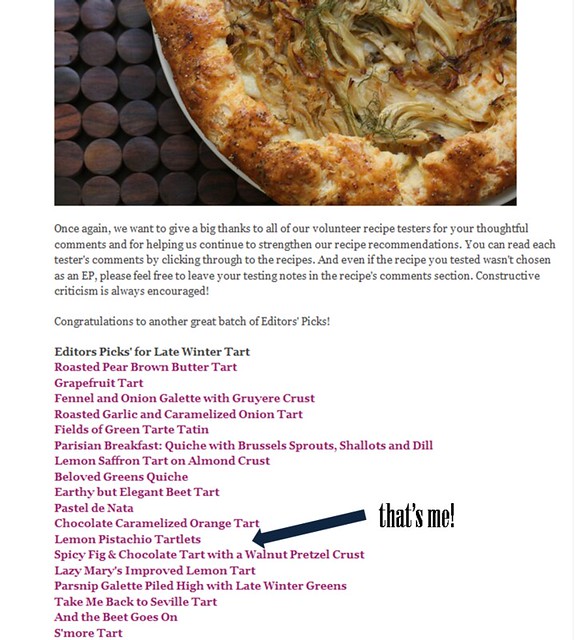
So when I found out I wasn't chosen as one of the top two to be voted on, I wasn't that surprised, but I had high hopes of being a part of the honorable mentions... aka editor's picks.  Food52 puts out a few of their picks of all the entries and asks members of the community to test them out.  Those that are given great reviews are picked as Editor's Picks.

So I am happy to say that I did get picked as an Editor's Pick! It was exciting for me and especially because I am still venturing into the world of making recipes my own.
tart pic

So all that to say, I just wanted to share a little foodie triumph and share this recipe that would be pretty darn perfect for brunch or shower.  I love easy, mini pick up food, which is why I insisted on these being mini and they turned out to be quite addictive too.

Just in case you want to check out other editor's picks, click here for a link to the blog post... 


Now for the tartlets...
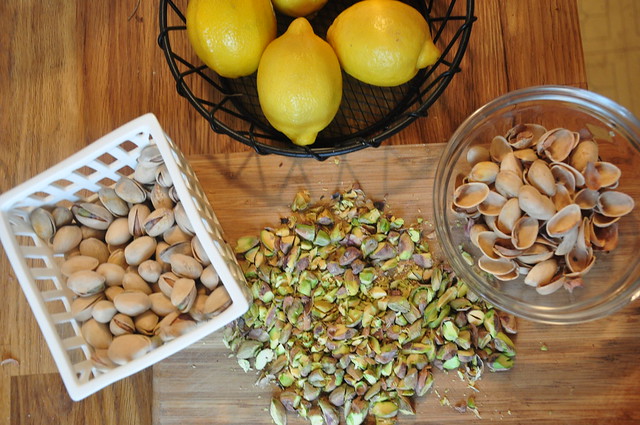
lemon pistachio 2

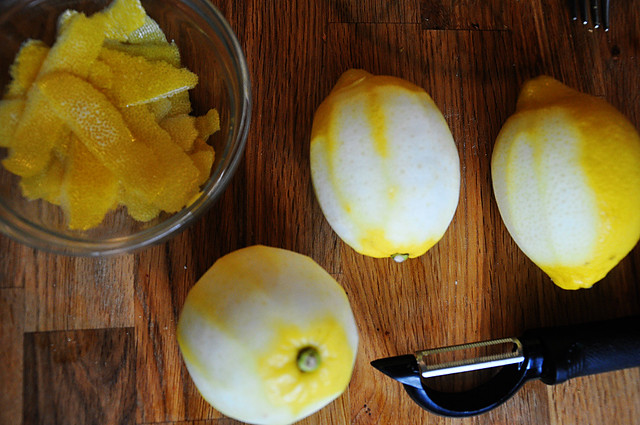
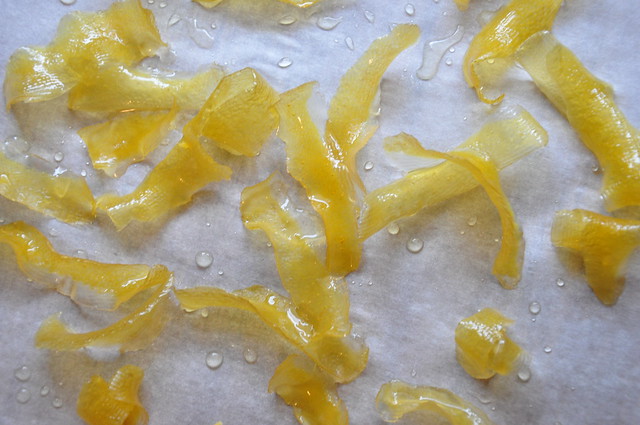
peeled lemons


candied peels

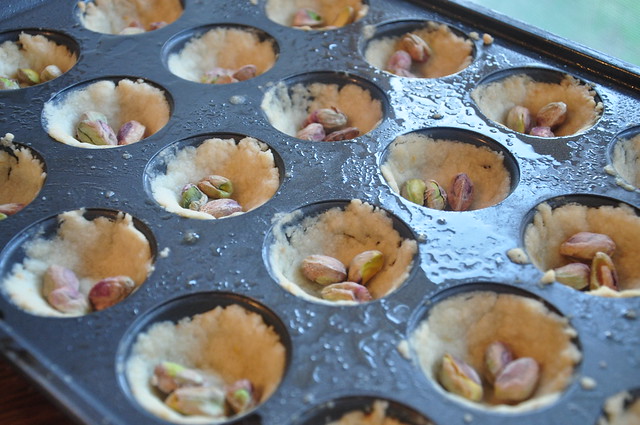
crusts


Lemon Pistachio Tartlets
Recipe Note: If you would rather not mess with candied lemon peels, you can leave that garnish off, but I do like the extra layer of lemon myself. 
Makes 48 tartlets
For the crust and candied lemon peels:
  • FOR THE CANDIED LEMON PEELS
  • 3 large lemons (look for ones with thick skin)
  • 3 cups sugar
  • FOR THE CRUST
  • 3/4 cups unsalted butter
  • 1/4 cup sugar
  • 1 tablespoon powdered sugar
  • 2 cups all purpose flour
  • 2 teaspoons fresh lemon zest
  • 1 teaspoon almond extract
  • 144 whole roasted and salted pistachios, shelled (about 2 cups unshelled)
  1. Preheat oven to 325 degrees. Using a vegetable peeler, peel off pieces of the skin from top to bottom into long ribbons. Place peels in a saucepan and cover with water. Bring water to a boil and simmer for one minute. Drain water and repeat one more time. Dissolve 3 cups of sugar into 2 cups of cold water. Bring water to a boil and add lemons. Turn heat to low and let simmer for one hour.
  2. Meanwhile, melt butter in medium sized saucepan over low heat. Remove from heat and add sugars, zest and almond extract. Stir to combine. Add flour and stir with a wooden spoon until combined and crumbly. Let crust rest for 15 minutes.
  3. Spray two mini muffin tins with a good coat of nonstick cooking spray. After crust has rested for 15 minutes, spoon a heaping teaspoon of crumbly dough into each cup. The goal is to get the entire cup covered with the least amount of dough. Technique: Using your thumbs, press dough into the bottom of the pan. Then, use your thumbs to spread the dough up the sides until whole cup is covered evenly. Bake crusts for 8 minutes. Allow to cool and drop 3 pistachios into each cup.
  4. After lemon peels have simmered for an hour, remove from liquid and allow to cool. Cut peels into 1 inch chunks. Lemon peels will not dry out completely, but can be stored in an airtight container for up to two weeks.
For the filling, glaze and finishing touches:
  • FOR THE FILLING
  • 1 1/2 cup sugar
  • 3 tablespoons all purpose flour
  • 3/4 teaspoons baking powder
  • 3/4 teaspoons salt
  • 3 XL eggs, room temperature, beaten
  • 2 teaspoons grated lemon zest
  • 3 tablespoons fresh lemon juice
  • FOR THE GLAZE
  • 1/2 cup powdered sugar, sifted
  • 1 tablespoon fresh lemon juice
  • 1 tablespoon butter, melted
  • FOR FINAL TOUCHES
  • 1/4 cup powdered sugar
  1. Prepare filling while crusts are baking and lemon peels are simmering. In a medium sized bowl, stir together sugar, flour, baking powder and salt. Add eggs, zest and juice and stir to combine. Using a tablespoon, fill each crust cup with lemon filling. Fill to the top of the crust line, but do not go over. (if filling floods out over crust, it will be more difficult to remove from pan). Bake for 15 minutes. Remove from oven and cool in pan.
  2. Meanwhile, prepare glaze. Combine powdered sugar, lemon juice and butter in a small bowl. Using a pastry brush or small spoon, paint the top of each cooled tartlet with the glaze and place a sliver of candied lemon on top of each. Slide a small, sharp pairing knife in between the crust and pan until each tartlet pops out. When ready to serve, dust heavily with powdered sugar.
  3. Can be stored in an airtight container up to one week.

3.25.2011

baked sweet potato fries

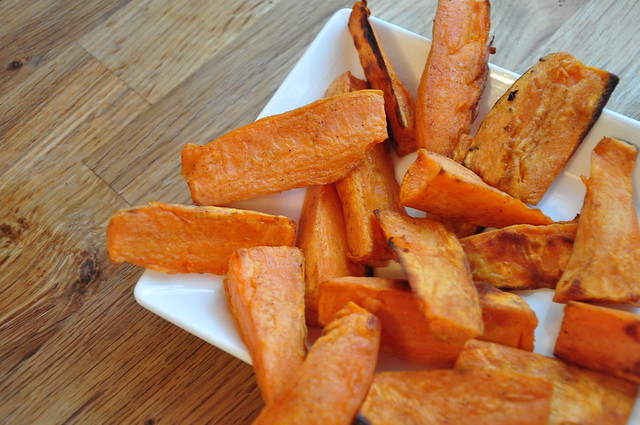
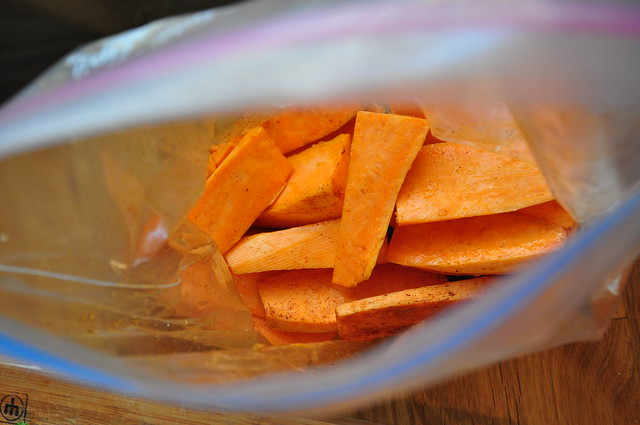
sweet potato fries

I'm on such a roll.  Looks like I might have made this whole resolution thing a little too easy on myself.  Which I know it was downright silly that I had never used sweet potatoes in the kitchen, but I'm hooked.  I had one bad experience trying to bake them and they just turned out half burned, half uncooked with not much flavor.  After looking at lots of recipes, I came up with this combo and it's been working really well.

I have to make another plug for even those who think they do not like sweet potatoes.  Another reason I have not had these in my kitchen is because Mr. Hungry claims he does not like sweet potatoes.  What do you know, even he likes these sweet potato fries.  So if you have stayed away from sweet things, maybe give this one a try.

{sidenote: This is one of those recipes that I researched and copy and pasted from the internet and printed out.  Somewhere along the way, I have lost the source so if you recognize it, let me know and I will be happy to give credit!}

From my little kitchen to yours... Enjoy.
sweet potato fries


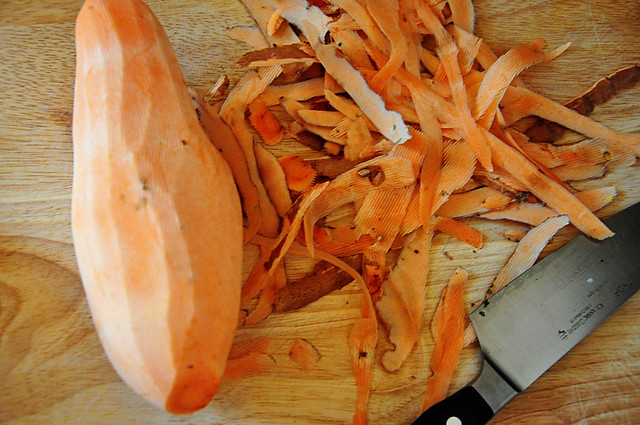
spf 2

Baked Sweet Potato Fries
Recipe Note
In these pictures, the fries are pretty wide.  I have made them several time now and actually get better results when they look more like traditional french fries, 1/2 inch wide on all sides.
Ingredients
1 lb sweet potatoes
1/4 cup olive oil
1/2 teaspoon paprika
1/2 teaspoon kosher salt
1/4 teaspoon cinnamon
Step by Step
Preheat oven to 425 degrees. Line a baking sheet with aluminum foil.

Peel sweet potato with a vegetable peeler.  Using a sharp knife, cut sweet potato into long strips, about 1/2 inch on each side.  Try to make the pieces as even as possible so they will cook for the same amount of time.  Place sweet potato strips in a sealable plastic bag.  Add olive oil, paprika, salt and cinnamon.  Toss to coat evenly.

Spread the potatoes in a single layer on the baking sheet.  Bake for 30 minutes until just browned, turning every 10 minutes to prevent burning. Transfer to a paper towel lined plate and serve warm.

3.23.2011

Panko Crusted Salmon

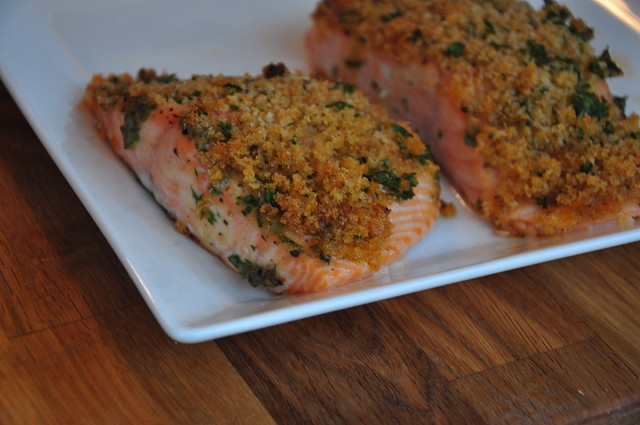
salmon


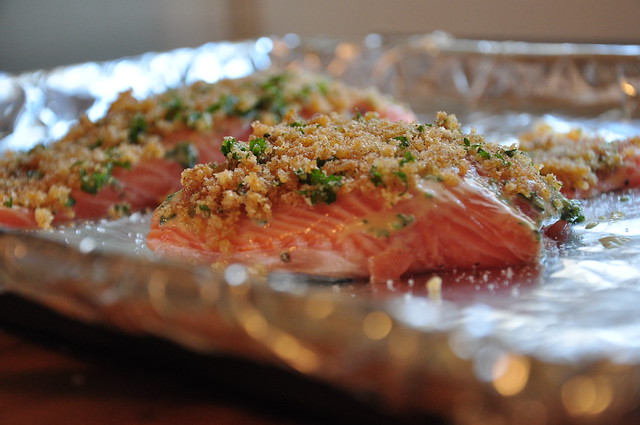
This is not a new dish to my kitchen, but I finally was able to take a picture of what has become my favorite salmon recipe.  My favorite part is that is feels a bit fancy, but could not be easier to make. Panko breadcrumbs have such a great crunch and the herbs give it such fresh flavor.  Panko is a Japanese bread crumb that stays crunchy when regular bread crumbs can become soggy and gives you a good crunch without frying. This is such a great quick one.  

Thanks to my friend Mary for passing this one on!

From my little kitchen to yours... enjoy.
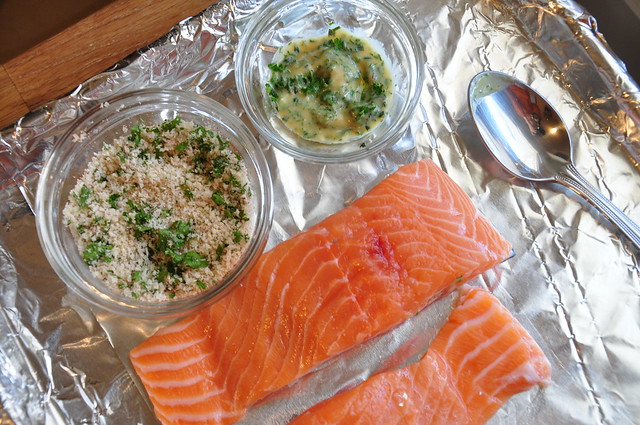
salmon 1

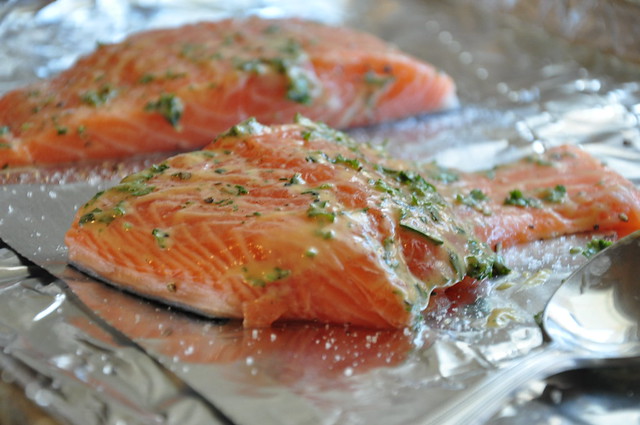
salmon 2

salmon 3
Panko Crusted Salmon
Ingredients
2 teaspoons olive oil
2 pieces, thick boneless salmon fillets
1 tablespoon honey mustard
1 teaspoon fresh rosemary, chopped
1/3 cup panko bread crumbs
1 tablespoon parsley
1/4 teaspoon paprika
2 lemon wedges
Step by Step
Preheat oven to 400 degrees F.  Set salmon on a foil lined baking sheet, skin side down.  Sprinkle heavily with salt and pepper.  In a small bowl, mix the rosemary, bread crumbs, parsley and paprika.  Spread a thin layer of honey mustard on each fillet.  Top salmon with a packed layer of the bread crumbs.  Sprinkle with salt and pepper to taste.  

Roast the salmon for 10-14 minutes.  Test salmon to make sure it is firm all the way through and starts to flake when poked with a fork.  Squeeze lemon juice on each fillet and serve.

Makes 2 servings. 

3.21.2011

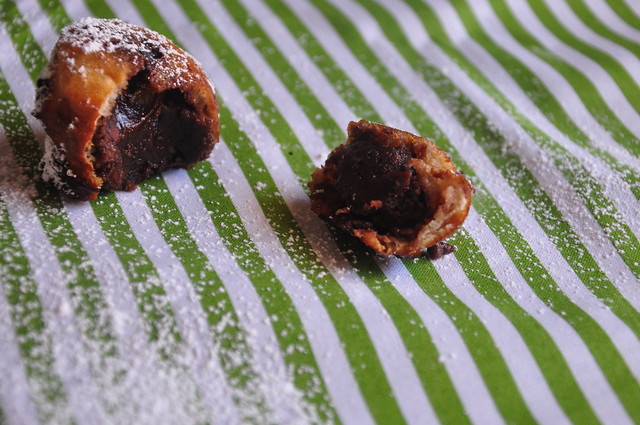
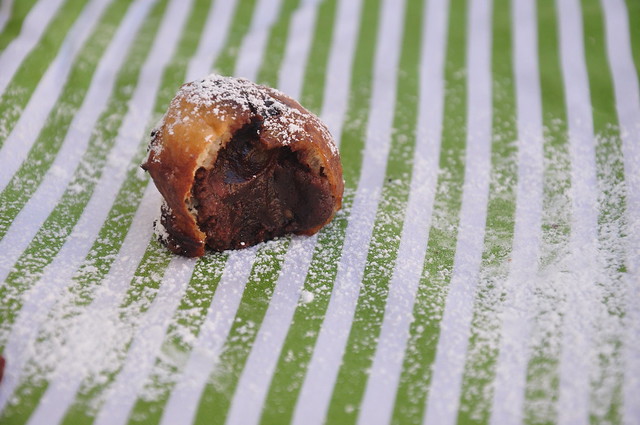
Deep Fried Brownie Bites

DSC_0007

If doing this is wrong, I don't want to be right. 

DSC_0027

First, let me explain. There is an amazing restaurant in Houston called Beavers.  If you are anywhere within 100 miles of Houston, you should make it a point to eat there.  And don't leave until you have a dessert called Beaver Balls.  It is deep fried brownie balls with peanut butter powdered sugar, ice cream and vanilla sauce.  

I had to give you some context so you didn't think I sit around and dream up ways to make the richest dessert I've ever made even richer.  When I made these over the top fudge brownies,  I had just been to Beavers and got the crazy idea to replicate the dessert.  So I balled a few of these up and froze them.  

I've been on spring break for the last week and thought there has never been a better time to try and fry these up.  Oh, they were so good... so good.  If you've made these brownies, you know they are so rich so you might as well freeze a couple for a rainy day and try this out.  Yum.

I promise to get back to some practical, quick and healthy recipes soon!

From my little kitchen to yours... Enjoy. 
DSC_0001

Deep Fried Brownie Bites
Recipe Notes
If you do not have a fry thermometer, you can heat the oil over medium high heat.  Toss a little bit of flour in the oil and if it simmers quickly without burning, your oil is ready.  
Ingredients
Over the top fudge brownies, frozen, rolled into golf ball size balls (click here for recipe)
2 cups all-purpose flour
2 tablespoons sugar
1 teaspoon baking powder
1 large egg
1/2 cup seltzer water or club soda
Vegetable oil, for frying
Step by Step
In a medium sized bowl, whisk together the flour, sugar and baking powder.  Add the egg and half the seltzer and whisk well to combine.  Add more seltzer as needed until the batter is thick and the consistency of heavy cream.  Add just enough vegetable oil in a deep, heavy pot to cover the brownie balls (about 3 inches deep).  Heat oil to 350 degrees F (see recipe note).  Dip the chilled dough balls in the batter and carefully place them in the hot oil.  Turn balls a few times until are sides are golden brown, about 3 minutes.  Drain on paper towels, sprinkle with powdered sugar and serve warm.  

3.16.2011

My new favorite tool + Summer plans


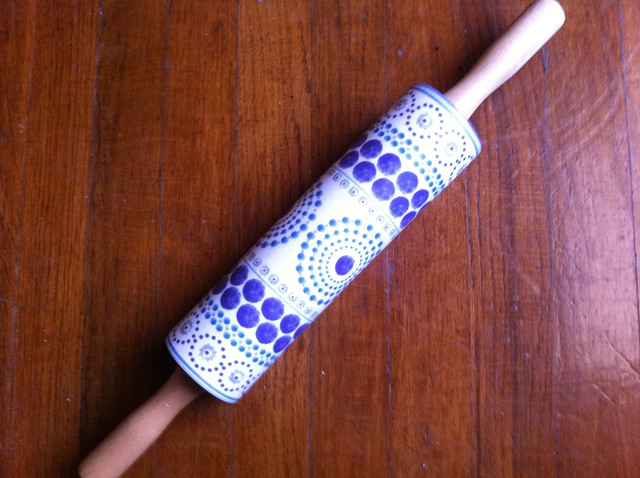
This could totally be one of those things that everyone knows about and I've just been in the dark about all these years, or maybe it could be new news to you too.  Do you have a marble rolling pin?  I would wager to say this has changed my life.  A little extreme I know, but the fact that I know longer spend time scraping dough of any kind off of my rolling pin is nothing short of wonderful.

My boss gave me this beautiful rolling pin for Christmas and while I was sure I would use it just because  it was so pretty, I had no idea it would work better.  I don't have to flour things to death to keep them from sticking and the glass stays nice and cool.


On to what has been preoccupying most of my time...

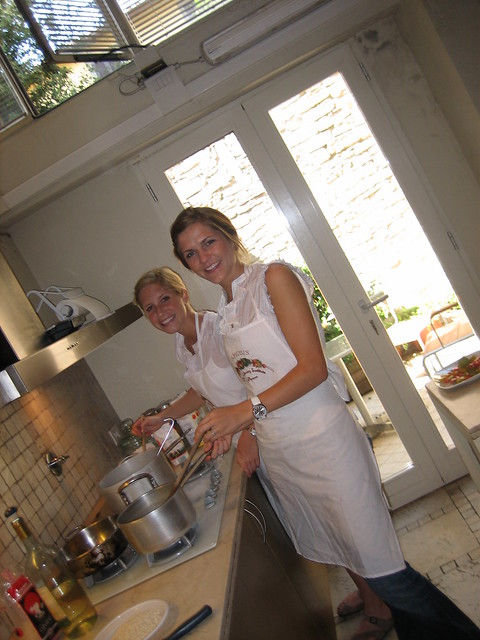
We are going to Italy this summer!  I can barely wrap my mind around it still, but Mr. Hungry will be studying abroad in Florence so we will be there for a month.  And on to why I am sharing this with you... I will be going to a few cooking classes while we are there.

To make a very-long-I-could-go-on-for-days story a little shorter, I will sum up why I just can't believe this is happening again.  The summer after I graduated from college, I spent some time in Europe that included two weeks in Florence going to cooking school with my friend Allison.  Every part of the trip was magical and I just never ever thought I would have the chance to spend more than a couple of days there again.

{we can thank our chef Genarro for the angle on this photo that he just insisted was a great idea}
IMG_1458

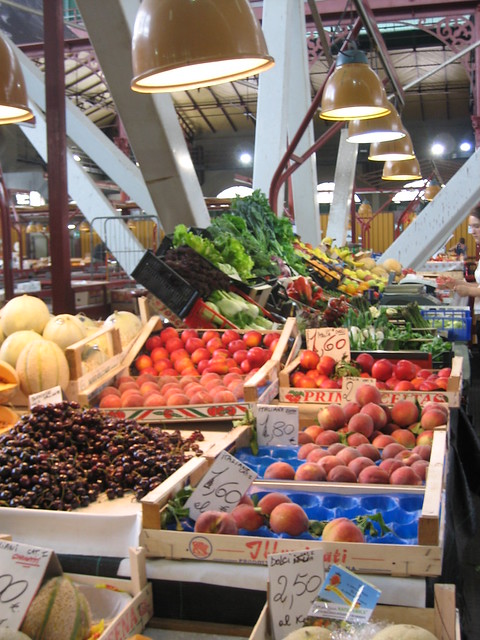
{oh, these markets... I dream about these markets}

IMG_1409


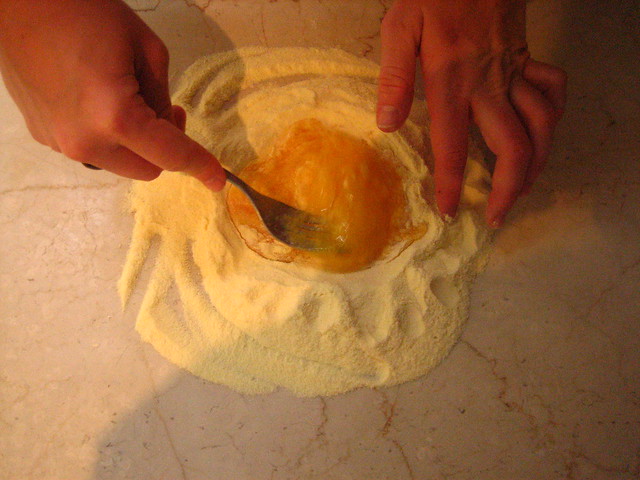
I had a love of cooking going into that trip, but it really changed everything.  From learning the importance of kosher salt to making homemade pasta, it sealed my fate for a love of food and cooking.

IMG_1652We are working on planning the details, but I am most excited to share with you my cooking adventures.  Okay, that is all for now... I just felt like I could not go on another day without sharing.  If you have any must see (or eat) places in or around Florence, I would love for you to share.


Oh, and one more thing...
paris
{picture via pinterest}

We are ending our trip with 3 days in Paris and its almost too much to handle.  I have never been and have spent too many nights dreaming of curb side cafes and fresh pastries.  I feel like I'm six again and my parents just told me I finally get to go to Disney World.

3.04.2011

Tomato & Asparagus Salad with Champagne Vinaigrette

DSC_0416
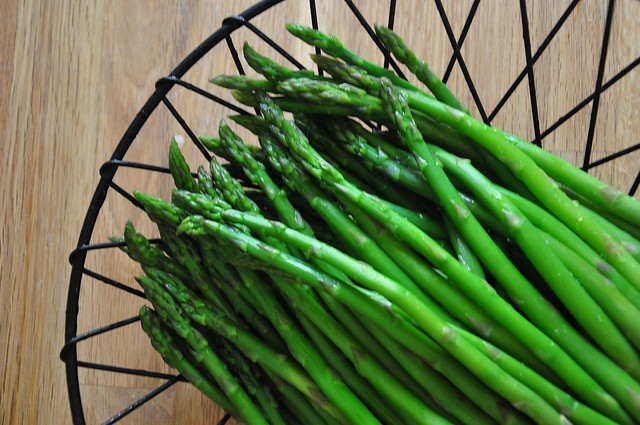
Spring is still in my air here in Houston and I continue to find vegetable dishes that are packed with flavor. This is such a great salad with so many fresh flavors.  If you make the vinaigrette ahead, you could have this on a weeknight, but I think it is special enough to serve at a luncheon or a dinner party. I just love all those colors.
DSC_0398
That's all I have to say about this... it's just good.  Today, I'm working on putting together a few menus for a catering job so I'm looking for inspiration for what to serve at a baby shower.  Have any bite size favorites you would like to share?

DSC_0406
 From my little kitchen to yours... Enjoy.

Tomato & Asparagus Salad with Champagne Vinaigrette
Adapted from Peace Meals, Junior League Houston
Recipe Notes
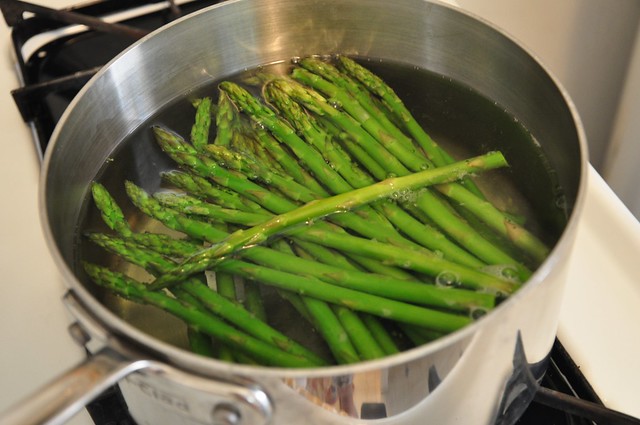
You might gasp a little when you see the price tag on champagne vinaigrette.  There seem to be varieties that are expensive.  I bought the most inexpensive jar and it has lasted me a long time so it turned out to be a good investment.  Unless you like your salads drowning in dressing, you will also have plenty left over to use for another salad or to make this again.  Blanching is simply cooking a vegetable in boiling water for a few minutes to bring out it's color and then shocking it with cold ice water so that the cooking stops.  If you would like an in depth refresher, click here.
Ingredients
1 clove garlic, peeled
1/2 cup Champagne vinegar
1/4 teaspoon freshly ground pepper
coarse salt
1 teaspoon Dijon mustard
dash of sugar
1 cup extra virgin olive oil
for the salad:
1 bunch asparagus, ends trimmed and cut on the diagonal into 1-inch pieces
1 pint cherry or grape tomatoes, any color, halved
4 ounces crumbled feta cheese
coarse salt and freshly ground pepper
Step by Step
Crush the garlic clove with the side of a knife blade.  The the clove (leaving it in one piece) to a mixing bowl.  Add the vinegar, pepper, and a dash of salt; allow to sit for 30 minutes.  Remove and discard the garlic.  Whisk in the mustard and sugar; slowly add the olive oil, whisking constantly to emulsify.
Bring water to a boil in a medium saucepan.  Blanch (see note above) the asparagus for 1 to 2 minutes.  Drain and rinse under cold water.  Combing the asparagus and tomatoes in a medium bowl.  Add the cheese and toss with desired amount of the vinaigrette; season with salt and pepper.  Cover and refrigerate for up to four hours.  Toss again before serving and adjust the seasonings as needed.  

Store extra vinaigrette in an airtight container in the refrigerator for up to one month.

Serves 6-8.

3.02.2011

Snickers Ice Cream Pie

snickers
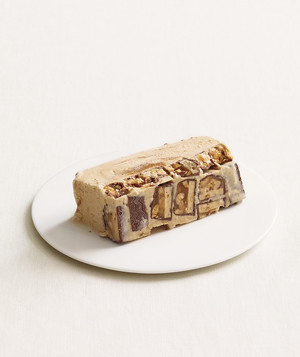
picture via Real Simple

Anybody in the mood for an extremely easy dessert recipe? It's just crazy the work I put into some things in the kitchen and then a recipe like this comes along that is refreshing and decadent and so darn easy.  If you have any love for caramel or Snickers, I'm going to go ahead and wager that you will love this.

Oh yeah, and why is it that I don't have a picture of the final product? I made this for a co-workers birthday and it was gone just as soon as we had it sliced.

From my little kitchen to yours... Enjoy.
Dulce De Leche and Snickers Terrine

Snickers Ice Cream Pie
Ingredients
2 pints Dulce de Leche Ice Cream (my favorite brand is Haagen Daaz
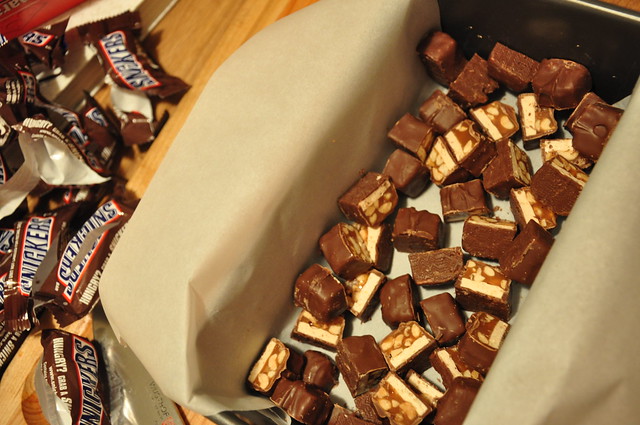
14 Snickers Fun size bars, unwrapped and cut into thirds (about 1 1/2 cups total)
Step by Step
Soften ice cream by leaving it out for 30 minutes to an hour or microwave each pint for 10 to 20 seconds.  Line an 8 x 4 1/2 inch loaf pan with parchment paper.  Let it hang over the edges.

Arrange chopped Snickers in the bottom of the pan.  Press ice cream gently into the pan.  Freeze until firm, about 6 hours. Pull overhang of parchment paper to invert snickers pie onto a plate and slice immediately with a sharp knife.