Showing posts with label how to. Show all posts

7.05.2012

DIY: How to make Pom Poms

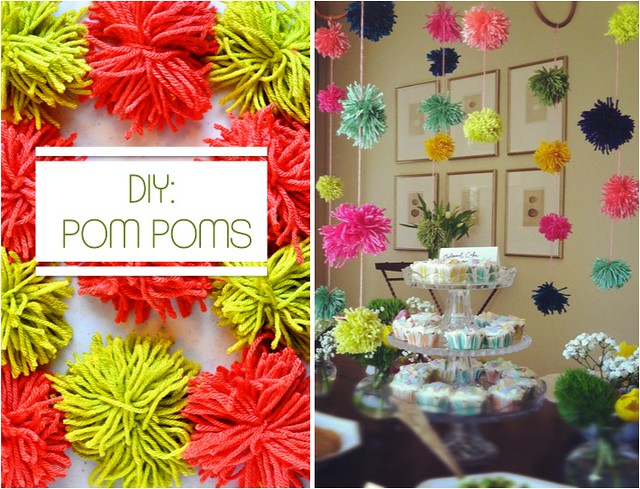
DIY Pom Poms
This little kitchen has been keeping itself busy.  Between the catering, throwing parties for family and friends and the ever important wedding cake deadline that is slowly creeping up on me, time is going faster than I could have ever imagined.  I had big plans of reminding you about the perfect Fourth of July pie and equipping you with cold soups that make this summer heat seem not so oppressive.  But between the long days of cooking, many nights have been spent on these little fluff balls to spice up parties and gatherings.  And I promise to be back with cold soups and other goodness soon.

For now, let's pom!

2.20.2012

How To: De-Seed a Pomegranates

pomegranate seeds
I'm sorry... what?  Excuse me?  Did you just say it's the middle of February?  

Please, stop.  Just stop. 

I didn't make it through my list of soups to make... oh great, it's already 70 degrees outside. 

I went to San Francisco and haven't even told you about it yet. (one word for now... Tartine)

I didn't get a chance to get crafty for v day this year.   

At least I'm trying to be proactive... I'm trying to wipe the cobwebs off this place. 

Sure, it's only been a couple of weeks but there has been a lot I want to share.  Time will come back one day... I can feel it. 

For now, I must talk about pomegranates and I must do it quickly.  These exotic puppies are already at the end of their season.  They are getting noticeably smaller and a bit sad on the grocery aisles... not nearly as plump and cheap as they were during the height of the season in December and January, but alas, it is still not too late.  

Grab a pom and let's get the seeds out of that sucker.  

Throw them in Greek yogurt, toss them in a salad or eat spoonfuls all on their own.  They are great.... and apparently super healthy... bonus points. 

What you need...
a pomegranate
a sharp knife
plastic cutting board (or anything you don't mind staining red)
a medium sized bowl, filled halfway with water
Warning:  Pomegranate juice will stain everything! Wood... clothes... white dish towels.  Unless you want everything a tinge of pink, make sure you are careful with this guy.  I like to use a plastic cutting board on top of my wooden board and I wouldn't be wearing my favorite white shirt... those seeds can spit. 

Lay your pomegranate on a plastic surface (or something you do not care about staining).
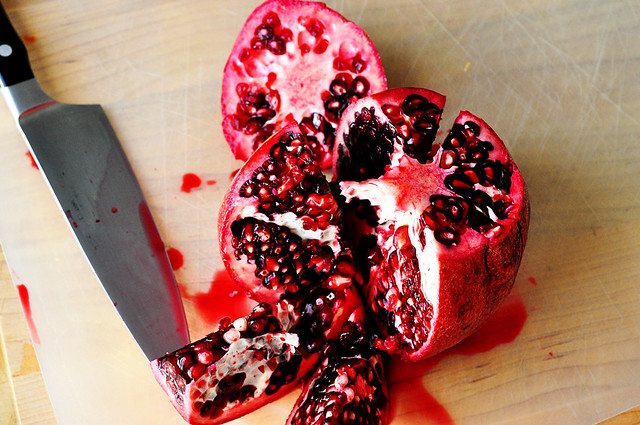
Slice off the top. 
pomegranates6
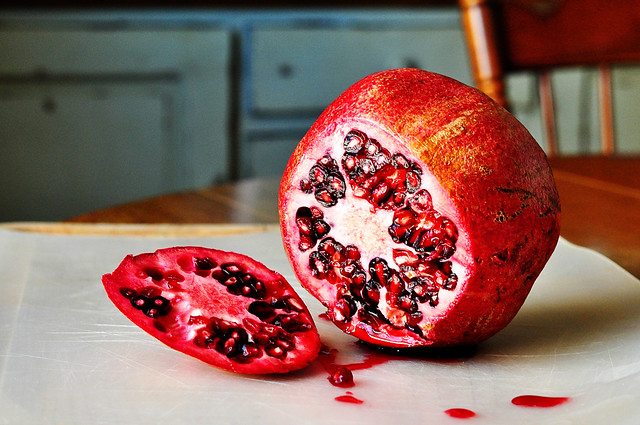
Oh, now we are talkin... what a piece of art.
pomegranates7
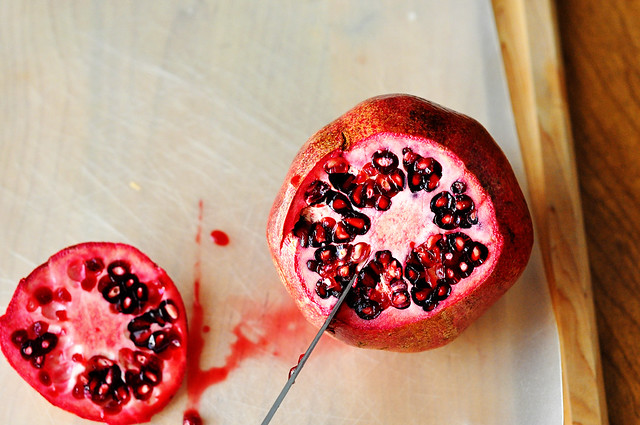
Using a sharp knife, cut along the white stuff... also known as the membrane.
pomegranates8
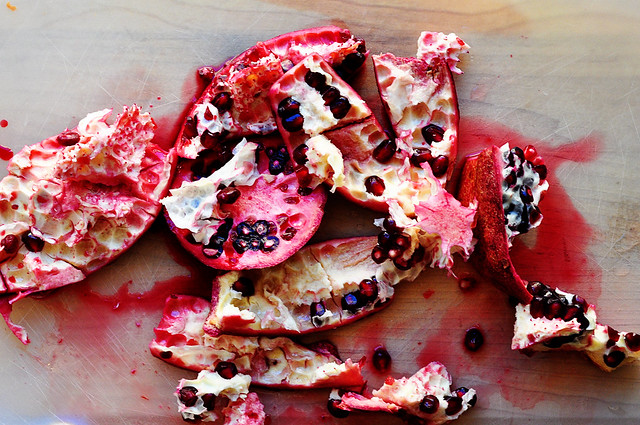
Gently break apart the segments of the pomegranate.
pomegranate 9
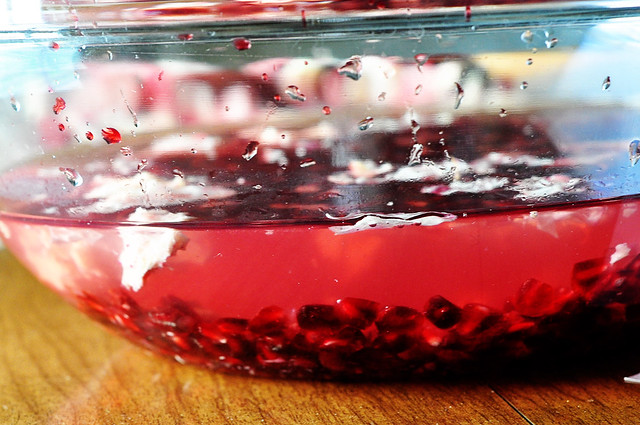
Place each segment over the bowl of water. Submerge the segment and loosen the seeds.
pomegranates3
The seeds will sink to the bottom and the white stuff will float to the top.
pomegranates4
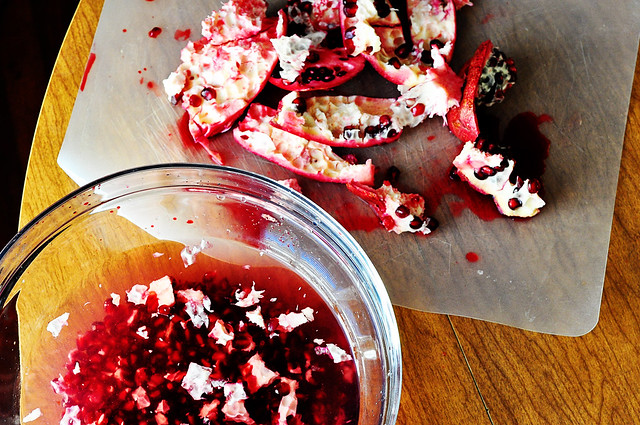
  Skim the white parts off, drain the water...
pomegranates2

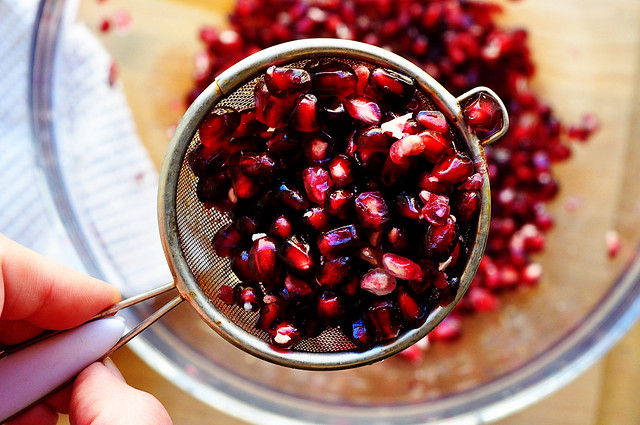
and there you have it... a bowl full of gems.pomegranate seeds
I had quite the plump pomegranate so I did not go after every seed.  If you want to get every last one, continue to submerge each piece in your bowl of water a loosen the seeds.
pomegranates5


8.23.2011

Fresh Whipped Cream

Untitled
It's Tuesday.

You look like you could use a magic trick.  Nothin spices up a Tuesday like a little magic.

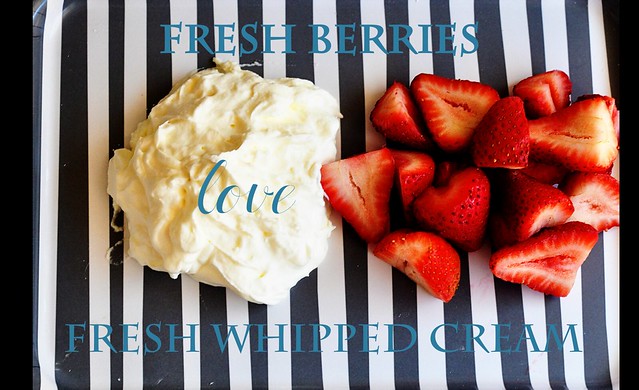
And I bet you this might be the tastiest magic trick you've ever seen. You also need this right now because it's the best {and easiest} dessert for this time of the year.  All you need is a little fresh whipped cream to make a bowl of fresh summer berries seem like a refreshing and fancy dessert.

And no, canned whip cream does not even come close to what this tastes like.  Sorry, but no.

Mr. Hungry was a little floored when he saw me whisk this up out of what he thought was liquid cream that only seemed to be useful for his coffee.

You just need a few dollops for small batches of berries so grab a whisk and this will be ready in minutes.

For bigger jobs, you might want to pull out the hand mixer or you could be whisking for quite awhile.

Summer berries are still at their prime so go ahead and put this at the top of your to do list before berries go back to being expensive and out of season.  Seriously... hurry.

From my little kitchen to yours... Enjoy.

Recipe Notes
The exact way you make this will depend on what you are making it for.  With fruit, I like to add a pretty good amount of sugar to make it sweet.  If you are adding a dollop to a pie or cake, you might want to only add a little bit of sugar because you already have so much sweetness.
If you are trying this for the first time, start with very little cream.  Watch how the process works and then add more.  If you are making more than one cup of cream, I would probably use a hand mixer (unless you have lots of time to whisk).
* Regular sugar or powdered sugar will work.  If you have powdered, use it.  If you don't, you do not need to buy any.  The only different is that you  need to add the regular sugar early in the process so that it has time dissolve into the cream.  Powdered sugar is preferable because after whipping, you can add more at the end to get to the exact sweetness you would like.
** A little vanilla goes a long way, but once again, the exact amount will depend on what you are making.  I always add a dash, but if I am putting cream on something that would be great with a vanilla flavor I add a little bit more.

What you need...
Heavy Whipping Cream
*Powdered Sugar or regular sugar
**Vanilla (optional)
Large bowl
Whisk

1.  Start with cold cream in a large bowl.  The colder the cream, the easier and faster it will whip.  Having a large bowl will also help quite a bit.
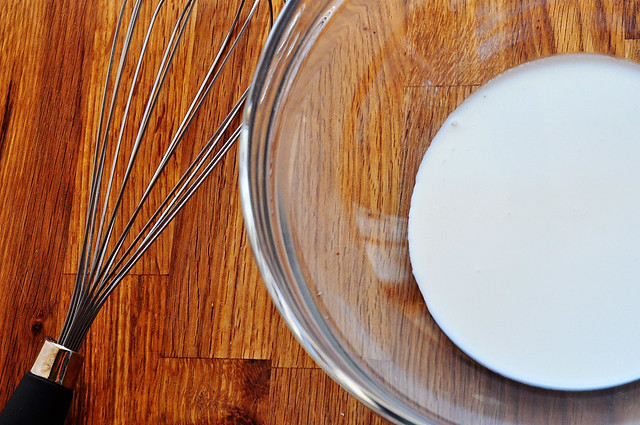
cream
2.  Time to start whipping.  Make wide strokes with a whisk, changing direction every so often.  This will help get air into the cream faster.  Bubbles will start to form.
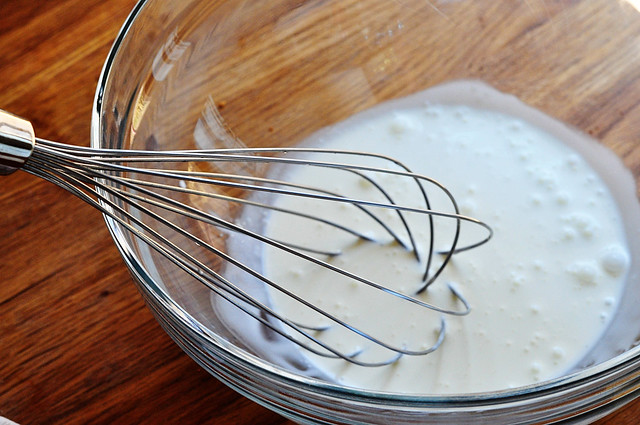
cream2
3.  Now it's time put some muscle into it.
Exercising and making dessert at the same time?  This is just the best.
When the cream starts to thicken, add sugar and vanilla (if using).

Tip:  A good rule of thumb is two teaspoons of sugar for every cup of cream.  Adjust sweetness according to tasate.  Optional:  Add about a teaspoon of vanilla per cup of cream
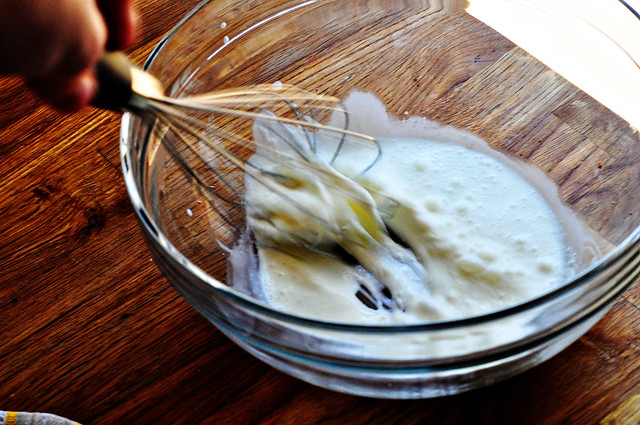
cream3
And before you know it, you will have peaks that look like this.

Done! Seriously, we are done.  What was that, like 1 minute worth of work?  And you have great looking arms.

Ah, I love magic.
cream4

Keep in the refrigerator and serve within an hour of making.

Add a dollop to a bowl of mixed berries, perhaps a freshly sliced peach, or maybe on top of a piece of pie or chocolate cake.  But that means you cannot sit there and eat the whole bowl.  But no one's watching... maybe just the first batch... no one has to know.

8.12.2011

How To: Use a Fresh Vanilla Bean

When I first started cooking a few years ago, I would never consider making anything with an exotic ingredient such as a vanilla bean ( I also didn't make anything with chicken unless you were grilling a boneless, skinless chicken breast).  This was on my way too fussy ingredient list.  And then I actually found out how expensive they are and vanilla beans got added to my I'm too cheap to buy that list as well.  

Well, the stars seemed to align when I was in a cooking class and realized that there is nothing in the whole wild world that will replace the taste of a fresh vanilla bean.  I don't care if you have vanilla extract from the Himalayas.  Followed by the fact that I found out Costco sells vanilla beans in bulk.  I think I got 8 for about $10.  This is an outrageously good deal.  

If you don't go to Costco, you can find them at most upscale grocery stores and it's worth splurging for a really special dessert. 

I haven't thrown out my vanilla extract.  It still has plenty of uses, but creams and custards deserve the good stuff. Here are your two easy steps to getting to the good stuff. 


Using a very sharp knife... 
vanilla bean
... from top to bottom. 


Using the back of that sharp knife...
vanilla bean 2
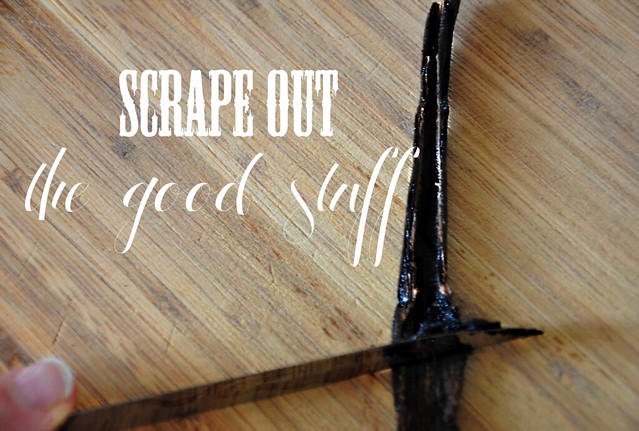
That stuff that looks like dirt is the good stuff. 


Before you toss the pod, check and make sure your recipe does not use it.  Some call for simmering the pod with a custard before you discard it.

Check back {very soon} for a way to put this bad boy to good use.