4.28.2011

Cranberry Scones

DSC_0081
In case you've been living under a rock, there's a wedding tomorrow.  A royal wedding.

So let's make scones, shall we?

I blame it on the Today Show.  I blame the fact that I know the names of  Kate Middleton's twice removed cousins and all about her humble beginnings on the Today Show.  There has been coverage on this wedding at least 20 minutes a day on the morning news for the last two months, and now I must watch the wedding.

And for some odd reason, most subjects or happenings I hear about always translate into food for me.  The minute I hear of an event like this, my mind goes straight to the food I can eat while watching such a spectacle.   Shepherd's Pie and Yorkshire Pudding came to mind but didn't appeal, and scones ultimately prevailed in the not-so-competitive field of English fare. 

I've always avoided most scones because there is such a fine line between a good scone, and a scone that is too dry.  They traditionally have a little bit of a dry taste, but this recipe will change your mind on what a scone should even taste like.  These are seriously addicting and a new favorite in my book. 
Here's the recipe scoop...
Scones seemed a little bit complicated to me so I did a step by step so you have no excuses.  Seriously, these are so good and they took me exactly 20 minutes to prep... exactly 20 minutes and that's with pictures and this being my first time so just come on, trust me and make these.  I bet you won't be sorry.  If you don't want to trust me alone, I will let you know that this recipe is adapted from The America's Test Kitchen Family Cookbook.  They do wonders with recipes and test them a thousand times to perfection.
So here we go...
Adjust an oven rack to the middle position and heat the oven to 450 degrees.  Place the flour, sugar, baking powder and salt in a medium size bowl.  Using a pastry cutter, mix dry ingredients. 
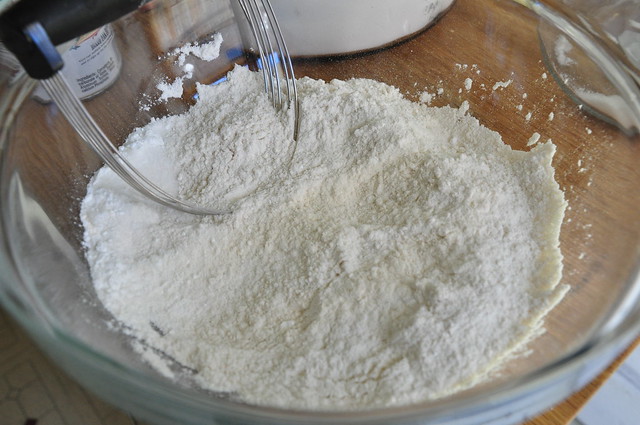
DSC_0042
Cut chilled butter into 1/4 inch cubes.
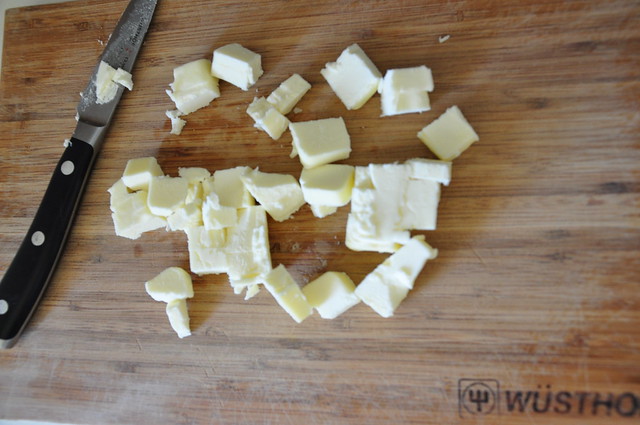
DSC_0044
 Scatter the butter evenly over the top of the dry ingredients.
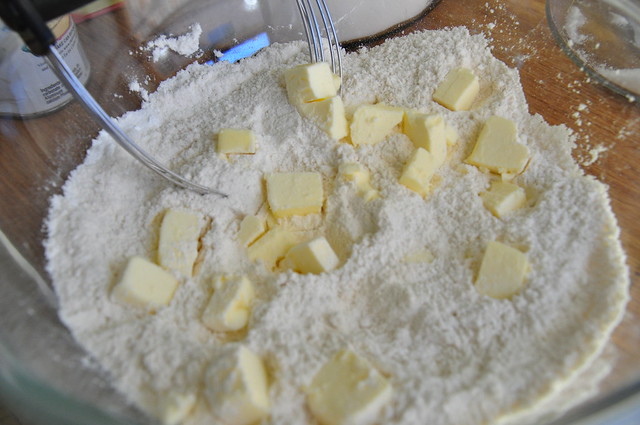
DSC_0045
Cut butter into the dry ingredients and continue to cut butter until the mixture resembles coarse cornmeal with a few slightly larger butter lumps. 
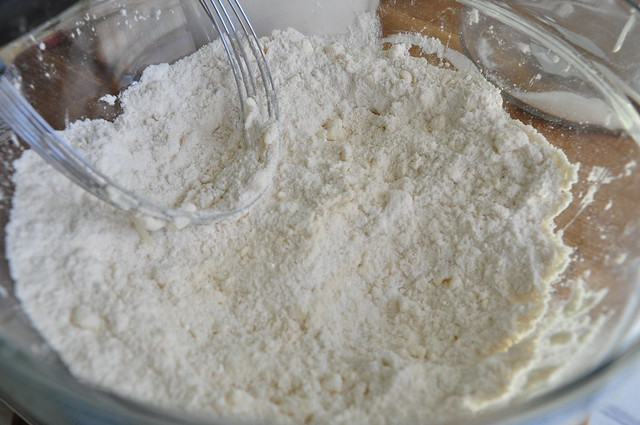
DSC_0046
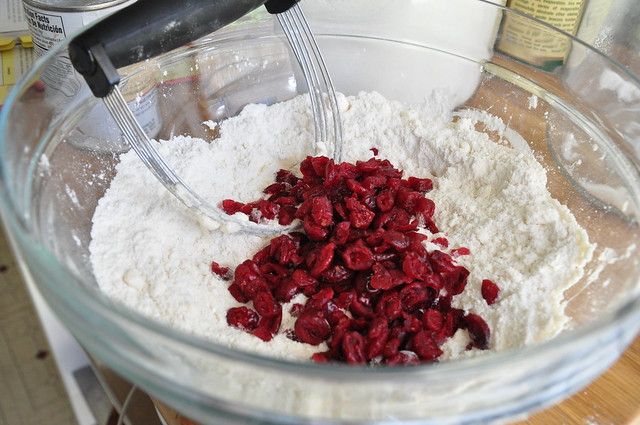
Add the cranberries and stir into mixture. 
DSC_0048
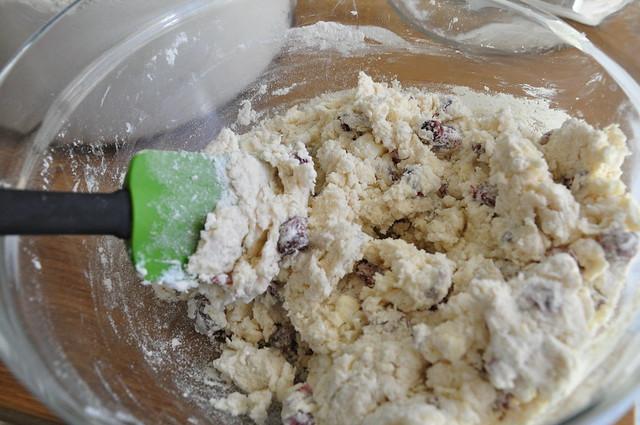
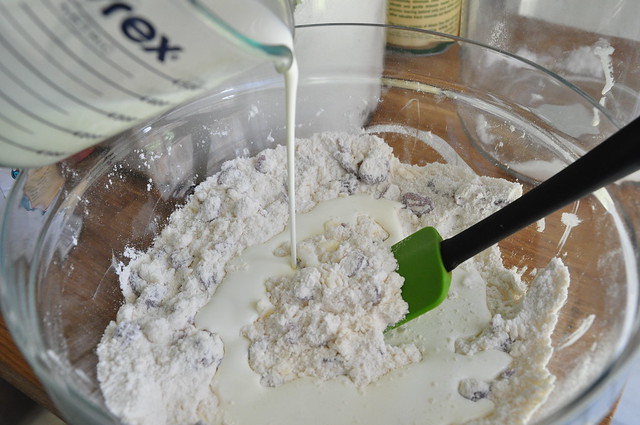
 Stir in the cream with a rubber spatula until the dough begins to form, about 30 seconds.
DSC_0050
Stir in the cream with a rubber spatula until the dough begins to form, about 30 seconds.  
DSC_0052
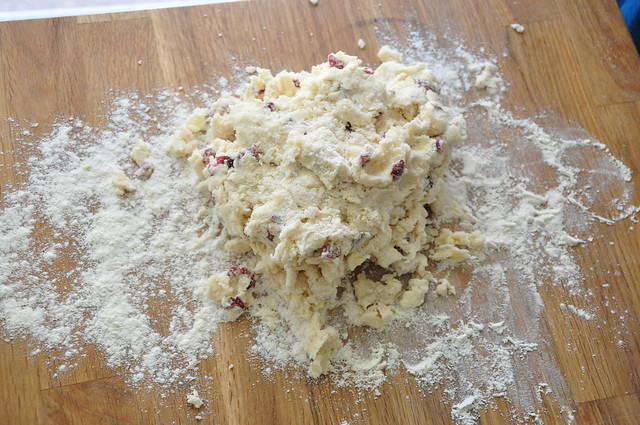
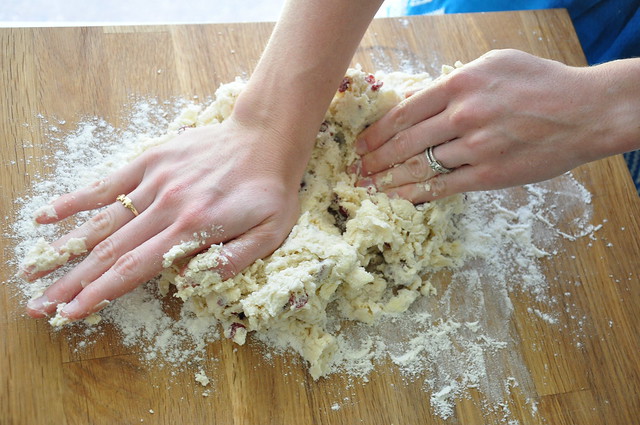
Turn the dough and any floury bits out onto a floured counter.
DSC_0054
Knead until it forms a rough, slightly sticky ball, 5 to 10 seconds. 
DSC_0057
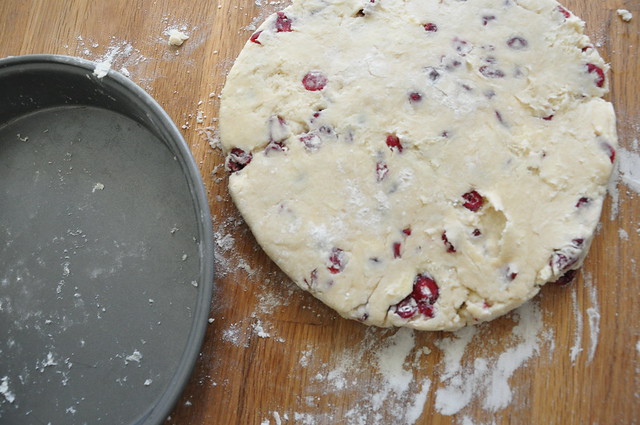
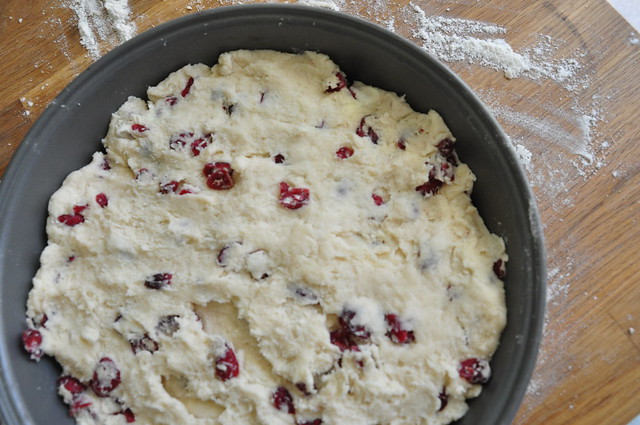
 Press the dough into a 9-inch cake pan.  
DSC_0060
Unmold the dough.
DSC_0065
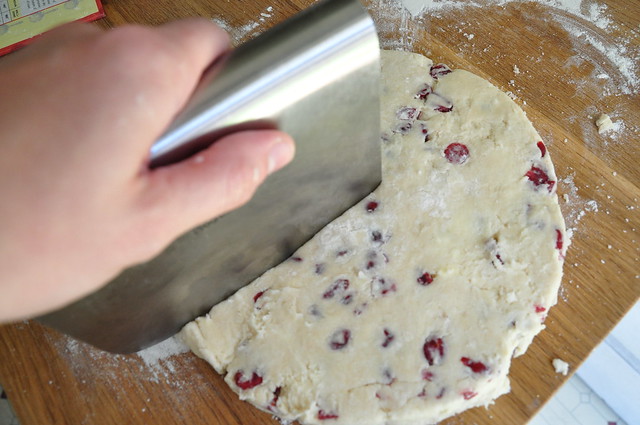
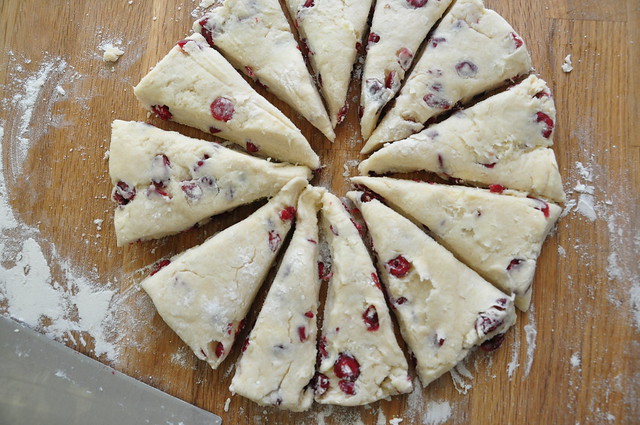
Cut into 8 or 12 wedges.  
DSC_0067
DSC_0069
Place the wedges on an ungreased baking sheet.
DSC_0071
 Bake until the scone tops are light brown, 12 to 15 minutes.  (This was exactly 12 minutes for me and if you are not sure, check the bottoms of the scones to make sure they are not getting too brown).  Coll on a wire rack for at least 10 minutes.  Serve warm or at room temperature. 
DSC_0082

Cranberry Cream Scones
Adapted from The America's Test Kitchen Family Cookbook
Prep time: 20 minutes | Cook Time: 12 minutes
Recipe Notes
I made these the old fashion way with a pastry cutter.  If you don't want to deal with getting out a food processor, use my steps.  If you don't have a pastry cutter or want to use the food processor, follow the steps below the recipe.   Resist the urge to eat the straight from the oven.  Scones actually taste better when you lest them rest and set up a bit. 
Ingredients
2 cups all purpose flour, plus extra for the counter
3 tablespoons sugar
1 tablespoons baking powder
1/2 teaspoon salt
5 tablespoons unsalted butter, chilled
3/4 cup cranberries
1 cup heavy cream
Tools
Pastry Cutter or Food Processor
9 inch cake pan 
Step by Step
Adjust an oven rack to the middle position and heat the oven to 450 degrees.  Place the flour, sugar, baking powder and salt in a medium size bowl.  Using a pastry cutter, mix dry ingredients.  Cut chilled butter into 1/4 inch cubes and scatter the butter evenly over the top of the dry ingredients.  Cut butter into the dry ingredients and continue to cut butter until the mixture resembles coarse cornmeal with a few slightly larger butter lumps.  Add the cranberries and stir into mixture.  Stir in the cream with a rubber spatula until the dough begins to form, about 30 seconds.  Turn the dough and any floury bits out onto a floured counter and knead until it forms a rough, slightly sticky ball, 5 to 10 seconds.  Press the dough into a 9-inch cake pan.  Unmold the dough and cut into 8 or 12 wedges.  Place the wedges on an ungreased baking sheet.

Bake until the scone tops are light brown, 12 to 15 minutes.  (This was exactly 12 minutes for me and if you are not sure, check the bottoms of the scones to make sure they are not getting too brown).  Coll on a wire rack for at least 10 minutes.  Serve warm or at room temperature.

PREPPING WITH A FOOD PROCESSOR
Fit a food processor with a dough blade.  Pulse the flour, sugar, baking powder, and salt together in a food processor to combine, about 6 pulses.  Scatter the butter evenly over the top and pule until the mixture resembles coarse cornmeal with a few slightly larger butter lumps, about 12 pulses. Add the cranberries and quickly pulse once to combine.  Transfer the dough to a bowl and continue witht he steps above.    

4.27.2011

Maple Roasted Bacon

DSC_0920

Remember that breakfast pie from yesterday?

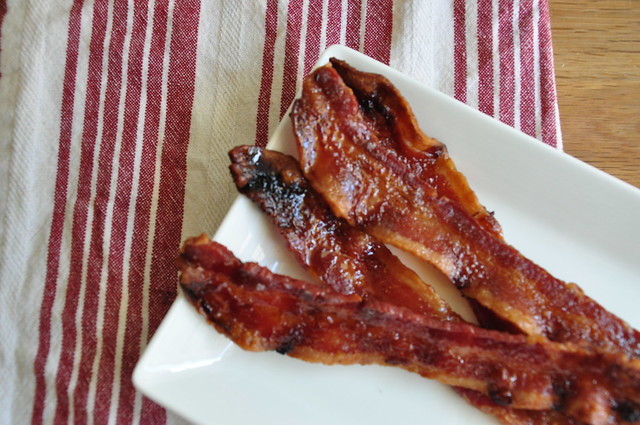
Meet its new best friend... maple roasted bacon.  He's sweet, salty and slightly crispy.  He's not exclusive though; he gets around and pretty much goes well with any breakfast/ brunch you could imagine.

I'm willing to bet he would cozy up nice to french toast, pancakes or anything else you fancy in the morning.   This bacon will rock your world.
DSC_0905
Have you ever roasted bacon?  There's no turning, there's no grease popping in your face, and it comes out slightly chewy, slightly crispy.  It's pretty perfect.

From my little kitchen to yours... Enjoy.
DSC_0914

Maple Roasted Bacon
Adapted from Ina Garten
Recipe Notes
I've tried roasting bacon before and it didn't work out.  The only thing I can attribute this to is the bacon. I used an extra-thick applewood smoked bacon.  The thickness helped it stay chewy, but crisp on the outside.   This recipe calls for a baking rack.  I used this pan that came with our oven that has a slotted pan over a a shallow pan.  If you have a metal baking rack, that will work too.  You just need something that allows the grease to drip down.
Ingredients
8 slices extra thick cut bacon
1 tablespoon good quality maple syrup
Tools
Baking rack
Step by Step
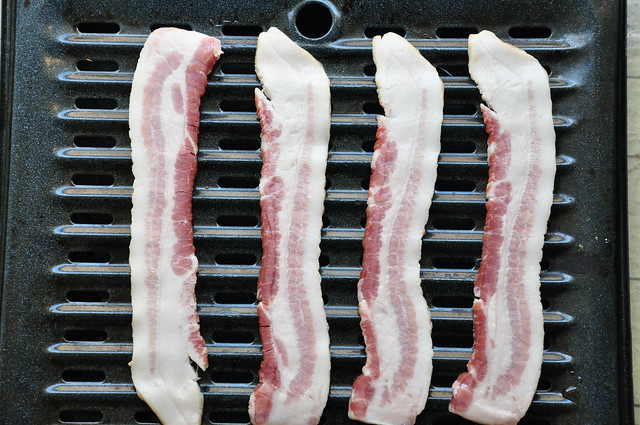
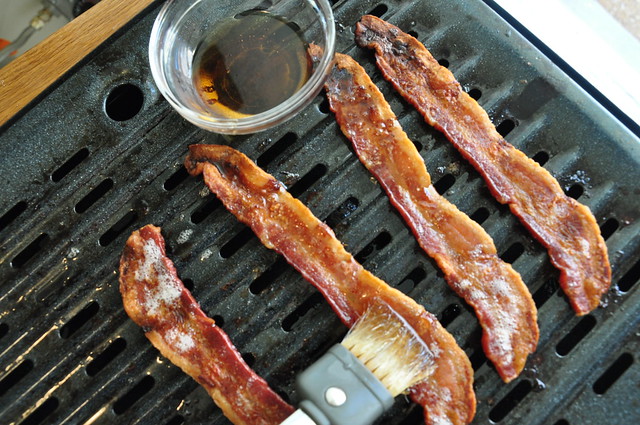
Preheat oven to 400 degrees F.  Place a baking rack on top of a rimmed baking sheet.  Arrange the bacon in a single layer on the rack.  Bake for 15 to 20 minutes, until the bacon is beginning to brown and crisp.  Carefully remove the pan from the oven (be careful because there will be a lot of hot grease on the lower level pan).  Brush each slice of bacon with maple syrup and continue to cook for 3 to 5 minutes, until bacon is browned and crisped, but not burned.  Place bacon on a paper towel to drain slightly.  Serve warm.

Serves 4

4.26.2011

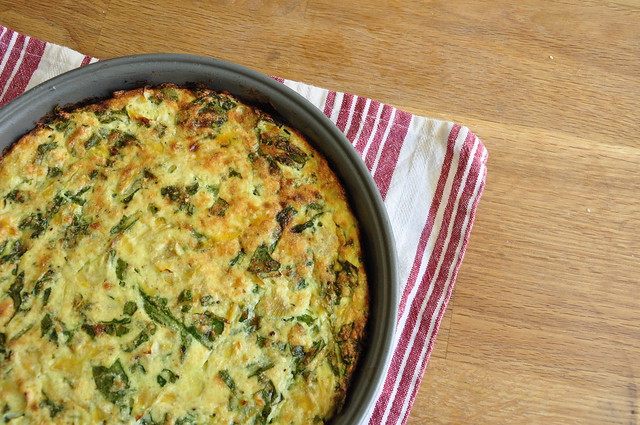
Spinach, Artichoke & Ricotta Pie

DSC_0909
We did some serious brunching over the long weekend.

When I woke up all I wanted to do was remain in my pjs and come up with hearty new dishes to try; so that is exactly what I did.  I did it for you, I did it for me... I did it for us. 

No fuss, much frill;  from my little kitchen to yours... Happy Brunching.
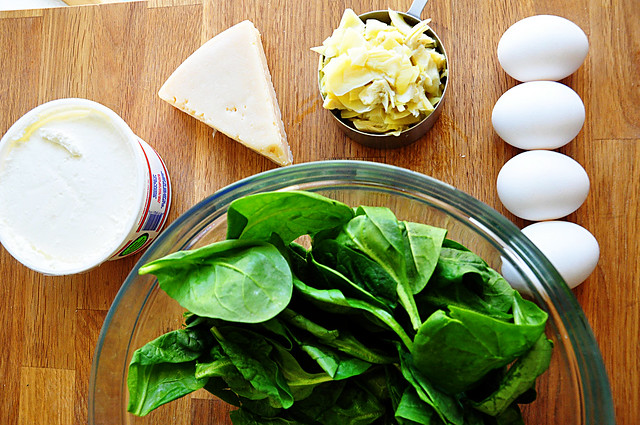
pie ingredients
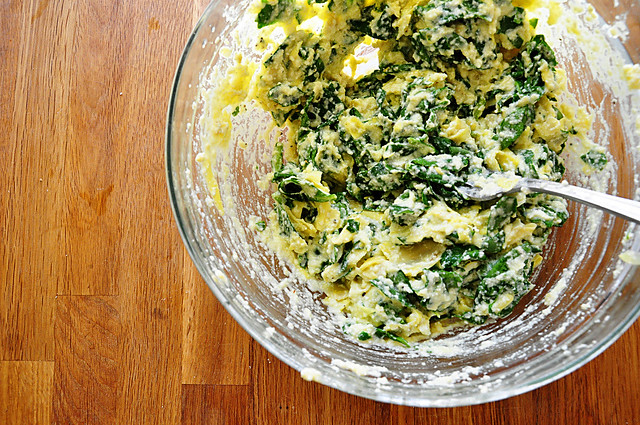
pie mix


DSC_0917
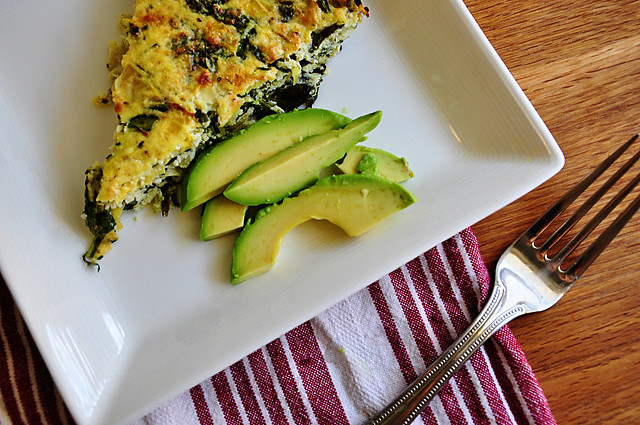
pie with avocado
Spinach, Artichoke and Ricotta Pie
Adapted from The Kitchn
Recipe Notes
Make sure and add the avocado for serving.  It is optional, but pairs perfectly with the pie.  This dish also warms up really well in the oven the next day for leftover.  
Ingredients
1 cup canned artichokes, chopped
5 ounces spinach, roughly chopped (1/2 a small bag)
8 ounces ricotta cheese
4 ounces grated or shredded Parmesan
4 extra large eggs, beaten
1 teaspoon salt
1/2 teaspoon pepper
Vegetable oil or cooking spray to coat the cake pan
1 avocado, thinly sliced (for garnish)
Step by Step
Preheat oven to 400 degrees. Grease a 9 inch cake pan lightly with olive oil. In a large bowl, combine the eggs and cheeses. Roughly chop the veggies and add to the cheese/egg mixture.  Add salt and pepper.  Stir until combined. Pour contents of bowl into the greased cake pan and cook until custard is set, about 40-50 minutes. Cool on a wire wrack for 5-10 minutes and serve with 3 slices of avocado per piece. 

Serves 4-6


I would have said this definitely serves 6, but I added 4-6 because this was all that was left after the two of us got ahold of it. 
pie eaten

4.23.2011

Recipe Round Up: Easter Sides & Desserts

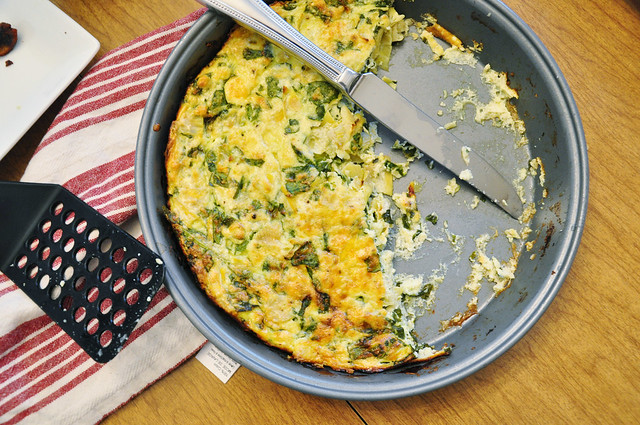
I'm sure none of you are in my boat.  I'm sure you've had your Easter meal planned out for awhile now, but I'm still trying to decide the two dishes I'll be taking to our family lunch tomorrow.  Just in case you wanted to squeeze in one more recipe or were still in a pickle like me, here are a few ideas...

Happy Easter.
Did you know pops of color are so in right now?
DSC_0416

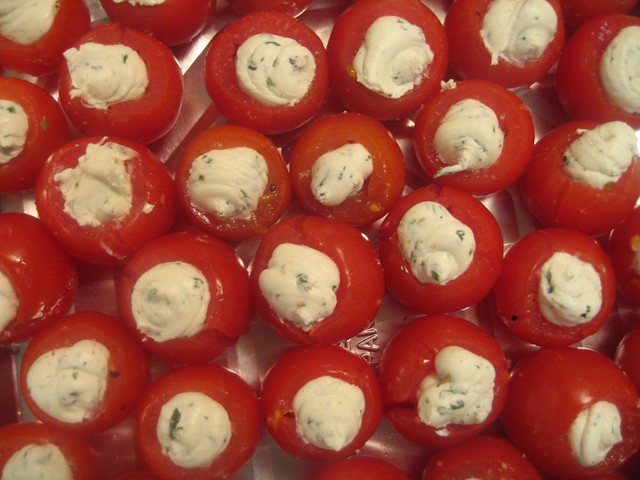
A perfect app... like little stuffed Easter Eggs.
IMG_6391

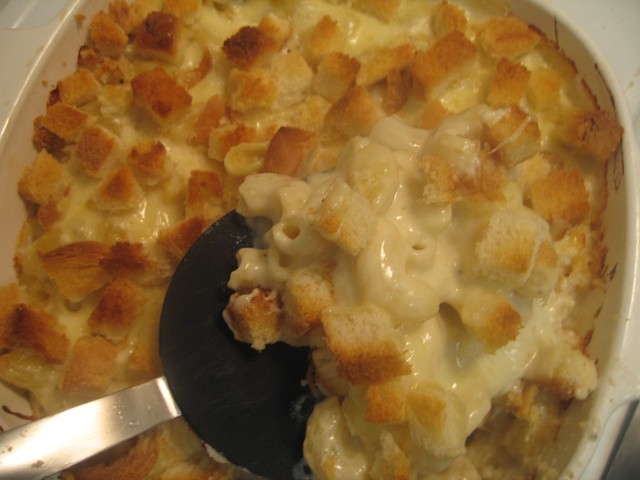
Martha's Mac n Cheese
Such a classic.
IMG_5964

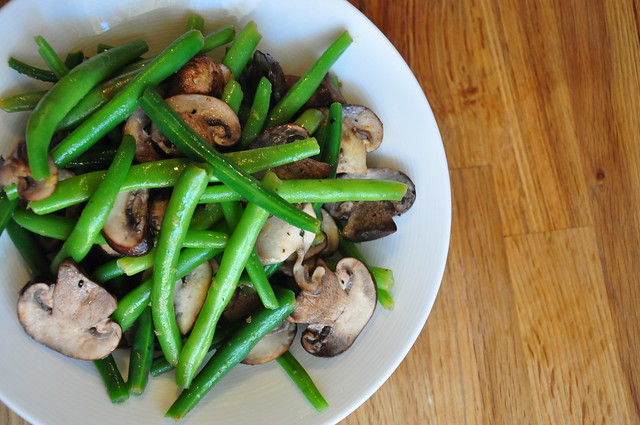
So fresh.
lemony green beans


Easy to share. 
tartlet pic

You'll be such a star if you make these. 
IMG_6769

These won't last long. 
IMG_6943
Such savory little things.
thyme crackers

4.20.2011

happy humpday.

brunch 2
I'm guest posting over here today with some of my favorite brunch recipes. 
Check it out!
p.s. sure wish this is where I was brunching.

4.17.2011

Lemony Green Beans with Mushrooms

lgb 2
I have not always had the best relationship with green beans.  For the longest time, I thought of green beans in one way... short, a lifeless shade of green and extremely mushy, served along side mystery meat and mashed potatoes.  They only seemed to show up in cafeterias for me and they just seemed sad.  It really wasn't until I spotted this recipe in my favorite cookbook that I thought I should give them a shot.  Sure glad I was able to move on because this is a keeper.  Bright and crisp beans mixed with mushrooms in a light and lemony sauce is just wonderful.  Just a few ingredients, healthy and quick... what more could you ask for?

From my little kitchen to yours... Enjoy.
lgb1
Lemony Green Beans with Mushrooms
Adapted from Peace Meals, Junior League of Houston
Recipe Notes
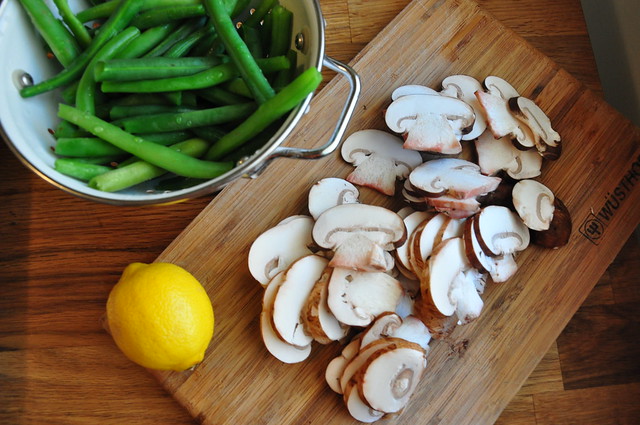
Cremini mushrooms look a lot like white button mushrooms.  The outsides are just a little darker and they have a heartier taste.  I recommend using these, but if you can't find them, substitute white button mushrooms.  For the green beans, "trimmed" simply means to cut off both ends.  For a how to on blanching the beans, click here.  Remember, you want them to stay crisp so cook just until they turn bright green. 
Ingredients
3/4 pound fresh green beans, washed and trimmed
2 tablespoons butter
8 ounces cremini mushrooms, cleaned and sliced about a 1/4 inch thick
coarse salt and freshly ground pepper
zest and juice of one lemon
Step by Step
Blanch the beans in boiling water and cook for about 4 minutes until tender and bright green.  Cool the beans under cold running water, drain and set aside.  Heat the butter in a medium saute pan over medium- low heat.  Add mushrooms and cook for 2 minutes over medium heat.  Do not stir.  Season well with salt and pepper.  Mix in seasonings and continue to cook for 2 minutes.  Add beans, lemon zest and juice.  Cover pan and cook for 3 minutes.  Serve immediately.