9.28.2009

Crepe Pan Giveaway! + My Favorite Crepe


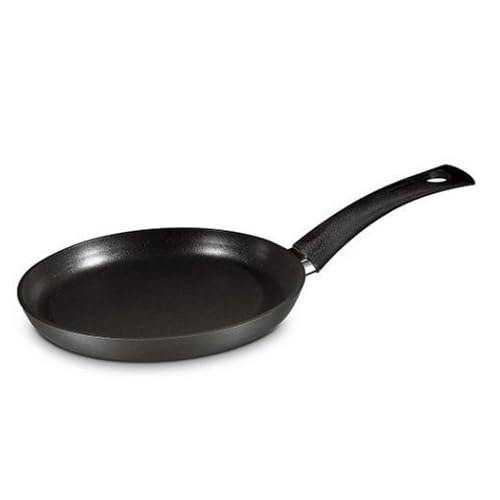
So I have some very exciting news... The Little Kitchen is officially having a giveaway! The very kind people at Berndes cookware have given me a crepe pan to give away to one of my readers.  If you are new to the Little Kitchen, I have a minor obsession with my Berndes crepe pan.  It has brought me so much joy and now I have one to give away to one of you!  Everyone who enters, will be put into a drawing and I will randomly draw a winner.  Read below to see how to enter!

With all of the posts I have done about crepes, I have somehow skipped my favorite and probably easiest one to make... Nutella and bananas.  The creamy chocolate and slices of bananas wrapped in a warm, slightly crispy crepe is just magical.  There is really no recipe to post here because all you need is nutella and bananas.  The amount of each is totally up to your taste.  I like mine with quite a bit of chocolate so I cover the entire crepe, but you can add just a couple of dollops for a lighter chocolate taste.

To enter the giveaway:
1.  Leave a comment on this post and include two things...
  • Your idea of the perfect crepe (any combination you can think of or it can be as simple asbananas and chocolate)  The winner will not be picked based on the fanciest crepe so simply pick any crepe you would like and you will be entered.
  • Make sure you leave a way for me to contact you if you don't plan on checking back... I would hate for you to miss out.
  • If you would like to be entered twice, mention this giveaway on your own blog (sorry if you do not have one, I still want you to enter!)  and your name will go in the pot twice... just make sure and let me know you did this!
2.  Check back in on Wednesday, October 7 and I will announce the winner.  If you are the winner, email me your address and your pan will be sent immediately.  The winner will be chosen from a random drawing (and don't worry, I will be posting the proof of how one random number was chosen).

*The giveaway will be opened until Saturday October 3rd.  Until then, I will be posting a few of my new favorite crepes!
*Open to U.S. residents only

If you have trouble leaving a comment click here for a step by step on how to comment.

9.25.2009

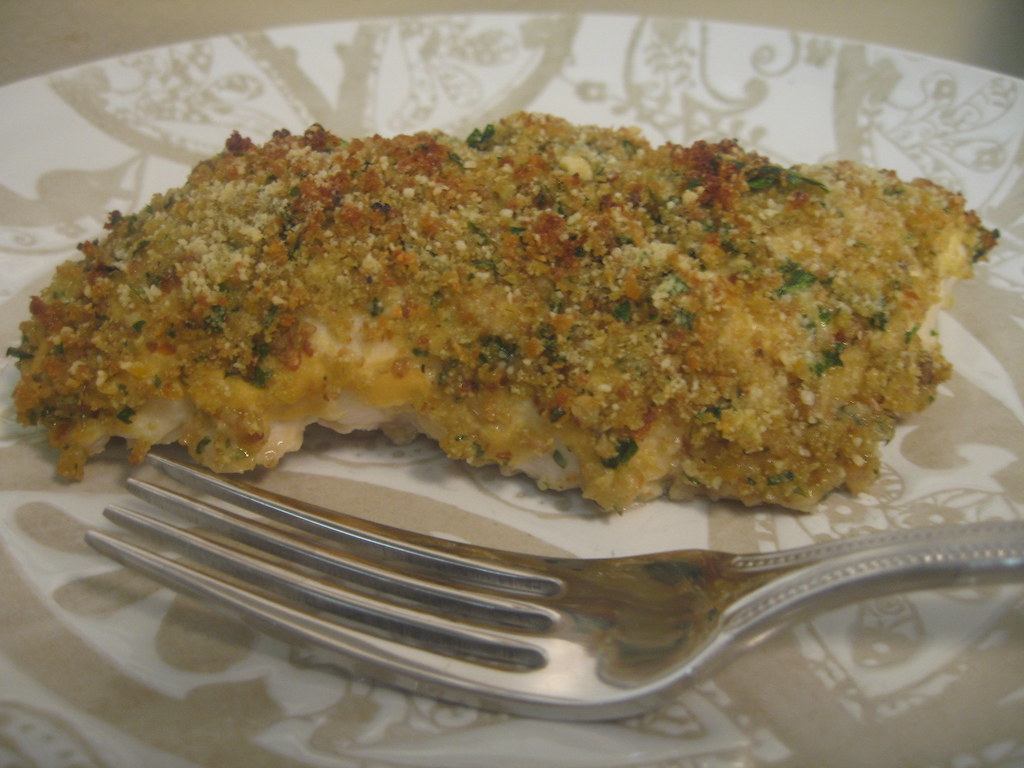
Parmesan & Herb Crusted Chicken

I continue my week of healthy dinners with a favorite I have made many times. Not only is it quick, but healthy as well.  The crust of the chicken can be made so quickly in a mini food processor and produces so much flavor.  It is special enough to serve for company, but easy enough for any night of the week!  It is one of my favorite alternatives to plain grilled chicken, but does not pack on tons of calories. Enjoy!
Parmesan & Herb Crusted Chicken
Serves 2
Adapted from Realsimple.com
Recipe Notes
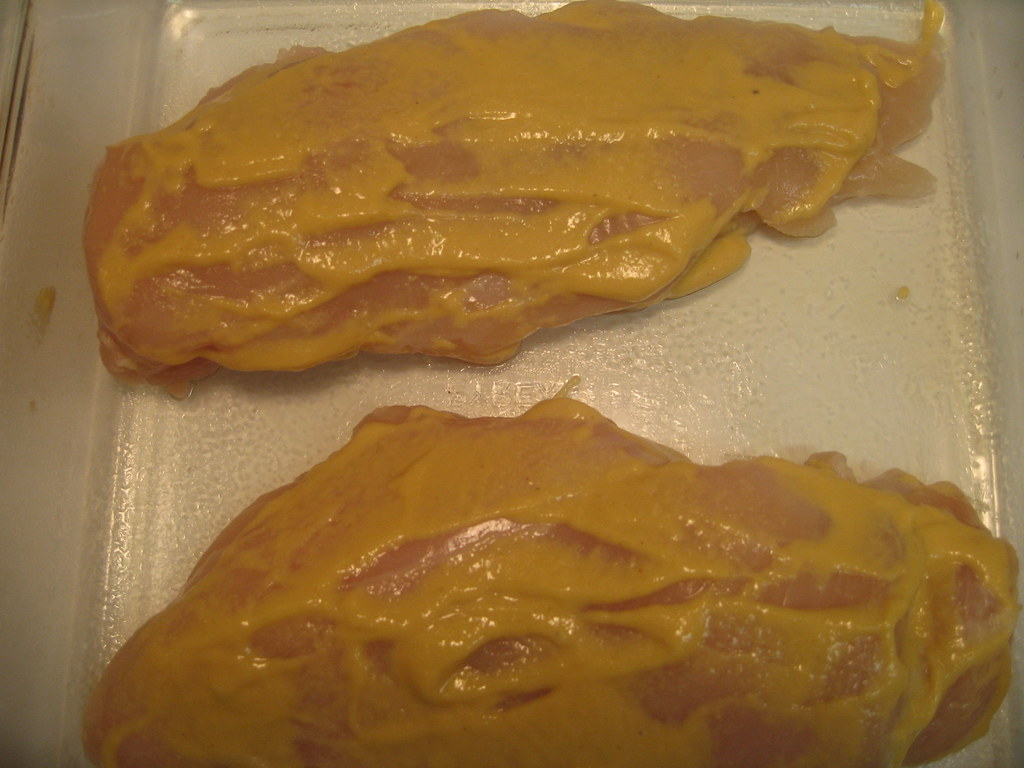
The breading mixture makes enough for two large chicken breasts (with a little extra) or it is enough for four small breasts.  If cooking for four and want to make sure you have enough bread crumbs, I would suggest making 1 1/2 times the recipe... you won't need to double it unless cooking for six.  Make sure you spread the dijon in a very thin layer.  It can get a little mustardy if you do not spread it thinly.
Ingredients
1 garlic clove, peeled
1/4 cup fresh parsley leaves
2 slices whole wheat bread
1/4 cup grated parmesan cheese
2 tablespoons olive oil
1/4 teaspoon freshly ground pepper
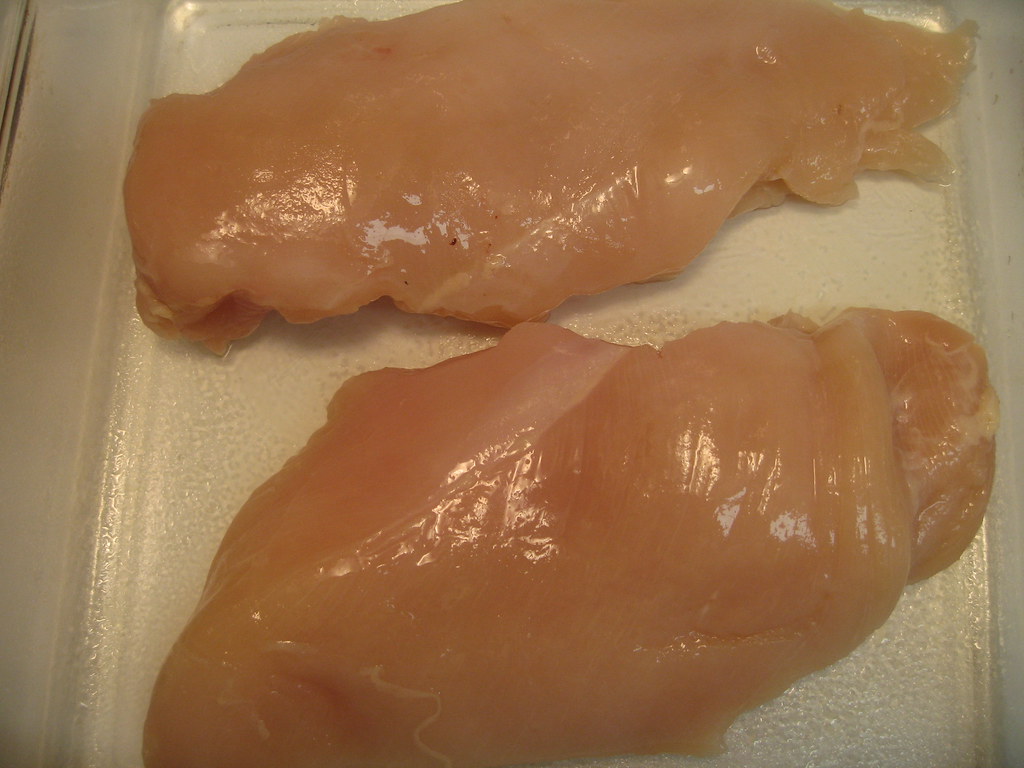
2 boneless, skinless chicken breasts
2 teaspoons dijon mustard
Step by Step
1.  Heat oven to 400 degrees.
2.  Lightly coat a glass baking dish with cooking spray.
3.  In a mini food processor,  mince garlic.  Then add parsley and pulse until combined.  Add the bread, Parmesan, oil, salt and a few dashes of pepper.  Pulse until all ingredients are well combined.
4.  Arrange chicken breasts on baking dish.  Spread mustard in a very thin layer on breasts and then pack  herb mixture on top to coat entire chicken breast.  Optional:  Sprinkle with a little extra cheese if desired.
5.  Bake until cooked through, which is about 20 to 25 minutes.
6.  Season with salt and pepper and serve.

9.24.2009

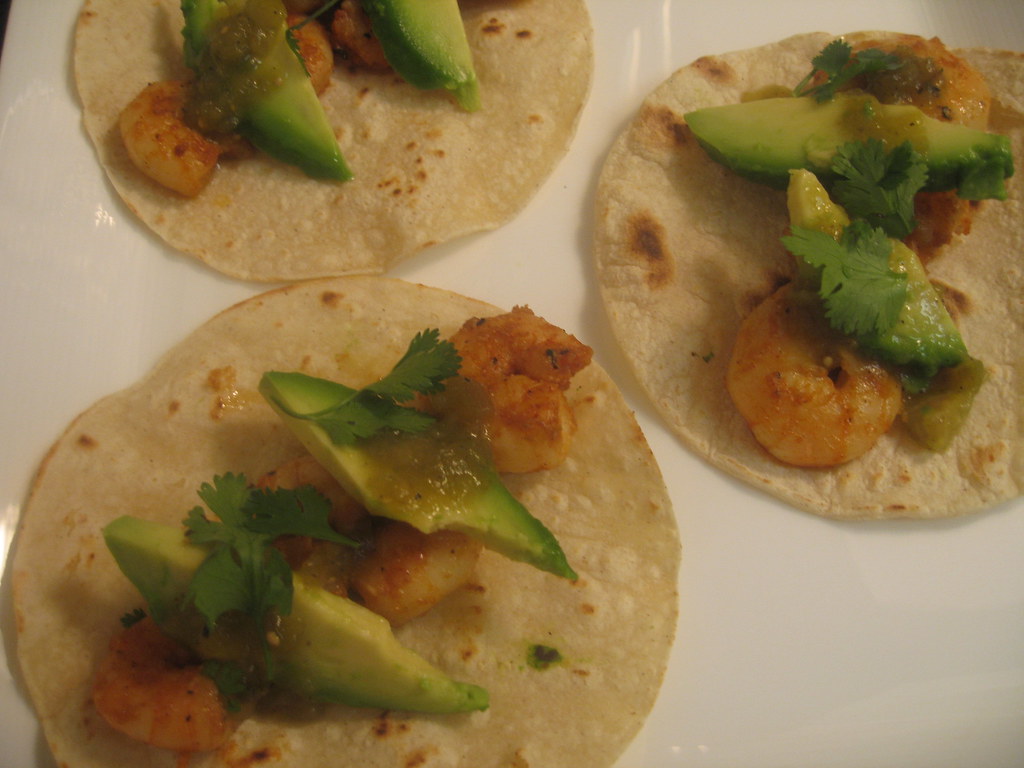
Shrimp Tacos

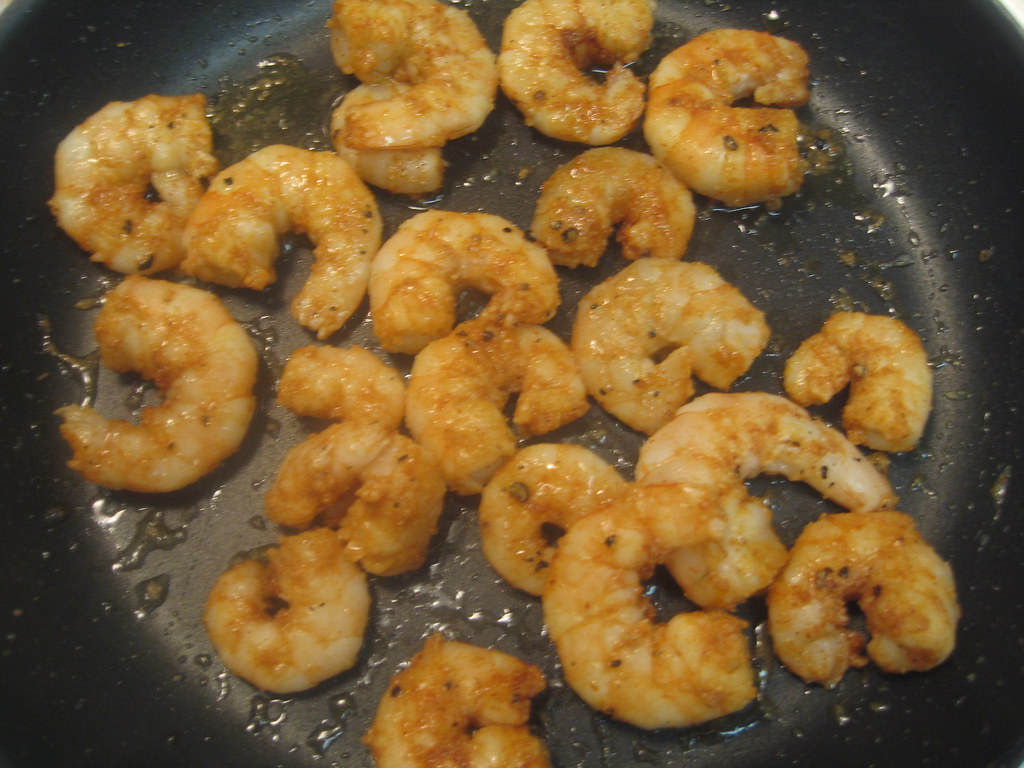
These have become an instant favorite.  And I have to say I am extra excited to post this because it is a quick and easy recipe I came up with myself! I still get such a kick out of creating a dish that is delicious that I didn't follow a specific recipe.  You can easily throw this together for a weeknight dinner and it is very budget friendly.  Another great perk is that this is a very healthy dinner as well especially if you are craving Mexican food.  We loved these so much that I made them two nights in a row.  The shrimp have so much flavor and the tacos taste like they could have come from your local taqueria.  Enjoy!
Shrimp Tacos
Serves 2
Recipe Notes
This recipe calls for jarred tomatillo sauce.  This is simply a Mexican green salsa that can be found at any grocery store.  It is usually found near other salsas and dips.
Ingredients
6 corn tortillas
1 1/2- 2 cups uncooked, peeled and deveined shrimp (about 25 medium sized shrimp)
1 teaspoon salt
1 teaspoon chili powder
1/2 teaspoon garlic powder
1/2 teaspoon freshly ground pepper
1 lime
1 tablespoon olive oil
1/2 an avocado, sliced
3 tablespoons fresh cilantro, roughly chopped
1/2 cup store bought tomatillo sauce (also known as mexican green sauce)
Step by Step
1.  In a medium sized bowl, toss shrimp with salt, chili powder, garlic powder and pepper.  Toss to coat shrimp.  Squeeze 3/4 of a lime over shrimp.
2.  Heat olive oil over medium heat in a  nonstick skillet.
3.  Add shrimp and cook for 5-10 minutes until shrimp are opaque and cooked through.  Toss a few times to let shrimp cook evenly.  Squeeze the last 1/4 of the lime onto the shrimp.
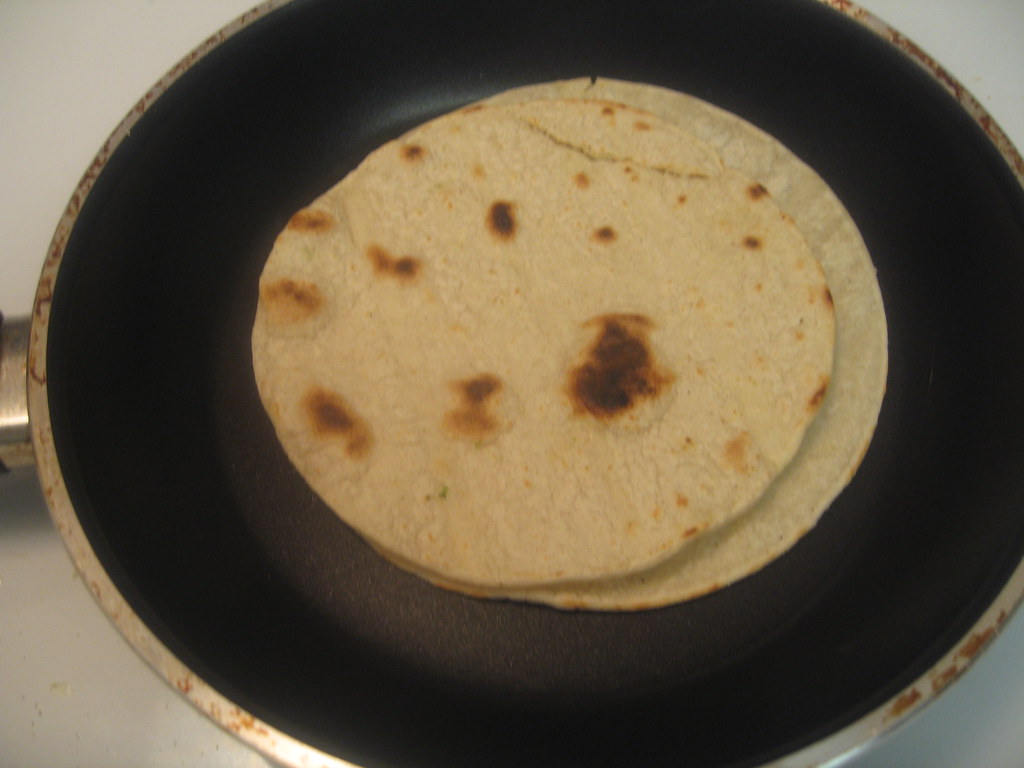
4.  While shrimp are cooking, heat a large skillet over medium to high heat. Place corn tortillas on dry pan one at a time until lightly browned.  Turn and brown the other side.  Keep warm in foil until all tortillas have been heated.
5.  Add 3-4 shrimp to each corn tortilla.  Top with 1-2 teaspoons of tomatillo sauce followed by avocado slices and cilantro. Serve Immediately.

9.23.2009

Simply Roasted Asparagus


Sometimes, the healthiest and tastiest sides can be achieved from very few steps. Roasted asparagus is one of my favorites because it's cheap, easy, healthy and quick (cheap if you buy it now when it is in season). I know this is a pretty lame post if you cook all the time and think this isn't even a recipe, but before my friend Allison introduced me to roasting vegetables, I thought it was way more complicated.  And during our week of healthy dinners, this will go perfectly alongside any dish.  Enjoy!


Simply Roasted Asparagus.
Ingredients
4 to 5 asparagus stalks per person
Olive Oil
Coarse Sea Salt (for the best taste, but other types of salt will work as well)
Step by Step
1. Preheat oven to 450 degrees.
2. Cover a shallow baking sheet with foil.
3. Cut off coarse bottoms (a.k.a. "woody ends") of the asparagus.
4. Lay out asparagus like shown above.
5. Lightly drizzle with olive oil and coarse salt.
6. Roll the asparagus around on the baking sheet to get the olive oil evenly spread.
7. Roast in oven for about 10 minutes.  *Shake the pan half way through to move asparagus around* (cooking time could be longer or shorter depending on thickness of stalks)
8. Pull out of the oven when lightly browned and asparagus is tender when pierced with a fork.
9. Serve immediately.

9.21.2009

Salmon with Tomato Avocado Salsa

So it is officially time to get more quick, easy and healthy dinner recipes on the Little Kitchen!  Sorry, I have not been ignoring your requests it's just that it is so much fun to make cupcakes and pizza!  So I thought this week I would feature a couple delicious and healthy weeknight meals. I combined a couple of recipes to come up with this one and I have to say it turned out pretty darn good.  I used a simple technique for the salmon and paired it with a tomato avocado salsa I found from Emeril Lagasse.  We really enjoyed this and salsa on top makes it a perfect dish for a hot day when you can get great corn and tomatoes at the grocery store.  You could also use grilled chicken if you are not a big salmon fan or throw this salmon on the grill instead of broiling.  Enjoy!


Salmon with Tomato Avocado Salsa
Serves 2
Adapted from Emeril Lagasse in Food Everyday
Ingredients
2 salmon fillets, skin removed (about 6 ounces each)
salt 
pepper
garlic powder
1 ear of corn, husks and silk removed
1 vine-ripened tomato, core removed and cut into small chunks
1 avocado, halved, pitted and diced
1/4 small red onion, finely chopped
1 tablespoons finely chopped fresh parsley
1 1/2 tablespoons extra-virgin olive oil
1 tablespoon fresh lemon juice
Step by Step
1.  In a large pot of boiling water, cook corn until tender, about 4 minutes.
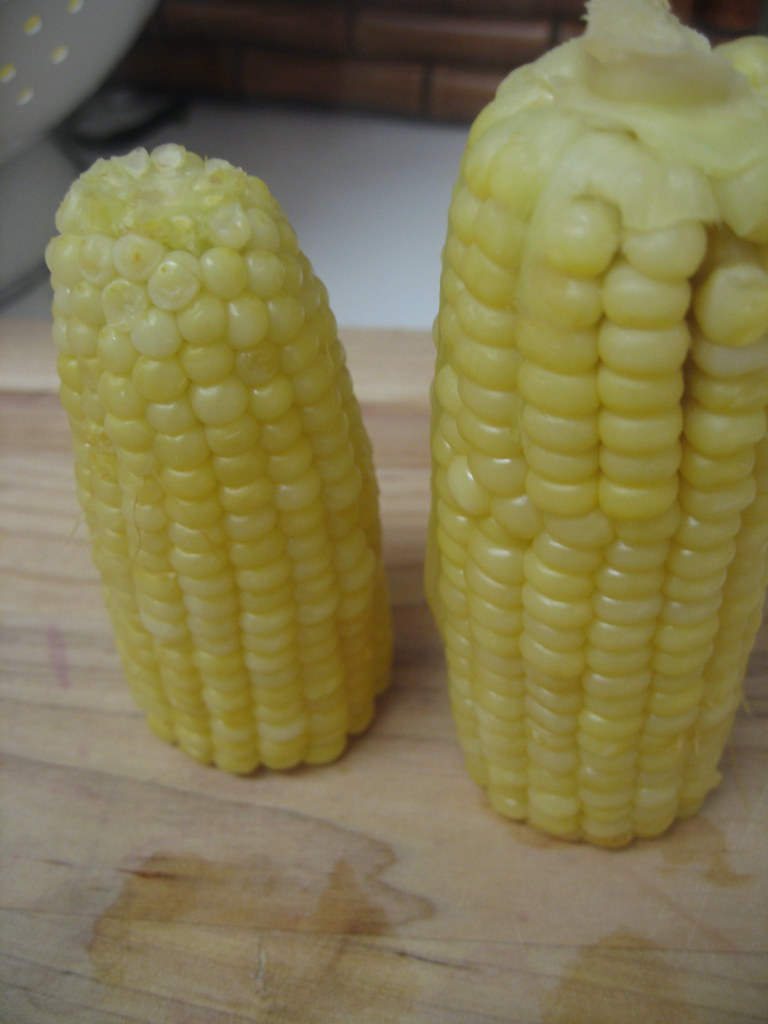
2.  Remove from water and cut corn cob in half (see picture below).
3.  Using a sharp knife, slice downward to release corn kernels.
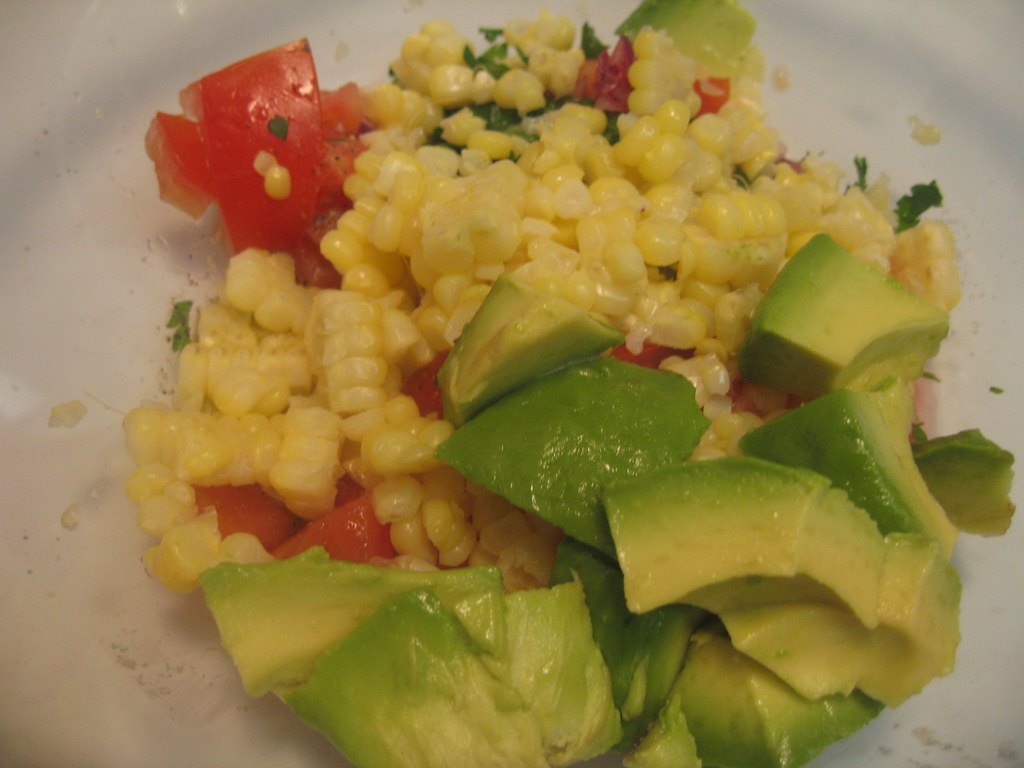
4.  In a medium size bowl, combine corn kernels, tomato, avocado, onion, parsley, 1 tablespoon olive oil, lemon juice, 1/2 teaspoon salt and 1/4 teaspoon pepper.  Toss to combine and set aside.
5.  Preheat oven to broil.
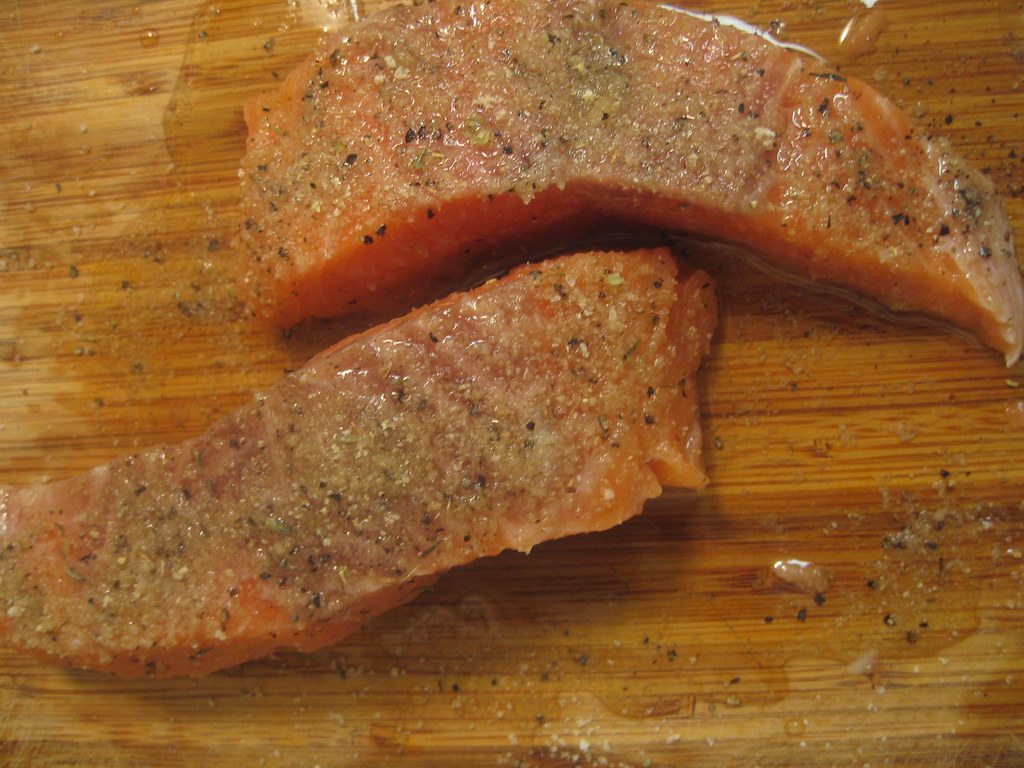
6.  Brush both sides of salmon with olive oil.  Heavily sprinkle salt, pepper and garlic powder on one side of salmon.  Place salmon fillets, seasoned side up on a heavy cookie sheet cover with foil.
7.  Broil salmon for about 10 minutes per inch of thickness (broil about 5 to 7 minutes for thinner steaks).  When salmon is golden brown on top, remove from oven.   
8.  Top each piece of salmon with half of the tomato avocado salsa and serve.
Tip for cutting corn off the cob: I don't know about your experience with corn in the kitchen, but any time I try to remove the kernels, I end up with most of them sprayed around the kitchen.  Cut the corn in half first and the kernels will not fly as far. 

9.20.2009

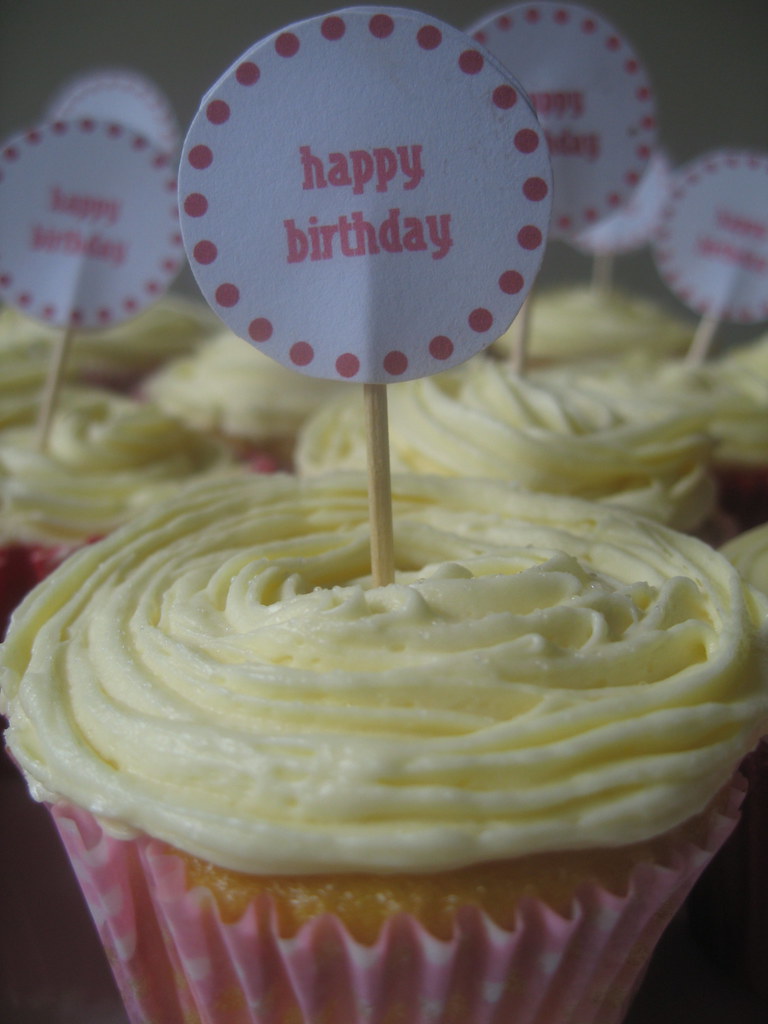
Happy Birthday Cupcakes

So I wanted to say Happy Birthday to one of my dear friends, Lindsey whose birthday is today! I made these cupcakes for her and wanted to share them with you in case you would like to jazz up a birthday treat with something other than candles.  I made the triple lemon cupcakes that I made a few weeks back and decided these little homemade signs would make them extra special.  I printed these on my computer and glued them to toothpicks.  I have made Congratulations/ Happy Birthday flags in the past and thought these circles were a cute twist.  No matter what phrase or type of flag your use as a topper, I think they are a darling touch.   Happy Birthday Lins!