8.14.2009

Homemade Pizza with Mushrooms & Pancetta

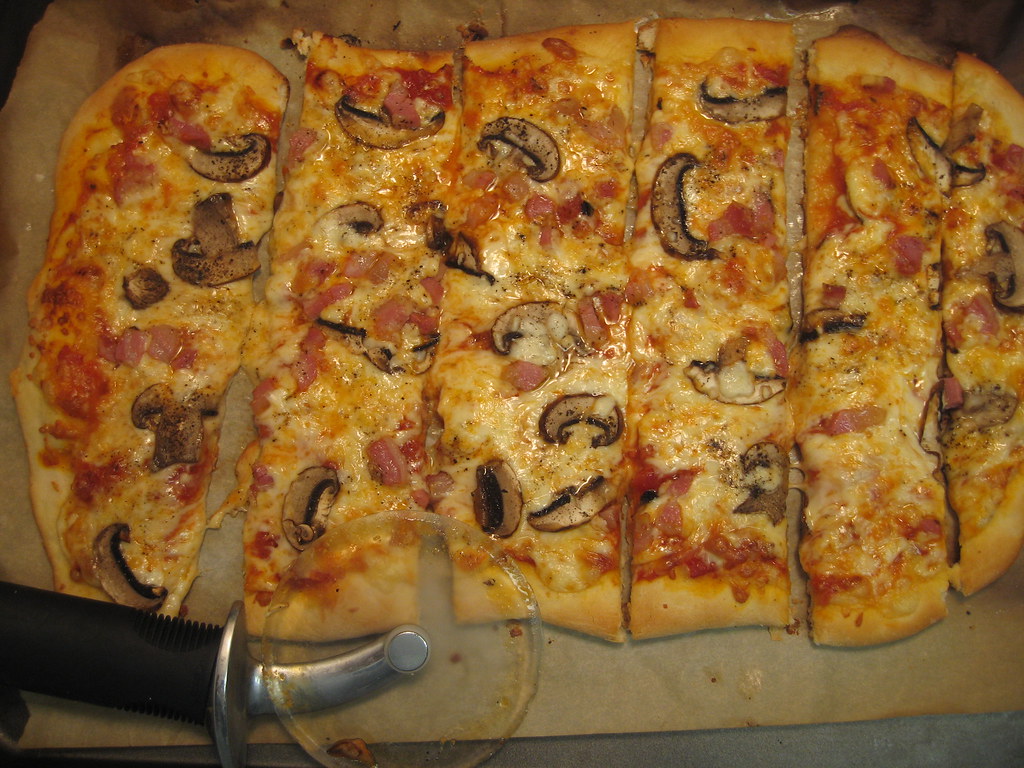
So how many of you were wondering if I really just left that dough plain? Sorry I left you hanging, but here is the final product of my homemade pizza endeavor.  This is the rest of the pizza recipe I had from Giada de Laurentis and I can barely put into words how delicious it is.  Chewy in the middle, crunchy on the outside crust... 3 different melted cheeses... topped with salty bites of pancetta... yum!  I set out to determine if going through all the trouble of making homemade pizza was worth it and my conclusion is a resounding yes! The options are endless and this combination is a great start.  Enjoy!
Homemade Pizza with Mushrooms & Pancetta

Adapted from Giada de Laurentis in Bon Appetit
Recipe Notes
For those of you unfamiliar with pancetta, it is Italian style bacon.  Regular bacon does not really work as a substitute for this recipe, but I do have a hint on how to get great pancetta without having to buy a ton.  Most every grocery store carries it in the deli and you can ask for two thick slices (about 1/2 an inch each), which is enough for this recipe.   Also, fontina cheese can be a tad on the expensive side, but a small piece will give you enough for two pizzas.  If you have to use less than the recipe calls for, just add more parmesan and mozzarella.  This recipe makes enough for two cookie sheet size pizzas so feel free to half the recipe and freeze the other half of the dough for another night.
Ingredients
1/2 cup purchased marinara sauce
1 cup coarsely grated Fontina cheese
1/2 cup finely grated Parmesan cheese
1/3 cup coarsely grated mozzarella cheese
2 ounces crimini (baby bella) mushrooms, thinly sliced
2 ounces thinly sliced pancetta (Italian bacon), coarsely chopped
Step by Step
1.  Preheat oven to 475 degrees.
2.  Line 2 large baking sheets with parchment paper.
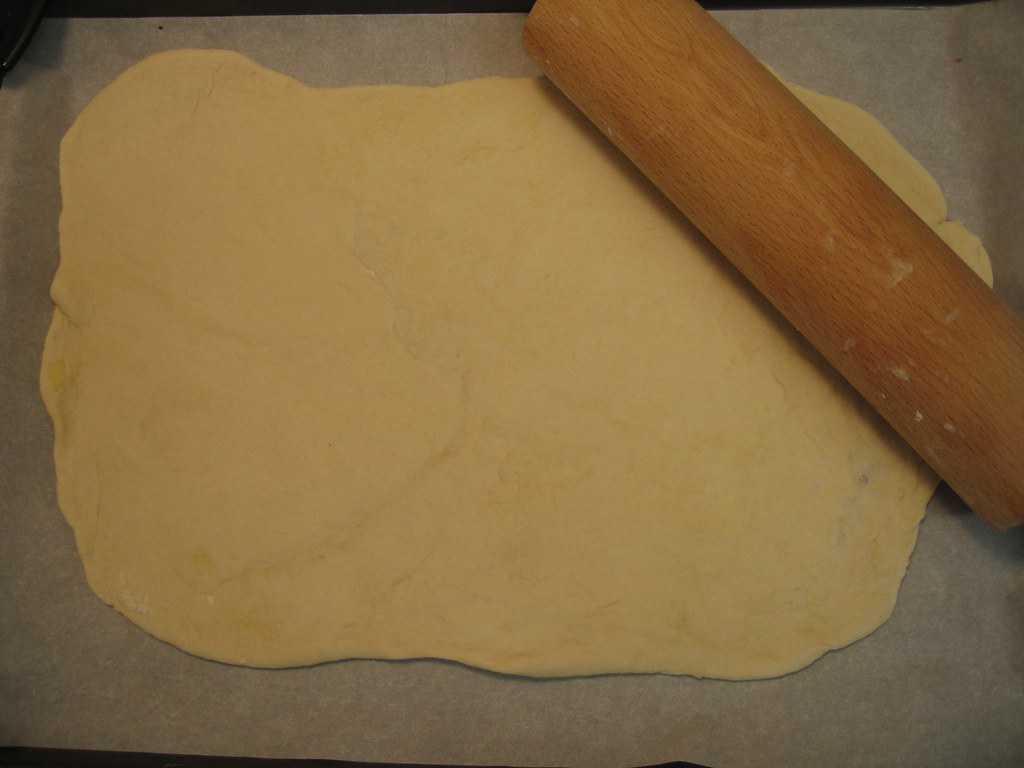
3.  Divide dough in half.  Roll out one half on lightly floured surface to 13 1/2 by 8 1/2 inch rectangle.
4.  Transfer to one baking sheet.  Repeat with second half.
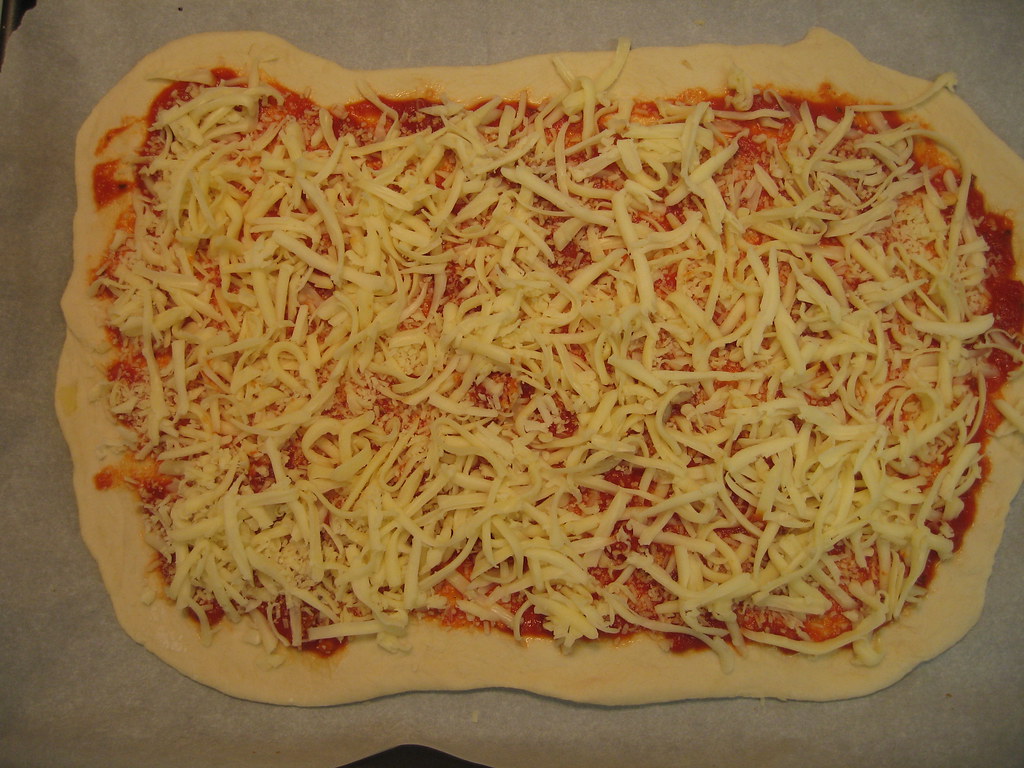
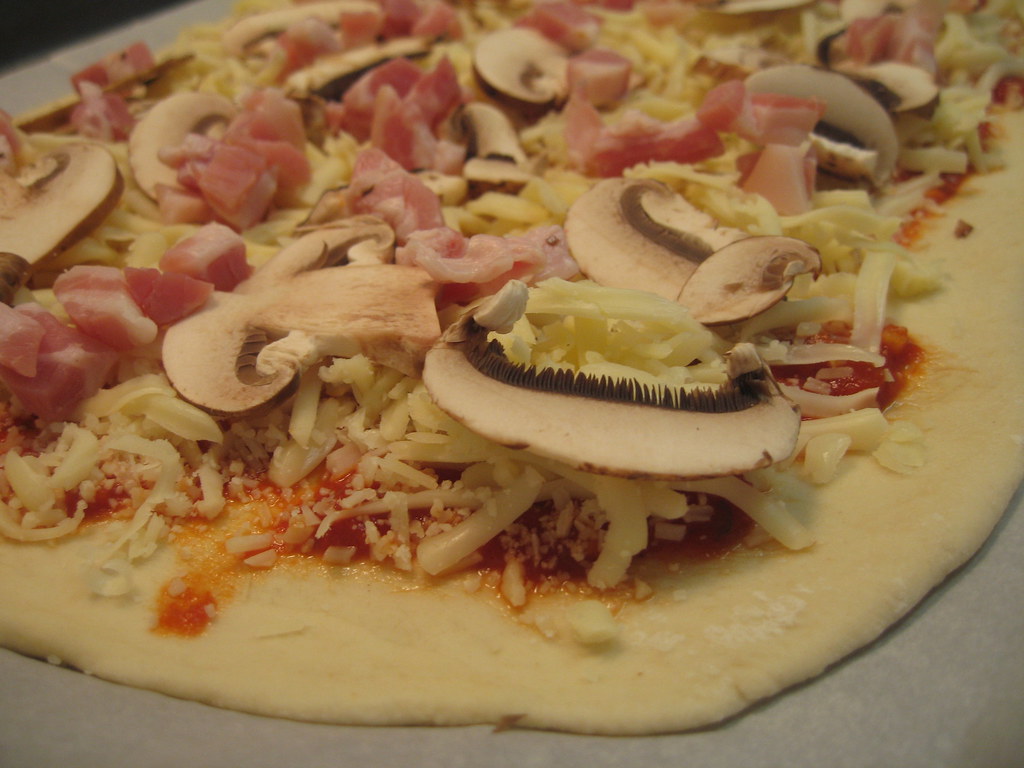
5.  Spread 1/4 cup marinara sauce over each pizza, leaving 1/2 inch border.  Sprinkle cheese over, then mushrooms and pancetta.  Sprinkle with salt and generous amount of pepper.
6.  Bake pizzas until brown on bottom and cheese is melter, about 15 minutes.  Cut each pizza crosswise into rectangles.

8.10.2009

How To: Homemade Pizza Dough


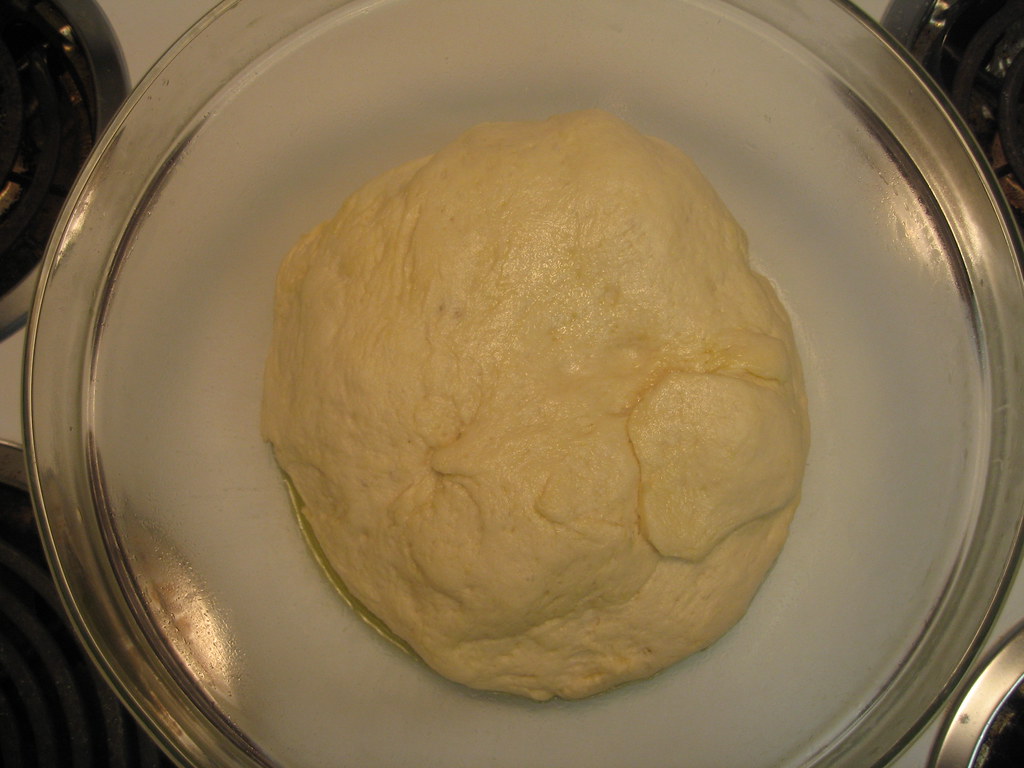
I feel as if I have experienced a miracle.  I watched a dough like substance double in size from a silly little packet of something called yeast! Homemade pizza dough has been on my list of things to make for as long as I can remember.  I thought once I mastered pizza dough, the possibilities would be endless! (yes, I know this might sound a little familiar from my crepe phase... which is hardly a phase because they are now a staple!)  Well, I have to say that I am pretty excited because this was only my first attempt and this is such a great recipe that turned out perfect.  Considering it came from the queen of Italian food, Giada de Laurentis, I shouldn't be too surprised that it was wonderful crust.  Another thing that has always deterred about making pizza dough was the ingredient list that included a packet of yeast and water that had to be at a certain temperature.  That was enough to discourage me, but once I found out that you can easily buy yeast packets near the flour in your grocery store, and all you really need is lukewarm water, I was ready to overcome my fears.  If you are still a little weary of making or kneading dough, Bon Appetit has a great short video that shows each step and gives great tips on how to know when you are done kneading.  Click here for the video.

A side note:  I am not here to reinvent the wheel.  Pizza is one of the most accessible foods these days and within minutes you can have anything from a cheap pizza to a gourmet pizza at your doorstep within an hour.  However, I have heard great homemade pizza can easily be made and my hopes for this endeavor was to find a great crust and be able to have make your own pizza parties!  Well, I am officially inspired with this great crust and next on my list is to try the Barefoot Contessa's recipe for whole wheat crust.


Homemade Pizza Dough
Adapted from Bon Appetit July 2009
Recipe Note
This recipe calls for 115 degree water.  I did not have take the temperature of my water, but instead just used lukewarm water.  The appliance that made this so easy was my food processor.  I have not experimented with how to make the dough without one.  I know there is a way and if anyone has any tips on this, please share!
Ingredients
3/4 cup lukewarm water (105 to 115 degrees)
1 envelope active dry yeast
2 cups all purpose flour (plus more for the counter)
1 teaspoon sugar
3/4 teaspoon salt
3 tablespoons olive oil
Step by Step
1.  Pour warm water into a bowl.  Stir in packet of yeast and allow to dissolve, about 5 minutes.
2.  Coat a large mixing bowl with olive oil and set aside.
3.  In a large food processor with a dough blade, combine flour, sugar and salt.  Pulse a few times to combine ingredients.
4.  Add yeast mixture and olive oil.  Process until dough forms a sticky ball.
5.  Transfer dough ball to a lightly floured surface.
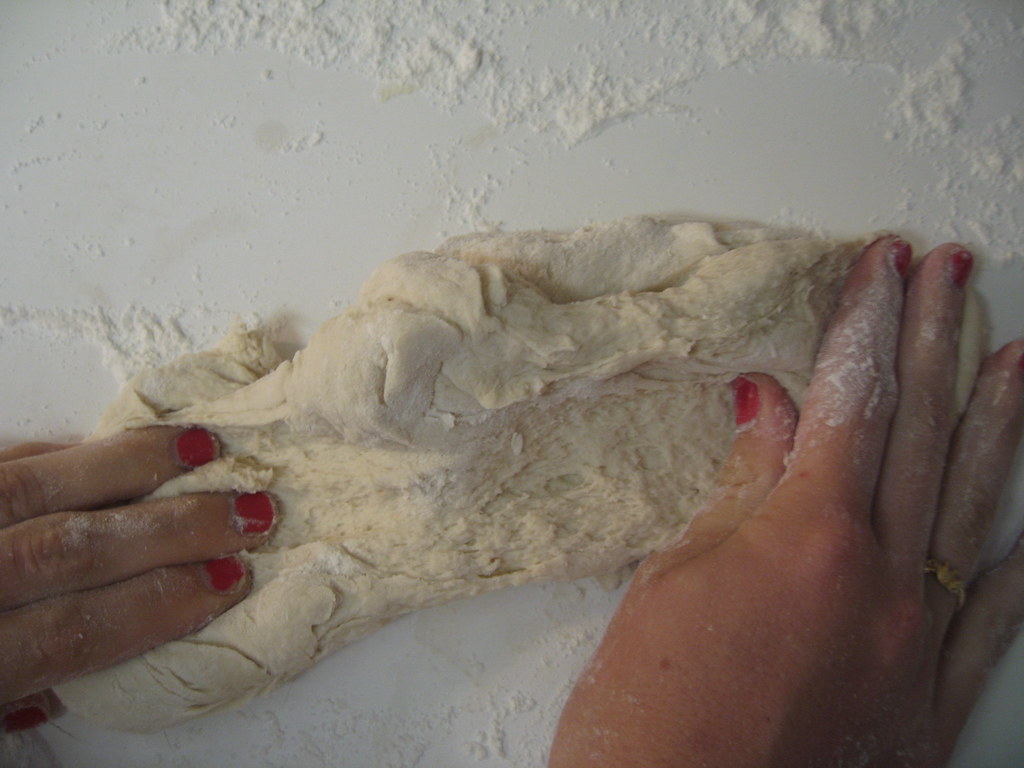
6.  Knead dough until smooth, about one minute.  To test if dough is done being kneaded, press the dough ball with two fingers.  If the the finger dents stay in the dough, you are done kneading.  If dough is sticky add flour by tablespoons until it no longer sticks to your fingers.
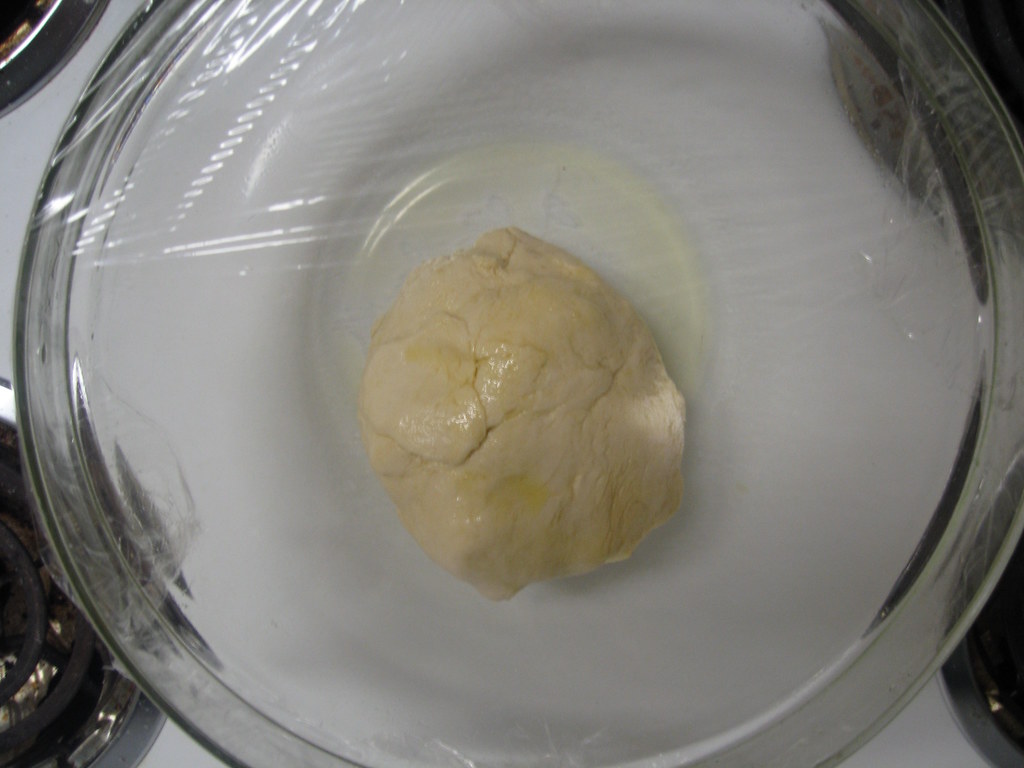
7.  Transfer dough ball to bowl coated with oil.  Turn dough in the bowl so it is covered with oil.
8.  Tightly cover bowl with plastic wrap.  Set aside in a warm, draft-free area.  Allow dough to sit for about an hour, until the dough has doubled in size.
9.  Remove plastic wrap and punch dough once or twice with your fist to remove air.
10.  Slowly stretch dough out or roll out with rolling pin until desired thickness and shape.

Dough can be stored in an airtight container for up to one day in the refrigerator.  Dough can also be frozen for up to 3 months.

8.08.2009

Banana & Chocolate Chip Pancakes with Pecans


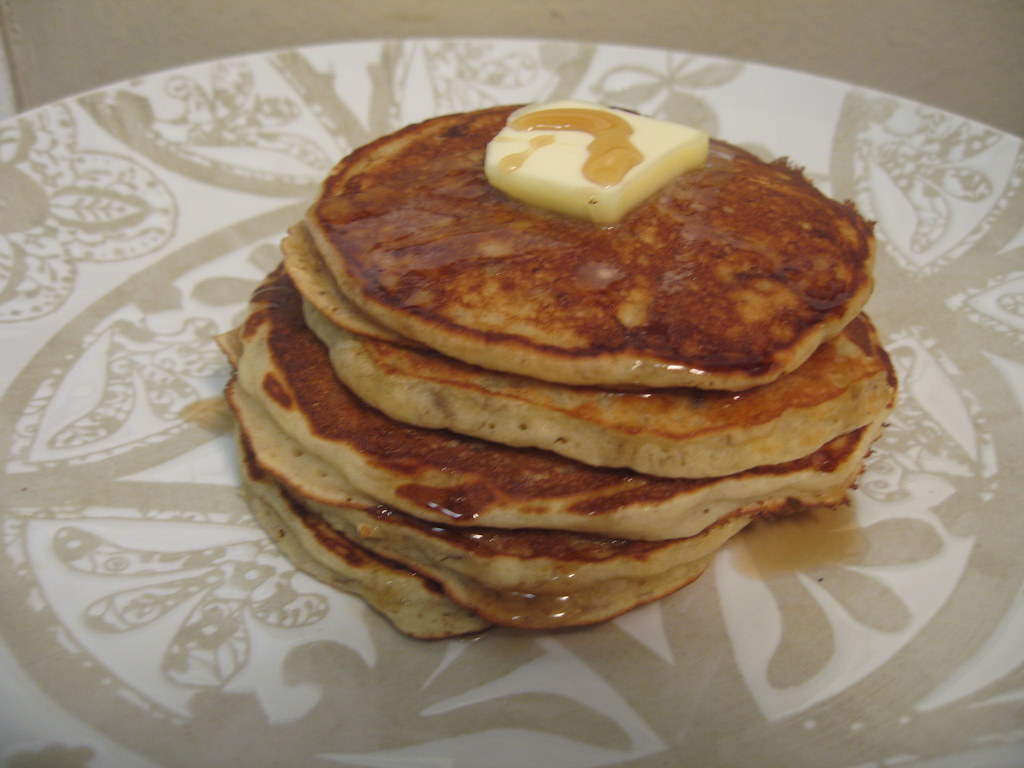
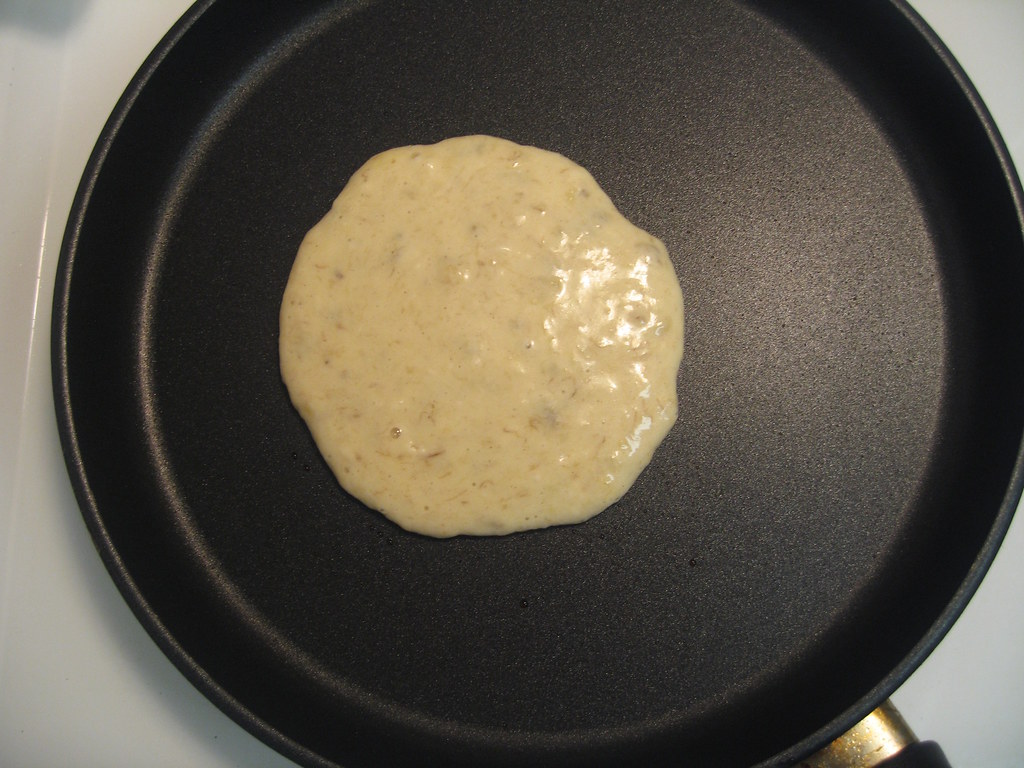
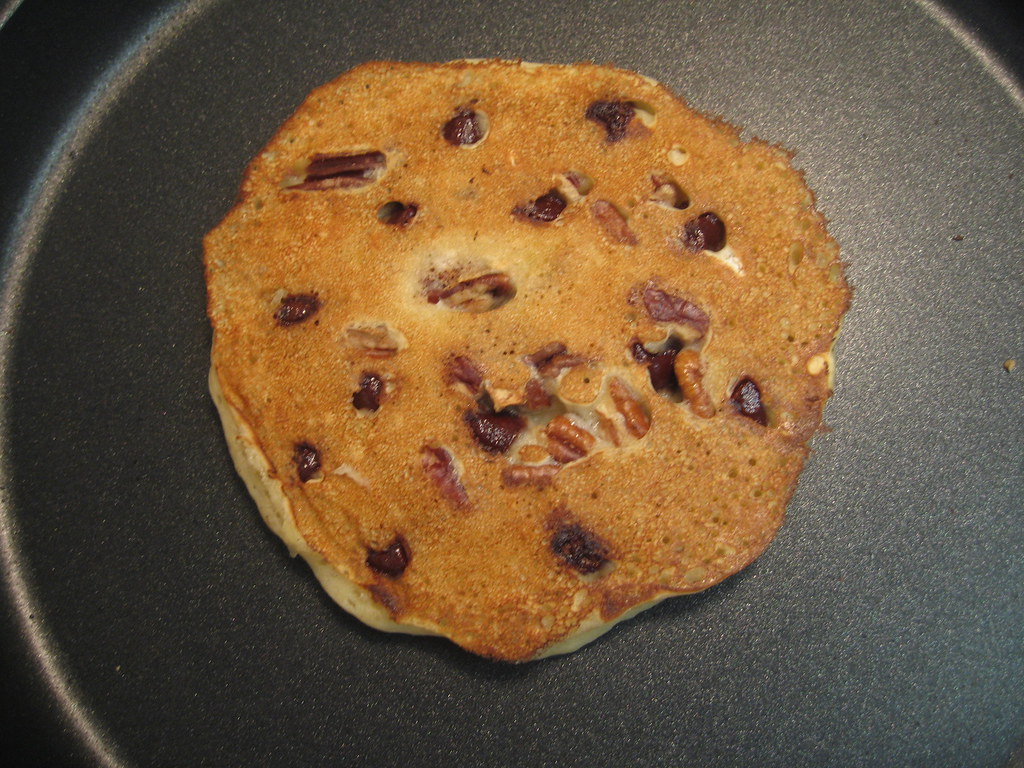
There is nothing like a big stack of pancakes on a Saturday morning when you can just sit around and eat till noon.  I found this banana pancake recipe to be so easy and the pecans and chocolate chips make it extra special.  The great thing about this recipe is that you add the chocolate chips and pecans at the end.  I would definitely go for both, but if you have a picky eater or two, you can make a couple without either the chocolate chips or pecans.
Banana & Chocolate Chip Pancakes with Pecans
Recipe Notes
Make sure you mush the bananas so they are almost liquid.  This will help the banana to evenly spread throughout the batter.  Make sure and cook the pancakes on low to medium heat, but allow both sides to brown completely so that they will be cooked through.
Ingredients
1 cup all purpose flour
1 tablespoon white sugar
2 teaspoons baking powder
1/2 teaspoon salt
1 egg, beaten
1 cup milk
2 tablespoons vegetable oil
2 ripe bananas, mashed
dash of cinnamon
dash of vanilla
1/2 cup milk chocolate chips
1/2 cup chopped pecans
Step by Step
1.  Combine flour, sugar, baking powder, salt and cinnamon in a bowl.
2.  In another bowl, combine egg, milk, oil, bananas and vanilla.
3.  Stir flour mixture into liquid mixture until just combined.
4.  Heat a nonstick skillet over low to medium heat.
5.  Pour a 1/4 cup of batter in a circle on heated pan.
6.  Place chocolate chips and pecans on wet side of batter slightly pushing them into the batter.
7.  When edges of pancake start to bubble, flip with a spatula.
8.  Allow pancake to brown completely on the other side.
9.  Repeat until batter is gone.  Keep pancakes warm in the oven on very low heat while the rest are cooking.

8.07.2009

Fried Eggplant

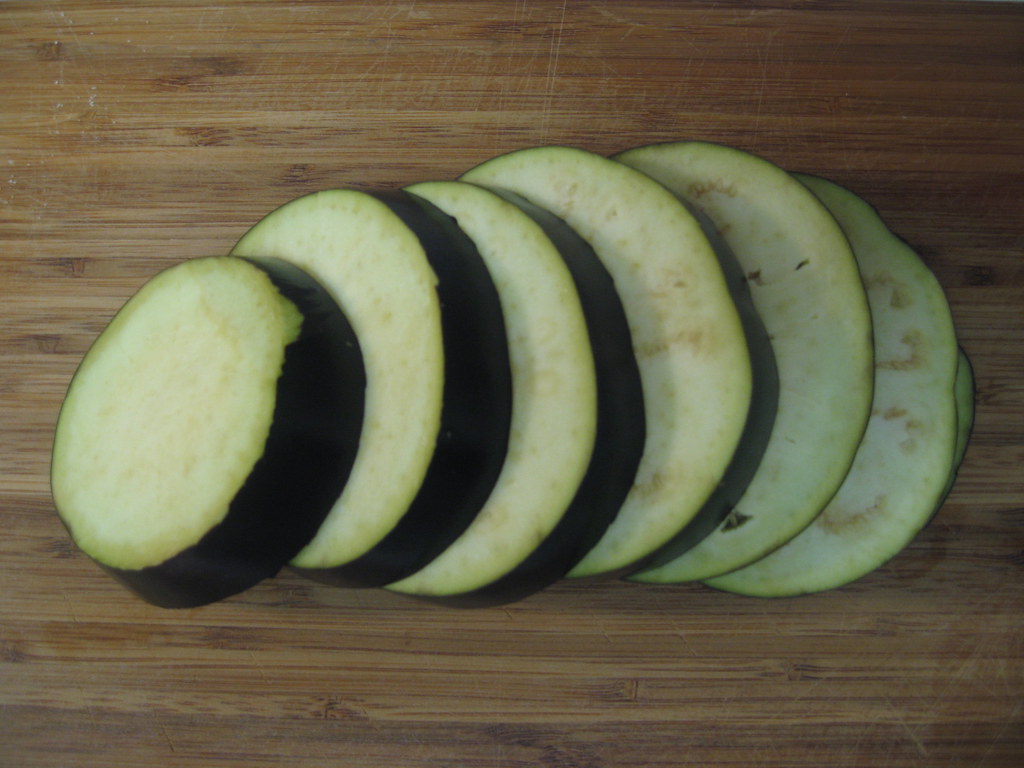
I had the most exciting little surprise this week.  My friend/ coworker, Rachel, found out about my Little Kitchen and all the cooking that goes on here, and decided to bring me a few jewels from her garden.  Among the herbs and pepper was this little darling little eggplant. 
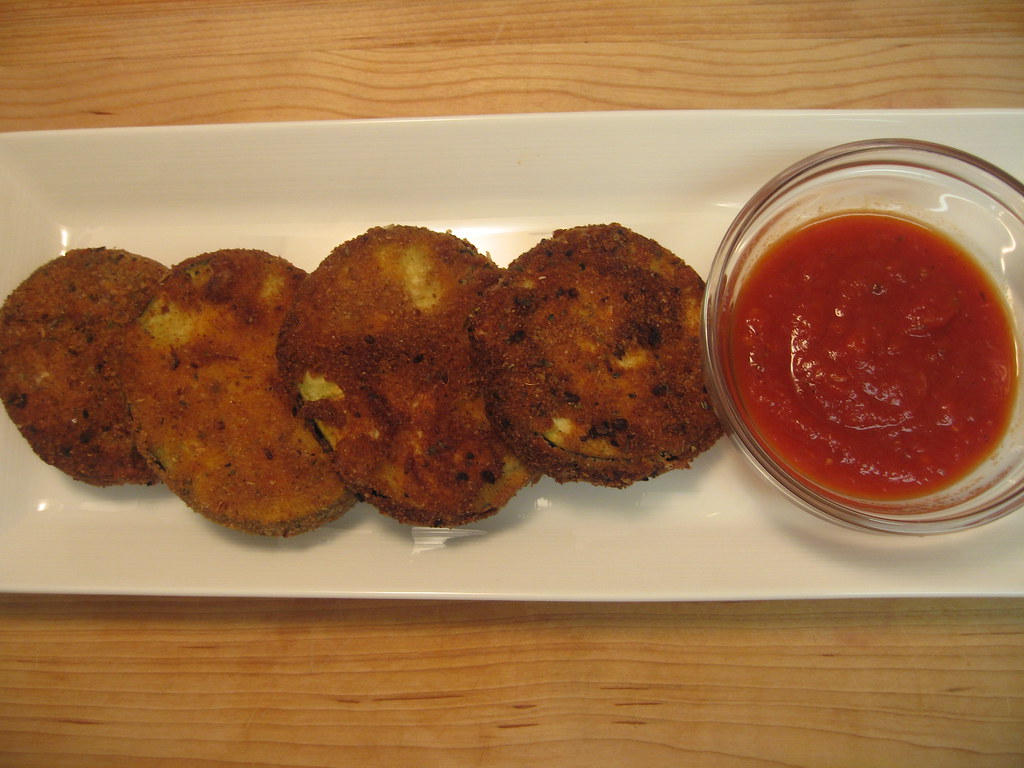
If you are familiar with my topsy turvy saga and my struggle to keep a potted herb alive, you would understand how in awe I am when people can grow such wonderful looking veggies at home.  I was just giddy about this little tyke and immediately tried to come up with the perfect way to use it.  I dreamt of vegetable lasagnas and eggplant stir frys, and leave it to me to end up cooking this in the most unhealthy way (however, probably the most delicious!).  I haven't cooked much with eggplant so my goal for my first time was to make it as tasty as possible.  Fried eggplant with marinara sounded like a winner to me! I found this wonderful recipe from Emeril Lagasse and got to work.  The results were delicious.  In fact, Mr. Hungry said it tasted more like fried cheese than an eggplant.  Yum.  So if you have never cooked with eggplant either, I suggest you try this easy and delicious method.
Fried Eggplant
Adapted from Emeril Lagasse from the Food Network
Recipe Note
Do not be scared by all the spices that go into Emeril's Essence.  I actually didn't use the thyme because I didn't have any and substituted the onion powder for the onion flakes I already had.  Of course the goal is to use all of the ingredients, but you can skip one or two if you need to.  I would suggest cutting the eggplant no thicker than 1/4 inch.  I cut one piece that was slightly thicker and it was a little bit tough.   A tip to know when your oil is the right temperature:  When you have heated your oil over medium to high heat, sprinkle a little bit of flour in the oil.  If it sizzles and pretty much dissappears, your oil is ready.
Ingredients
1/2 cup all-purpose flour or cornstarch
3 eggs, lightly beaten
2 cups fresh bread crumbs
1/2 teaspoon salt, plus additional for sprinkling eggplant
1 tablespoon Essence, recipe follows
1 small eggplant, cut into 1/4 inch disks
Vegetable oil, for deep frying
Marinara sauce, for dipping
Ingredients for "Emeril's Essence"
2 1/2 tablespoons paprika
2 tablespoons salt
2 tablespoons garlic powder
1 tablespoon black pepper
1 tablespoon onion powder
1 tablespoon cayenne pepper
1 tablespoon dried oregano
1 tablespoon dried thyme
Combine all ingredients in a small bowl.
Step by Step
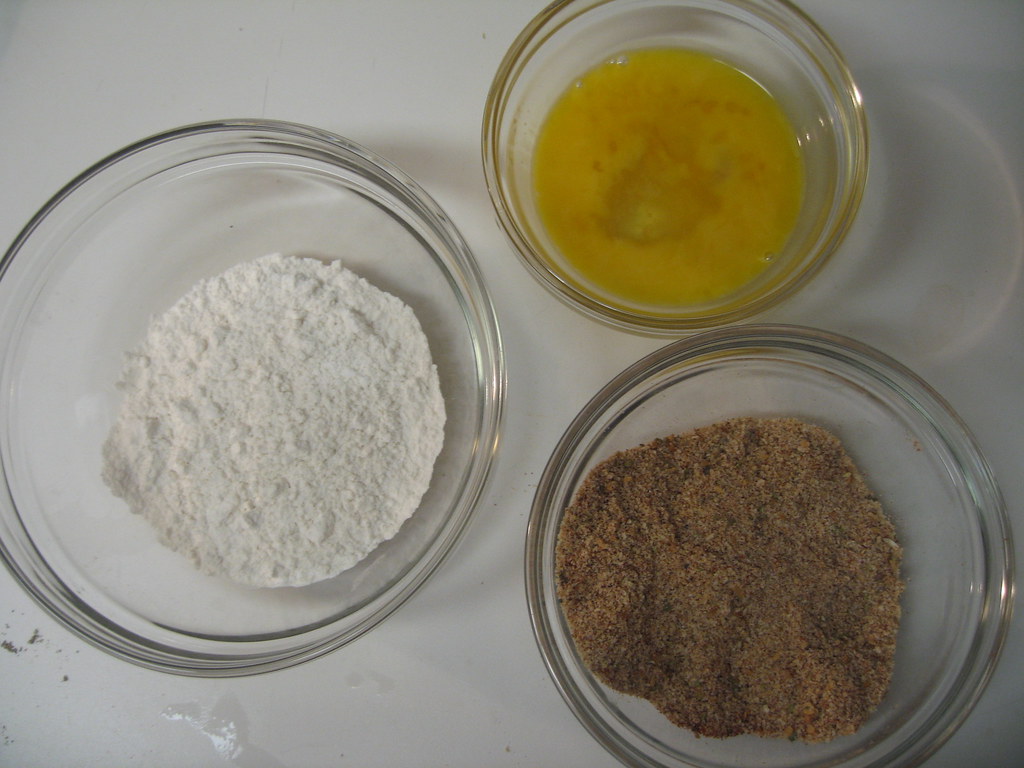
1.  Place the flour, egg, and bread crumbs each in 3 small bowls.
2.  Add the 1/2 teaspoon of salt to the egg and whisk to combine.
3.  Season the bread crumbs with the tablespoon of Essence and stir with a fork or your hands to thoroughly combine.
4.  Dredge each piece of eggplant in the flour, coating thoroughly and then shaking to remove any excess flour.
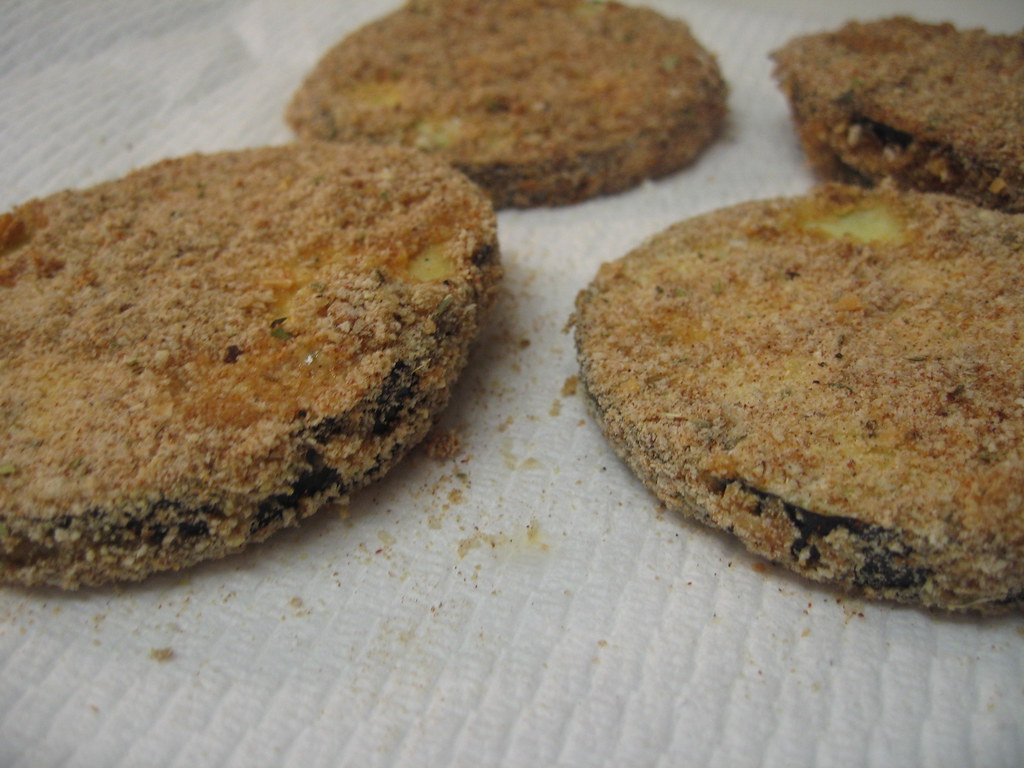
5.  Coat each piece with the egg, then dredge in the bread crumb mixture, pressing to make the bread crumbs adhere. Transfer the eggplant pieces to a paper towel to let them dry slightly before frying.
6.  In a heavy skillet, heat 1/2-inch of vegetable oil to 375 degrees F (medium to high heat).
7.  Fry the eggplant pieces, in batches if necessary, for about 1 minute on each side, or until golden brown. 8.  Transfer with tongs to paper towels to drain.
9.  Sprinkle lightly with salt before serving. Serve with marinara sauce, or as desired.

8.05.2009

Lemon Butter Cookies

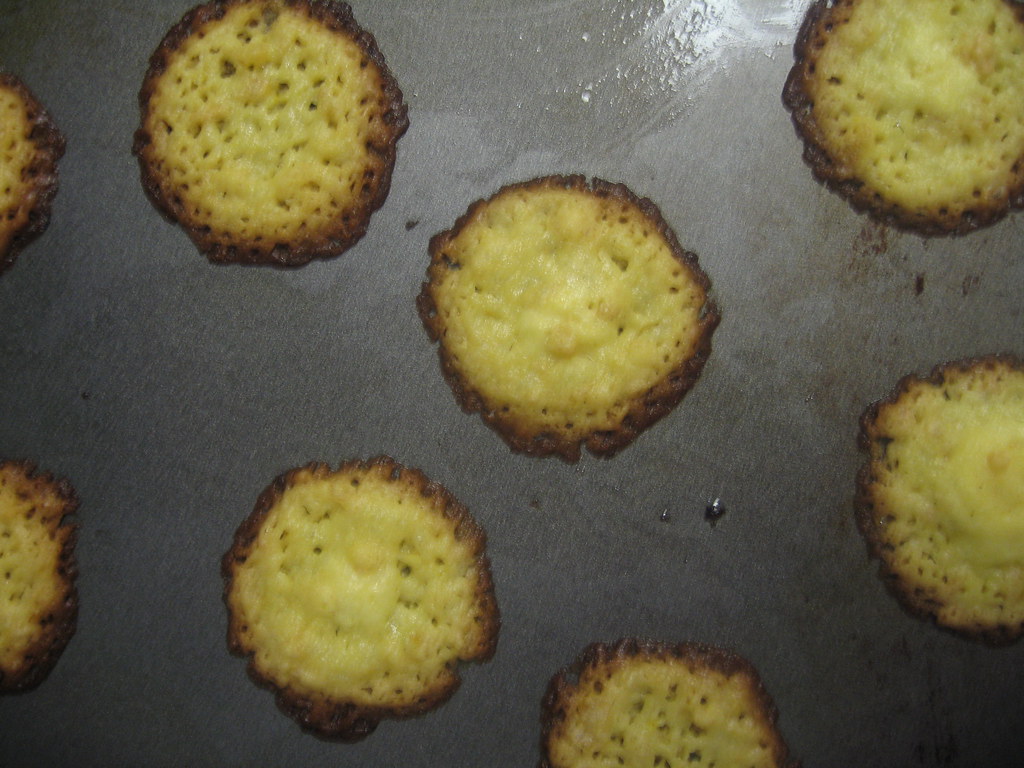
One of my favorite parts about starting this little cooking blog has been all of the wonderful recipes that people have shared with me (I plan on getting to all of them!).  This recipe came to me the best way.  My friend's aunt sent me the recipe along with a sample of these delicious cookies.  I was sold immediately and then found out they are also the easiest cookies to make! This recipe is a perfect example of one of my favorite grocery buys, boxed cake mix.  These wonderful buys often get a really bad wrap for being a "shortcut" or having "fake flavor," but they are perfect when you doctor them up a little.  Boxed cake mixes are simply pre-measured ingredients, so save yourself a step or two and use them next time you make cookies or a cake.  These lemon butter cookies melt in your mouth and the flavor seems like a cookie you would be served in you neighborhood cafe with a cup of tea.  Now for the best part... There are only 3 ingredients!  So thank you Mary and Trish for sending this recipe my way!

Lemon Butter Cookies
Recipe from Trish Chambers
Ingredients
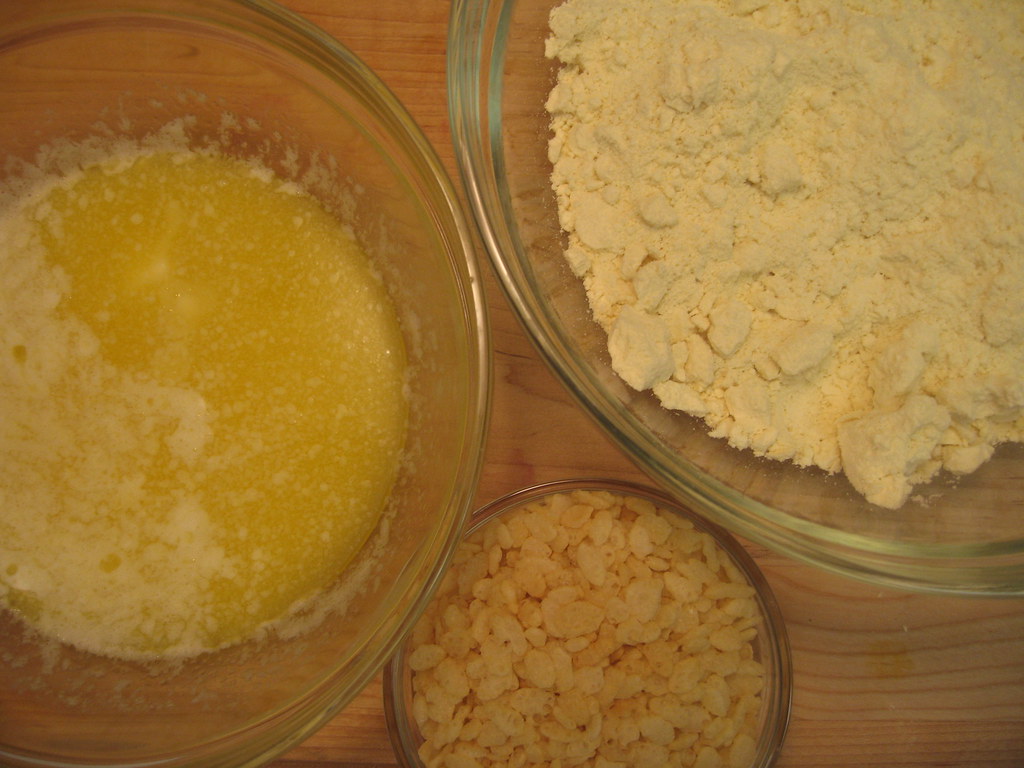
1 lemon boxed cake mix
1 cup (2 sticks) butter, melted
1 cup rice krispies
Step by Step
1.  Preheat oven to 350 degrees.
2.  Mix three ingredients in a medium size bowl.
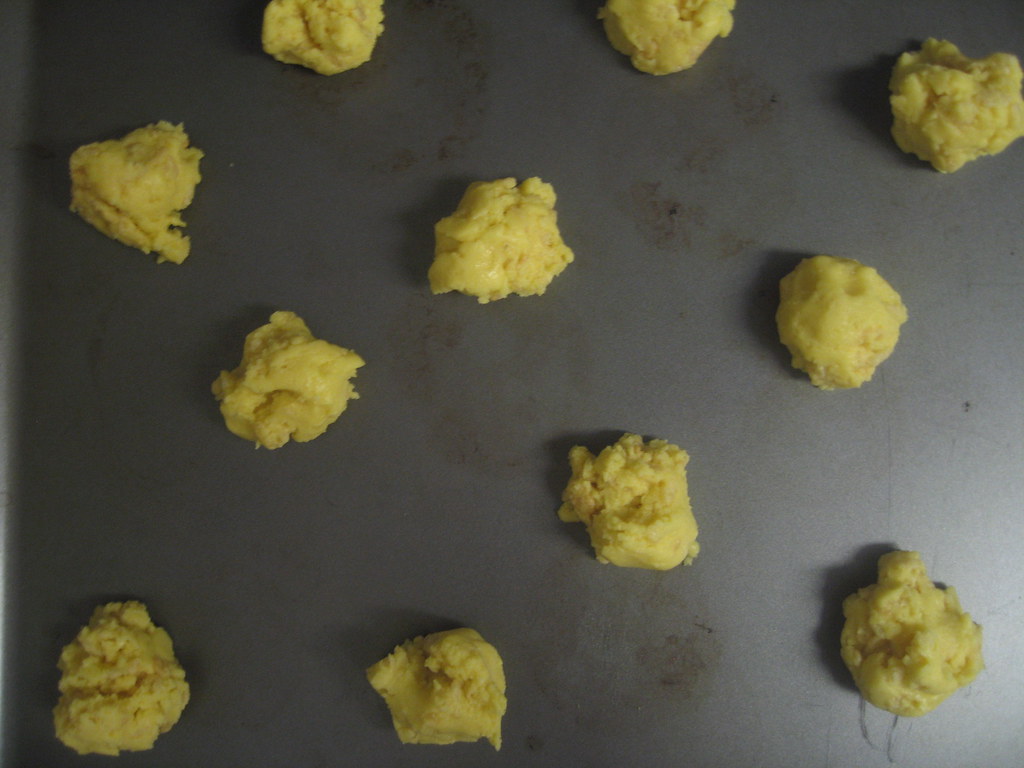
3.  Using a tablespoon, scoop dough onto a nonstick baking sheet.
4.  Bake for about 10 minutes.  Watch closely and remove from oven when cookies or golden, but before the edges get brown.
5.  Using a spatula, transfer cookies to a cooling rack.

Be Careful!  
You must keep a careful eye on your cookies because you do not want these brown edges.  It can happen very quickly and you might lose a batch or two, but take the cookies out before they brown or they will be too crunchy.

8.02.2009

Central Market Dinner for Two Deals

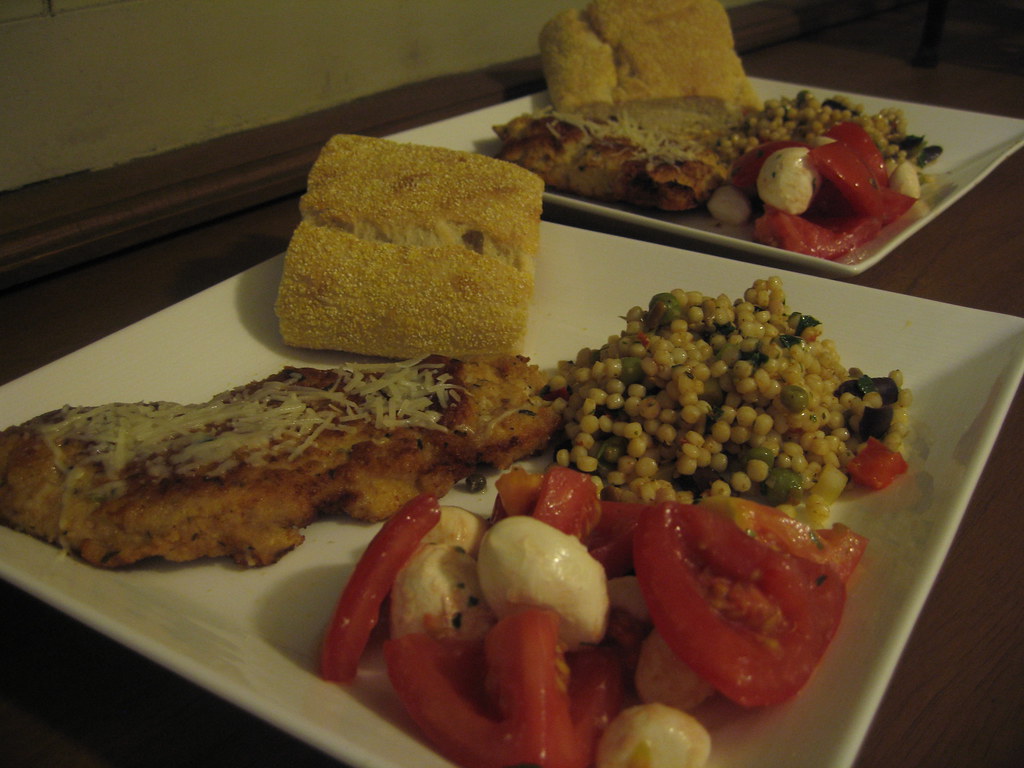
I am going to take a moment and go in the opposite direction of what I always write about, cooking.  Put down the skillet and spatula and run to Central Market!  Have you heard of their "Dinner for Two" deals?  Every day, they offer a different meal that is already prepared and you pick it up and heat it up when you get home.  I have to admit I have passed it many times before for the normal cost of $14.99, but they are on sale this week for $9.99 until Tuesday!  That is two portions of a wonderful meal already prepared for $10.  Besides the fact that I love to cook, it also can save a lot of money.  However, I think Central Market has me beat this week.  Last night, we had breaded chicken cutlets, tomato mozzarella salad, israeli couscous and parmesan focaccia bread.  It was delicious and we plan on having the sliced ham, macaroni and cheese, green beans almondine and rolls tonight for dinner.  I am sure these meals are still a really good deal for $14.99, but I think they are a steal for $9.99 and worth putting down the pots and pans for a day or two.  The only sad part about this, is that I just found out about it and the special is over Tuesday.  Sorry about that, but hopefully you can enjoy one of the last two days!  Check here for the menu at your local Central Market.

p.s. Sorry for those of you who are reading this and don't live near a Central Market!