Showing posts with label breads. Show all posts

11.15.2011

Pumpkin Nutella Cupcakes

pumpkin cupcakes final1 
At the ripe age of 27, I have yet to take the main responsibility for Thanksgiving dinner.  I have made a side dish or two, but the brunt of responsibility (and the turkey) have yet to come my way (and hoping I have quite a few years before that day comes).

Those that do have this responsibility should be given an award.  All those casseroles... one honking turkey... all hot at the same time with appetizers and pies on either side of the equation to make sure everyone is overly stuffed... big job... big, big job.

If you are in charge, good luck.

 If you are not, turn yourself into a really good guest and make these muffins/ cupcakes.
pumpkin cupcakes final2
There is just something about Nutella that makes everything better.

If this looks a little familiar, that is because without the pecan topping and a different pan, you just saw this a few weeks ago in the form of loaves.
The Nutella surprise seems to be even better in cupcake form.  Bite into this oh so ordinary looking pumpkin bread to be met with a perfect pocket of Nutella.  Oh yeah, this is major.
pumpkin cupcakes final3
But some occasions just call for the oh so wonderful and portable cupcake... and the pecans just added the perfect crunch to this combo.

Oh heavens you could be such a star at your relative's house when you show up with a plate of these.  Thanksgiving day is decadent... maybe share these for breakfast? Get the morning started right.

Pumpkin Nutella Cupcakes
Ingredients
1 cup granulated sugar
1 cup brown sugar
1 cup vegetable oil
3 large or extra large eggs
3 cups all-purpose flour
2 teaspoons baking soda
1 teaspoon ground cinnamon
1 teaspoon ground nutmeg
1/2 teaspoon salt
1/4 teaspoon ground cloves
1 package instant vanilla pudding mix
1 can (15 ounces) canned pumpkin (not pumpkin pie filling)
Cooking Spray
24 teaspoons of Nutella
1 to 2 cups chopped pecans
Cupcake liners
Step by Step
In a large bowl, combine sugar and oil until blended. Add eggs, one at a time, beating well after each addition. In a separate bowl, combine flour, baking soda, cinnamon, nutmeg, salt, cloves and pudding mix; add to egg mixture alternately with pumpkin, beating well after each addition.

Preheat oven to 350 degrees F.  Line two 12-cup cupcake pans with cupcake liners. Fill each cup 1/3 full with the pumpkin batter. Place 1 teaspoon of Nutella in the middle of each cup on top of the pumpkin batter. Using a toothpick, swirl each dollop of Nutella slightly into the batter. Top each cup with more batter until they are filled 3/4 full. Top each cupcake with pecans completely covering the batter. Pack the pecans in tight because they will spread out once the batter rises a bit. Bake each pan for 25 minutes. Cool for 20 minutes and then remove from pan and cool completely.

Store in an airtight container for up to five days.

10.25.2011

The Best Biscuits

cream biscuits
Oh, good morning.

You look like you could use a biscuit.
creambiscuits2

Not just any old biscuit... the best darn biscuit I have ever had.  
creambiscuits3
Now I know it's only Tuesday, but lets start planning a weekend brunch, shall we?
Let me start by telling you these will take you maybe seven minutes longer than busting open one of the cans of biscuits from the grocery.  Seven minutes of extra work for the most amazing homemade goodness you could imagine on a Saturday or Sunday morning.
creambiscuits4
Why wait?  Let's make your Thursday one to remember.

I am pretty convinced cream is essential to the best baked goods.  I had a hunch when these scones turned out so well and it was definitely confirmed with these biscuits.  A little bit flaky, a little bit creamy... a little bit perfect.

My preferred way of eating... doused in honey.
creambiscuits&honey

From my little kitchen to yours... Enjoy. 

The Best Biscuits
Recipe Notes
To make these especially quick in the morning, pre-measure all ingredients into a ziploc bag.  When ready to make, dump dry ingredients in a bowl and add the cream.  
Ingredients
3 tablespoons salted butter, melted
2 cups all-purpose flour, plus more for dusting the surface
1 tablespoon baking powder
1/2 teaspoon salt
1 tablespoon sugar (optional)
1 1/4 cups heavy cream
parchment paper
honey, jam or butter for serving (optional)

Preheat the oven to 425°F. Line a baking sheet with parchment paper. Melt butter and set aside. In a large bowl, combing two cups flour, baking powder, salt and sugar. Fold in 1 1/4 cups cream. Mix until cream and dry ingredients are just combined.  If the dough is not soft or easily handled, fold in a little bit more cream.

Turn dough onto a floured surface, mound it into a ball and, using your hands, press it to a thickness of about 3/4 inch. Cut into rounds, 2 1/2 inches in diameter. Gather dough scraps and continue to make rounds. Dip entire biscuit into melted butter and arrange on the baking sheet about an inch apart. Bake until edges are golden brown, 12 to 15 minutes. 

To Freeze:  Freeze unbaked, un-dipped biscuits for up to one month.  When ready to bake, dip in melted butter and bake straight from frozen on a parchment paper lined baking sheet.  Add a few additional minutes for baking. 

Makes 10 to 12 biscuits. 

9.12.2011

Crostinis... the best thing since sliced bread.

crostini copy
So technically crostinis are sliced bread, but the kicker is the slight toasting and the drizzle of olive oil that turns sliced bread into a sophisticated crostini.

However, it is the endless options and possibilities of what goes on top of these suckers that really gets me hyped up.  Sauteed mushrooms, tomato bruschetta, cheese and a drizzle of honey, olive tapenade... the possibilities are literally endless.  

The Italians have it right.  Make one thing... say a mushroom sauce, and eat it on pasta today and leftovers can become a mushroom crostini tomorrow.  Reason #682 my soul feels most at home in the Tuscan hills.

So this is barely a recipe, but getting this down now will make your future very bright.

From my little kitchen to yours... Enjoy.


A classic Italian way of eating crostini is to toast the bread and slice a garlic clove in half.  Rub the garlic on one side of the bread and then drench it in really good olive oil right before serving.   
crostini 3 copy
Crostinis
Recipe Notes
You can pretty much use any type of bread for crostinis, but I have two favorites... either a baguette or ciabatta bread.  You just want a nice sturdy loaf... not sandwich bread.  
Ingredients
Baguette or country-style Italian bread, sliced about 1/2 inch thick. 
Olive oil
Step by Step
Preheat oven to 375 degrees.  Lightly brush each side of the bread with olive oil and place in a single layer on a baking sheet.  Bake them until golden, about 12 to 15 minutes.  Check halfway through and if bottoms are browned but tops are not, flip each piece over and finish toasting. 

To serve plain, drizzle with extra olive oil and sprinkle with kosher salt.  

Topping Ideas:
Fresh mozzarella cheese and a thin slice of prosciutto
Marinated tomatoes to make Tomato Bruschetta
Olive tapenade
Drizzled with balsamic vinegar
Goat cheese and thinly slice roasted red peppers

2.17.2011

Parmesan Thyme Crackers

thyme crackers

I'm in a lovely little book club called Read Between the Wines. That's right, we read... between the wines.  Once a month, we read a book and then we get together for dinner to discuss... and have a glass or two.  I was up this month and I chose the book The Help.  It was wonderful and to try to go along the lines of a southern book, I served a sort of southern meal... and also tried to take in account that we were having the coldest weather we have probably ever had here in Houston.  So my menu... avocado chicken salad, roasted tomato basil soup and these little parmesan thyme crackers.  Just about the best thing I could imagine with a bowl of tomato soup.  They go well by themselves with a glass of wine so I think they were just about perfect.

Very easy to make, rich, flaky and delicious.  Ina does it again.  I do have plans to try these with rosemary instead of the thyme.  The thyme was great... I just don't love trying to get those tiny little thyme leaves off of the stem.  Anyone with me? Add these to the menu for anything from a cocktail party to a hearty winter meal.

Note to self:  Take pictures before you have 6 girls show up for dinner.  At least I got one picture of the baking process because these little things went fast.

From my little kitchen to yours... Enjoy.
Parmesan Thyme Crackers
Adapted from Ina Garten

Recipe Notes
The dough might be a little crumbly so I added just a dash of water to help keep it together.  Some had reviews that they added a lot of water so add a little bit at a time so you have can keep it together, but it will not be overly moist.  You can also make this ahead of time and keep frozen until ready to use.  Bring almost to room temperature before slicing so that it doesn't crumble.
Ingredients
1/4 lb (1 stick) unsalted butter, softened
3 ounces grated parmesan
1 1/4 cup all purpose flour
1/4 teaspoon kosher salt
1 teaspoon fresh chopped thyme leaves
1/2 teaspoon freshly ground black pepper
Step by Step
Place butter in the bowl of an electric mixer fitted with a paddle attachment.  Mix until creamy.  Add parmesan, flour, salt, thyme and pepper.  Form dough into a ball.  Dough will be very crumbly so add a little bit of water to help moisten.  Roll dough into a 9 inch log.  Wrap log in plastic wrap and freeze for 30 minutes.
Preheat oven to 350 degrees. Cut log into 1/2 inch slices.  Place on a baking sheet lined with parchment paper and bake for 22 minutes.
Serve warm.

Makes 18 to 20 crackers.


10.04.2010

soft pretzels

DSC_0415

We had our own little Oktoberfest celebration this weekend and if I have my way, it will be the way we celebrate the occasion every year from here on after.  For that matter, it might be the way I celebrate everything.  We made soft pretzels and I am hooked.  It's a blessing and a curse when I find something I love so much.  A blessing because it's another great recipe to share but if I make these as often as I want, I would turn into one gigantic carb.
DSC_0413

This is not by any means one of those quick recipes, but it was quite fun making them and even more fun eating them.  If you have a few friends or kids that want to join you in the kitchen, rolling these suckers is a fun little project.
DSC_0395


We added some parmesan cheese to a few and cinnamon sugar to a few more.
DSC_0417

My friend Kate made two great dips... a worcestire dip and a beer cheese spread.
DSC_0411


If this wasn't indulgent enough, after one bite of the cinnamon sugar pretzel, I heard, "this would be even better with some icing"... from another, "oh I think this would be good with some Nutella.  Well, what do you know, I had both in the pantry and they made the cinnamon sugar pretzels even better.
DSC_0421

This is the perfect weekend project.  Warning... make at least two per person or you might start feuds over who gets the goods.
DSC_0387

DSC_0389

pretzel rollin fun...
DSC_0394

Don't be discouraged if your pretzels don't turn out well from the get go.  Even the ugly ones taste good... that was my first one, eek.
DSC_0403

DSC_0406

the baking soda bath... sounds weird, but makes for a great pretzel
DSC_0409

DSC_0413
Soft Pretzels
Adapted from Alton Brown, Food Network
Recipe Notes
Some people use pretzel salt and if you want to go all out, feel free. However, I used coarse sea salt and if you don't have it, I would suggest buying it.  You will use it way more than you think.  Make sure you provide a lot of time for these suckers because you will need to let the dough rise for an hour.  
Ingredients


1/2 cups warm (110 to 115 degrees F) water (a meat thermometer comes in handy to test temperature)
1 tablespoon sugar
2 teaspoons kosher salt
1 package active dry yeast
22 ounces all-purpose flour, approximately 4 1/2 cups
2 ounces unsalted butter, melted
Vegetable oil, for pan
10 cups water
2/3 cup baking soda
1 large egg yolk beaten with 1 tablespoon water
Coarse salt
Optional toppings
parmesan cheese, shredded
cinnamon and sugar

Equipent
stand mixer with a dough hook
parchment paper

Step by Step


Combine the water, sugar and kosher salt in the bowl of a stand mixer and sprinkle the yeast on top. Allow to sit for 5 minutes or until the mixture begins to foam. Add the flour and butter and, using the dough hook attachment, mix on low speed until well combined. Change to medium speed and knead until the dough is smooth and pulls away from the side of the bowl, approximately 4 to 5 minutes. Remove the dough from the bowl, clean the bowl and then oil it well with vegetable oil. Return the dough to the bowl, cover with plastic wrap and sit in a warm place for approximately 50 to 55 minutes or until the dough has doubled in size.


Preheat the oven to 450 degrees F. Line 2 baking sheet pans with parchment paper and lightly brush with the vegetable oil. Set aside.


Bring the 10 cups of water and the baking soda to a rolling boil in a large pot.
In the meantime, turn the dough out onto a slightly oiled work surface and divide into 8 equal pieces. Roll out each piece of dough into a 24-inch rope. Make a U-shape with the rope, holding the ends of the rope, cross them over each other and press onto the bottom of the U in order to form the shape of a pretzel. Pinch the dough at all places that it intersects tightly so that it will stay together.  Place onto the parchment-lined half sheet pan.
Place the pretzels into the boiling water, 1 by 1, for 30 seconds. Remove them from the water using a large flat spatula or strainer spoon and return to the baking sheet.


For regular pretzels:  Brush the top of each pretzel with the beaten egg yolk and water mixture and sprinkle with coarse salt.


For cinnamon sugar pretzel:  Brush with melted butter, dip in sugar and sprinkle cinnamon on top.

For parmesan pretzel:  Brush with egg wash and sprinkle with shredded parmesan cheese.


Bake until dark golden brown in color, approximately 12 to 14 minutes. Transfer to a cooling rack for at least 5 minutes before serving.

Serve warm with various dips.

5.13.2010

my mom's banana nut bread

IMG_7088

There are some foods that are made a thousand ways and everyone has their "special" way of making it. You know, that special chocolate chip cookie or that family recipe for chili.  Banana nut bread is one of those things people put all kinds of ingredients in and no matter how many I try, I cannot find one I prefer more than my mom's banana nut bread.  I never bite into this bread without having tons of memories of family road trips and holiday baking days.  My mom would even send me these in college and would bake up a batch any time we would go on road trips with friends.  Not until I baked them myself did I realize that there are ingredients in here that make them a little different and special.
Last week, I got an email from a reader (hi, Kimberly) who was wondering if I had a good recipe for banana bread.  I was thrilled to be able to share this one and can't believe I haven't posted this earlier.  So, here's my favorite and I hope you enjoy it as much as I do (thanks, Mom).

From my little kitchen to yours... Enjoy.

Banana Nut Bread
Recipe Notes
My favorite way to eat this is to make a loaf and make big slices to eat, but when you are making them for a crowd or want a great portable way to keep them, I choose the muffin form.  The only other key is to make sure you have very, very ripe bananas.  I mean, you almost want them black because it provides the best flavor.
Ingredients
3 cups flour
1 teaspoon baking soda
1 teaspoon salt
2 teaspoons cinnamon
2 cups of sugar
1/4 cup vegetable oil
1 1/2 teaspoons vanilla
1 8 oz can of crushed pineapple (with the juices)
3 eggs, beaten
2 cups mashed very ripe bananas (about 4 medium sized bananas)
1 cup chopped pecans
Step by Step
Preheat the oven to 350 degrees.  In a medium sized bowl, sift together the flour, baking soda, salt, cinnamon and sugar. In a separate bowl, add the oil, vanilla, pineapple, eggs, bananas and pecans.  Stir together until well combined.  Add the liquid mixture to the dry ingredients and stir until just combined.  

To bake into muffins:
Line two 12-cup muffin tins with liners.  Fill each cup almost full.  Bake 18 to 20 minutes, until a toothpick tests clean.  Do not over bake.
makes 24 muffins

To bake in loaves:
Fill two loaf pans evenly with batter.  Bake for 1 hour 20 minutes, until a toothpick tests clean.
makes two loaves
IMG_7090

1.29.2010

Cranberry Apple Bread

IMG_6294
The more I test new recipes, the more I rely on taking the ones I have and tweaking them.  When I made this apple bread a couple of months ago, I thought it would be great with some cranberries and maybe even some walnuts.  Well, I took a leap of faith and made this Apple Cranberry & Walnut Torta for my Thanksgiving dinner and I was very disappointed.  I know I shouldn't have tried it out for company, but it was from Giada and had hundreds of good reviews.  I found it to be not sweet enough at all for a dessert and there sure were a lot... including soaking the cranberries in Gran Marnier, which is not a cheap ingredient.  I will go to quite a bit of trouble for something amazing, but for extra steps like this to get sub par results just was not working for me.  I decided to take my tried and true apple bread recipe and simply add cranberries.  It turned out great.  Next on the list is to add some walnuts, but all that to say, you should add some of your favorite ingredients in here to spice it up.

Cranberry Apple Bread
Recipe Notes
We were joined with a new coworker in our office last week so I made this for everyone.  Because the cranberries were an experiment, I only made one loaf with cranberries.  I simply added them in after I had split the batter.  
Recipe
Apple Bread recipe here
1 cup of dried cranberries (if adding to the whole recipe)
1/2 cup of dried cranberries (if adding to only half of the recipe)

Make the regular apple bread according to instructions.  Add cranberries at the end of the recipe and stir just to combine.
IMG_6283

1.25.2010

Half Marathon Cookies + I Did It!

IMG_6302
If you caught my post about marathon cookies, you will recognize the half marathon cookies except there is one addition. The actual guarantee that they are a great source of energy for running a half marathon! I did it, I did it, I did it! I know this is quite the common thing to do these days, but less than 3 months ago, I would have told you that this bod would never be running more than a casual 3 mile run, with some walking involved.  However, my friend Lindsey convinced me this was totally doable and I started training 3 months ago.   There were a few reasons I chose to do this that relate to food:
1.  I learned about a little term called "carb loading" and realized I had been doing this most of my life... time to put all those carbs to work.
2.  As you can see, I'm quite the eater and with the extremely skinny kitchen we have, it would be a shame if I couldn't fit in it anymore.
3.  I had promoted these cookies and while I will probably never be able to guarantee they would work for marathons, I can tell you they were a great source of energy for a halfie.

My friend Jennifer was doing her first halfie as well and we drove up to Austin and joined a group of 6 other girls doing the race.  The group spanned from several of us doing our first half marathon to those way more experienced, but I decided to make half marathon cookies for everyone in the group.  I would like to tell little kitchen reader Abby, who I met through this race, hello!  And hello to you to SEM! Too bad I did not get a pic with all of the purple sock crew.

And why are they heart shape you ask? Well, I just felt like biting into a heart shape cookie right before I ran farther than I ever had before could do nothing but cheer me up!
IMG_6296
Get the recipe here.

IMG_6299
Lindsey, who somehow talked me into doing this.
IMG_0195
Jennifer, my fellow half marathon virgin... no more.
IMG_0190
Supportive Mr. Hungry...
IMG_0194
Allison, who was kind enough to join me for mile 8-13.
IMG_0193

11.02.2009

Apple Bread


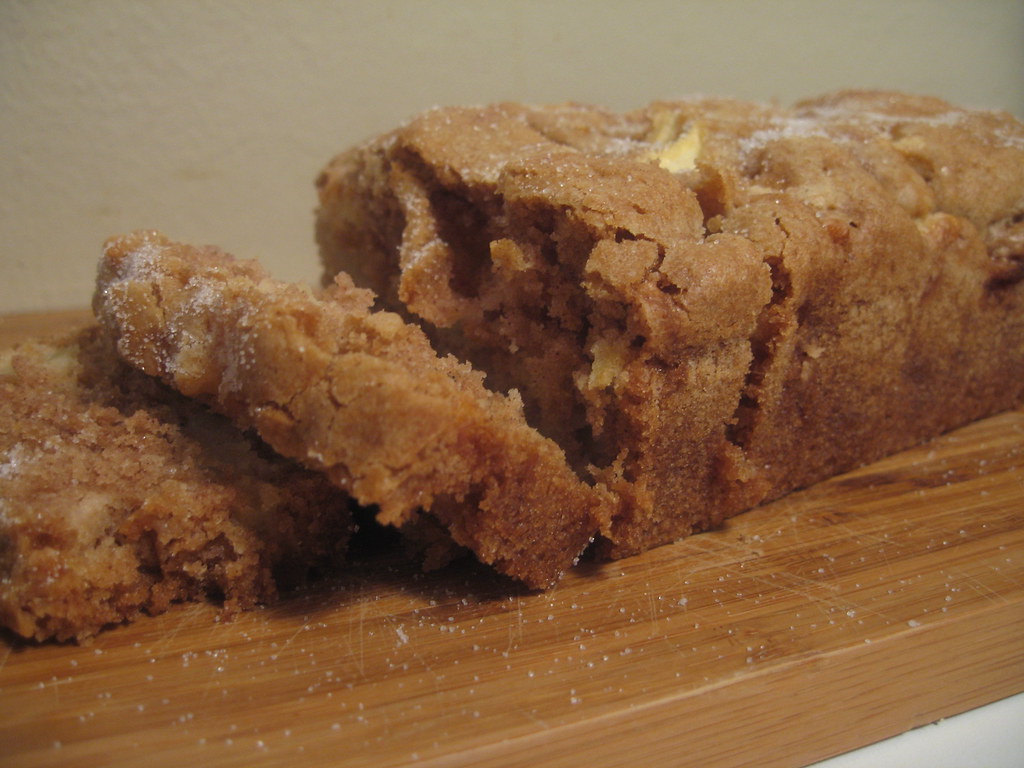
Finally... it is under 70 degrees here in Houston.  (Well, it keeps creepin up, but today I actually wore a scarf and it was glorious).  Whether the weather is cooperating or not, this apple bread will make you feel like you are in the midst of fall no matter what the temperature outside is.  This is one of my favorite fall recipes and it takes very little time to put together.  It's one of those recipes that a slice is just as good as breakfast, as it is for a late night snack.  The only problem is, it never lasts more than 24 hours around here... no matter how much I make.  
From my little kitchen to yours... Enjoy.

Apple Bread
Recipe Notes
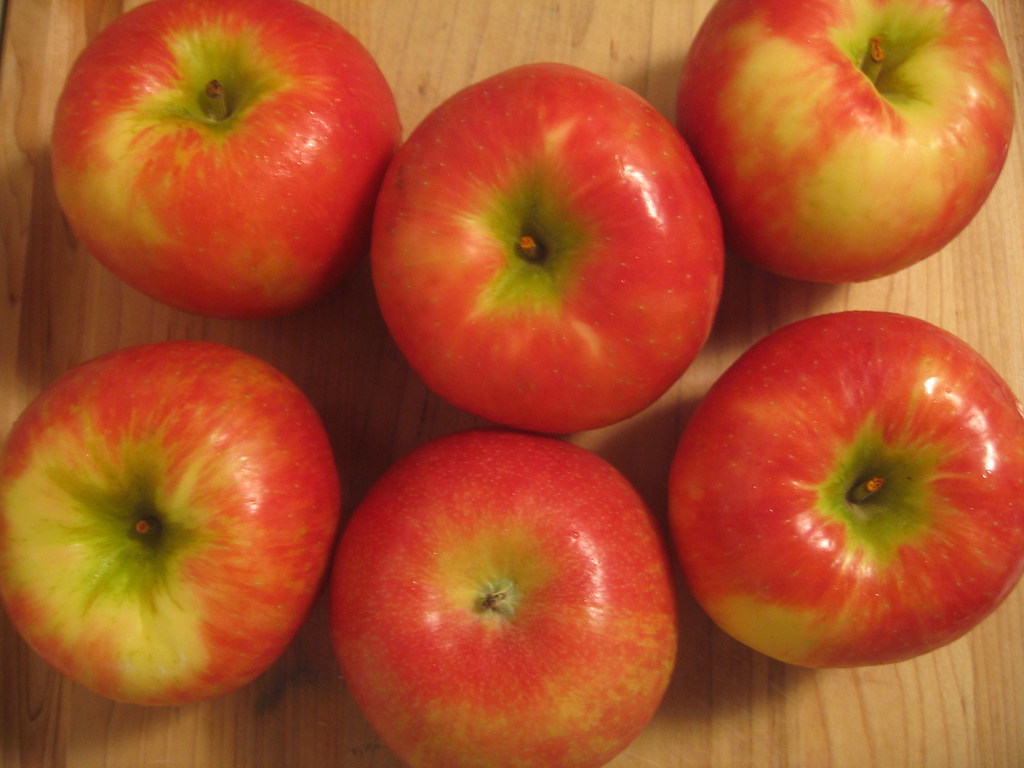
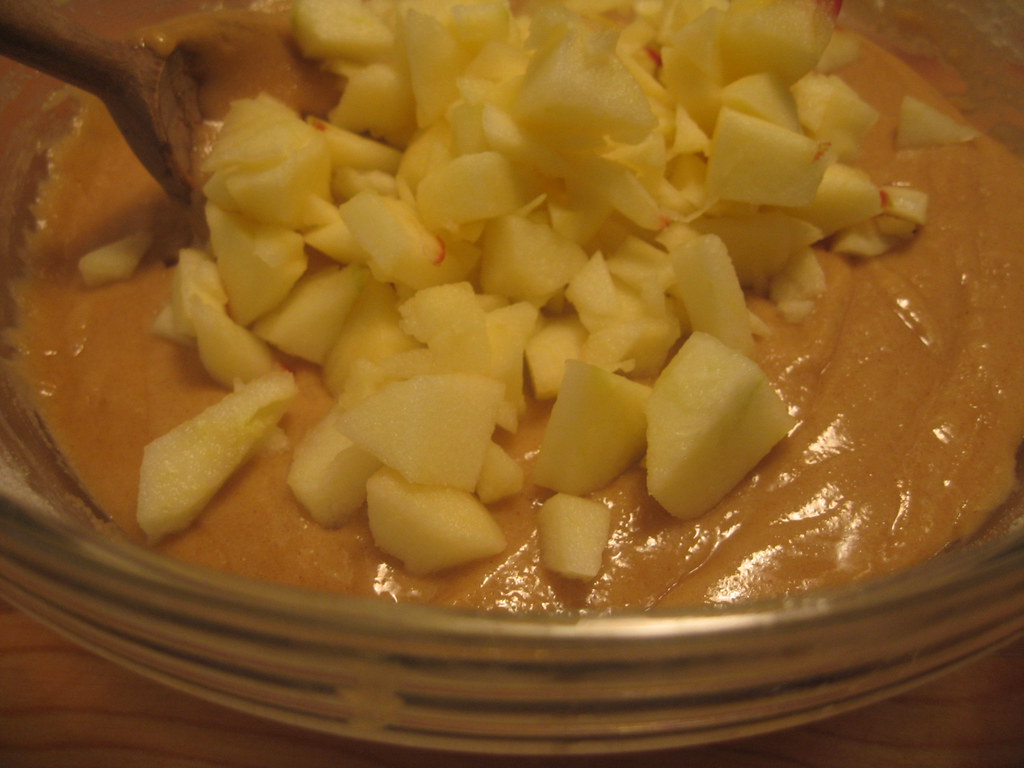
I used honey crisp apples, but I am sure any variety that you like would work just fine.  This batter gets very very thick.  I suggest using a sturdy wooden spoon to stir in the apples.
Ingredients
1 C. canola or vegetable oil
3 eggs
3 C. flour
1 tsp. baking soda
1 tsp. salt
2 C. sugar
2 tsp. cinnamon
1 tsp. vanilla
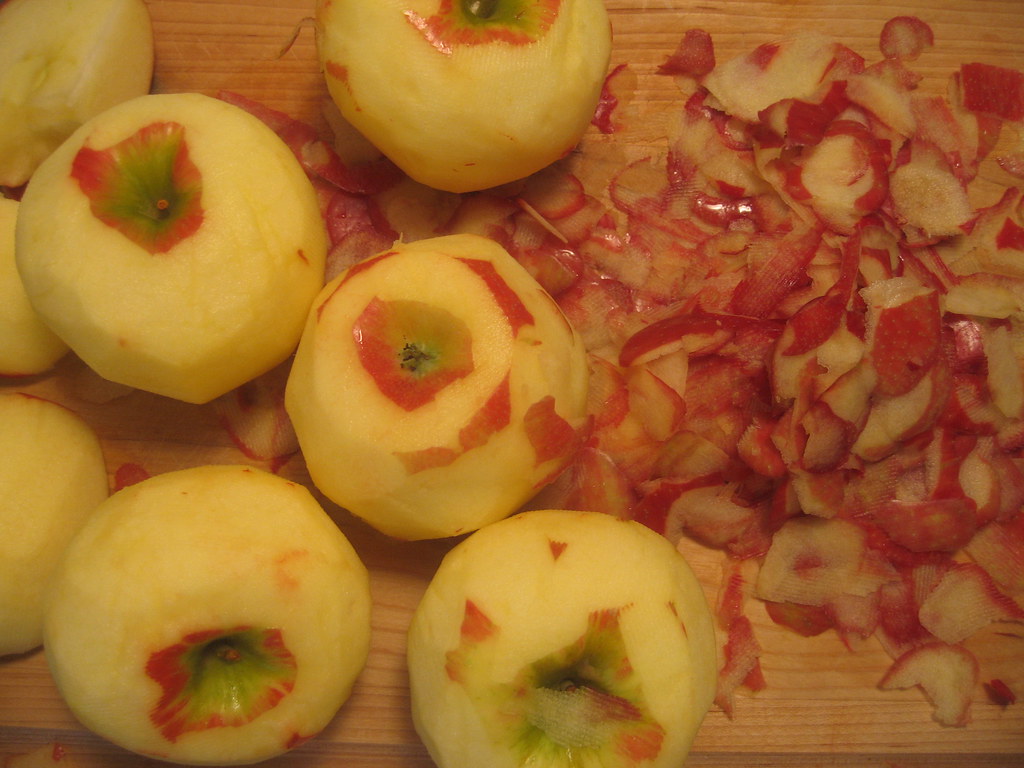
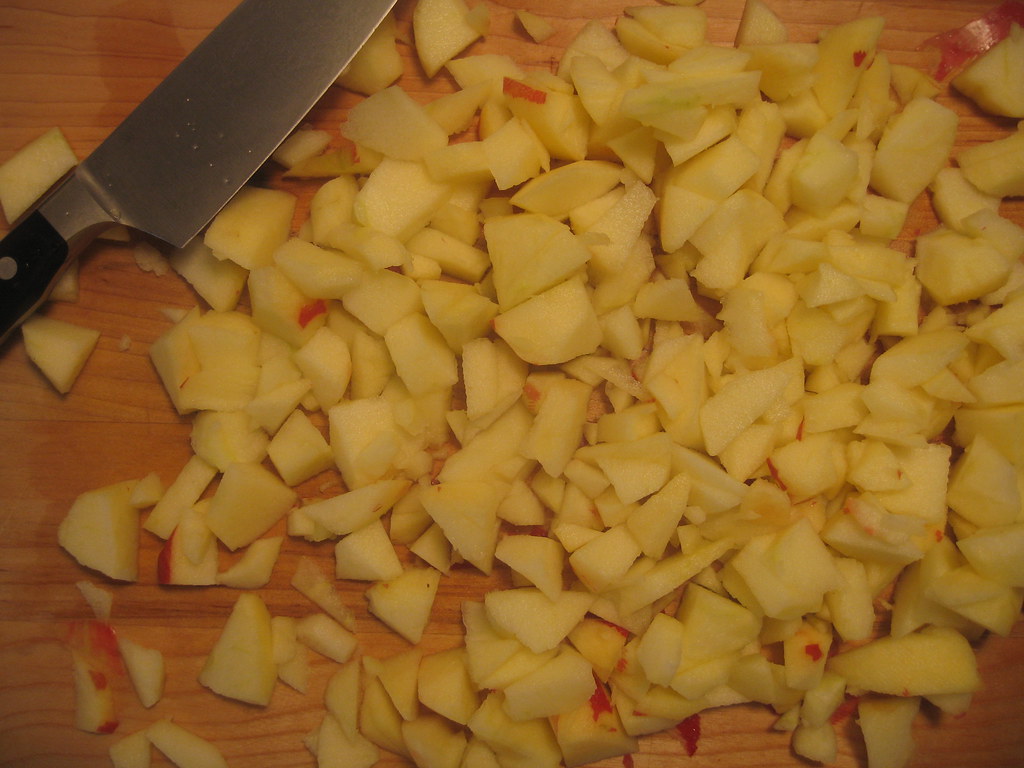
3 C. chopped apple (peeled and cored/ chopped into bite size pieces)

Step by Step
1. Preheat oven to 300° F.
2. Beat sugar and oil together.
3. Add eggs and vanilla.
4. Combine dry ingredients separately, and add slowly to wet ingredients.
5. Mix in apples using a sturdy spoon, because the batter will be very thick.
6. Sprinkle generously with sugar after baking.
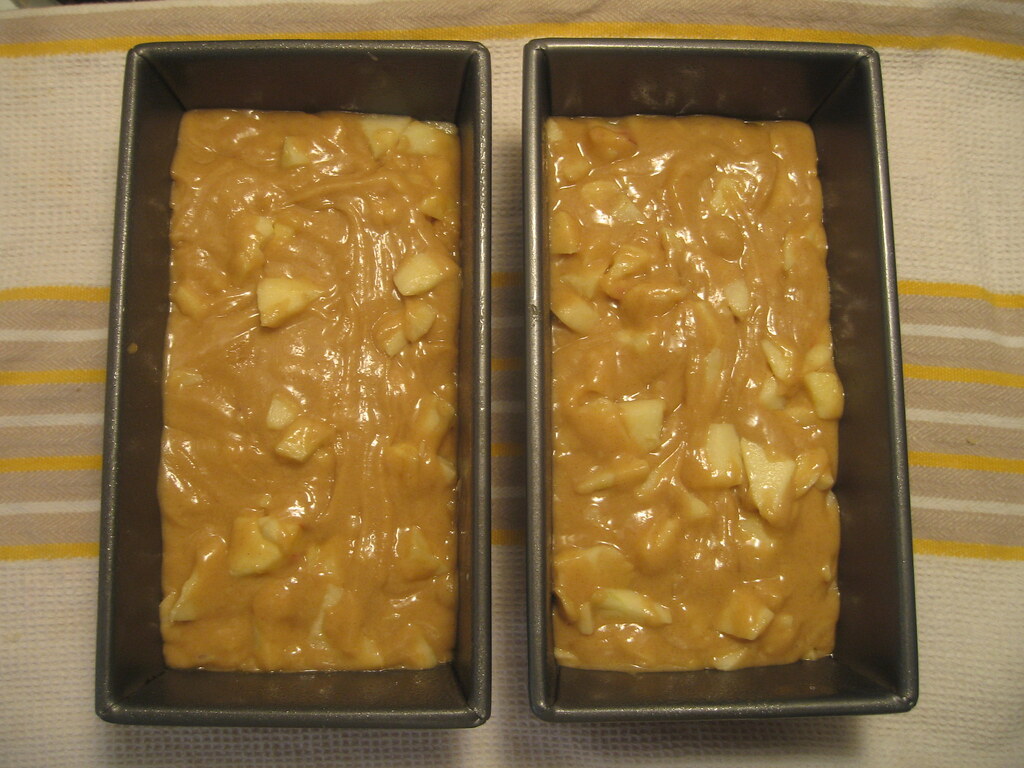
7. Bake in 2 large loaf pans for 1 hour 15 minutes. 


Makes two large loaves.


8.18.2009

Easy Cheesy Cornbread

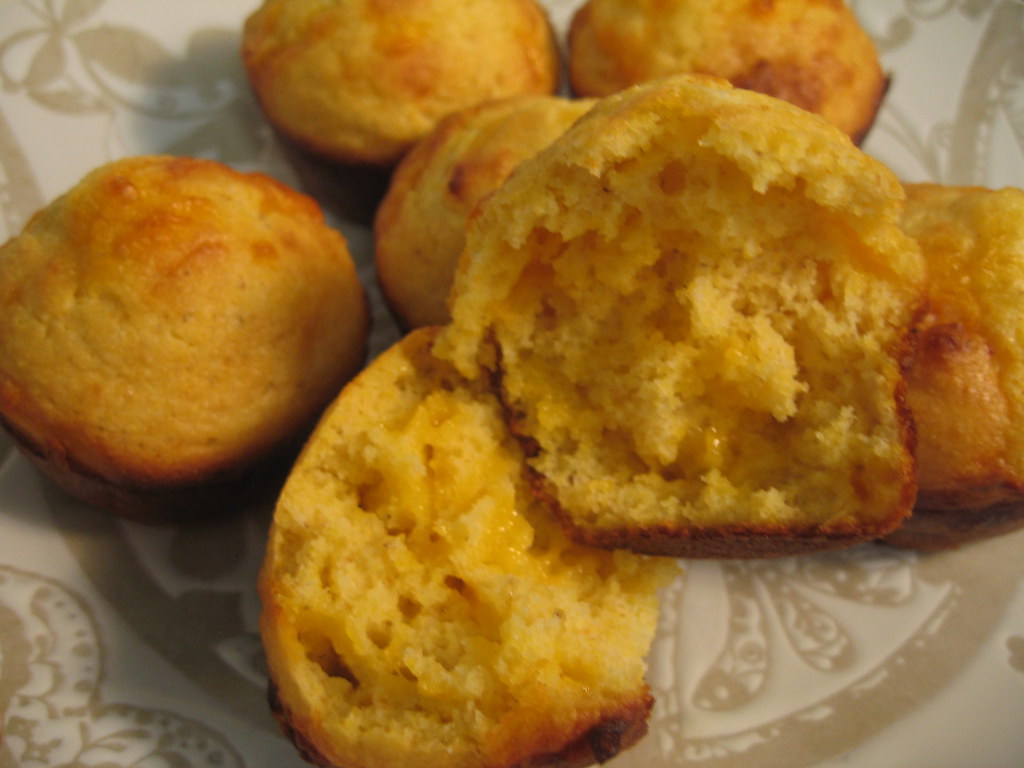
Sometimes, you just need to make dinner, and make it fast.  I had a couple of nights like that last week and still wanted to make some tasty stuff.  This is where pre-measured ingredients come in handy, but could always use a little something extra.  You can make this cornbread in just minutes, but it is extremely delicious with the sharp cheddar cheese.  These little muffins go great with anything from soups to barbecue.  As you can see, it is hardly a recipe at all.  Enjoy!
Easy Cheesy Cornbread
Recipe Notes
This recipe calls for a package of cornbread mix.  This can be found in any grocery store usually near the flour and other baking items.  The particular brand I used was Pioneer, but any brand will work.  Make sure to read the back and see what you need for the mix.  Most call for milk and eggs.
Ingredients
1 package of cornbread mix + other ingredients that the cornbread package calls for
1 cup extra sharp shredded cheddar cheese
1/4 teaspoon salt
1/4 teaspoon pepper
Step by Step
1.  Prepare cornbread batter according to package.
2.  Stir in cheddar cheese, salt and pepper.
3.  Finish cornbread in a muffin tin according to directions.
4.  Serve warm out of the oven.

8.10.2009

How To: Homemade Pizza Dough


I feel as if I have experienced a miracle.  I watched a dough like substance double in size from a silly little packet of something called yeast! Homemade pizza dough has been on my list of things to make for as long as I can remember.  I thought once I mastered pizza dough, the possibilities would be endless! (yes, I know this might sound a little familiar from my crepe phase... which is hardly a phase because they are now a staple!)  Well, I have to say that I am pretty excited because this was only my first attempt and this is such a great recipe that turned out perfect.  Considering it came from the queen of Italian food, Giada de Laurentis, I shouldn't be too surprised that it was wonderful crust.  Another thing that has always deterred about making pizza dough was the ingredient list that included a packet of yeast and water that had to be at a certain temperature.  That was enough to discourage me, but once I found out that you can easily buy yeast packets near the flour in your grocery store, and all you really need is lukewarm water, I was ready to overcome my fears.  If you are still a little weary of making or kneading dough, Bon Appetit has a great short video that shows each step and gives great tips on how to know when you are done kneading.  Click here for the video.

A side note:  I am not here to reinvent the wheel.  Pizza is one of the most accessible foods these days and within minutes you can have anything from a cheap pizza to a gourmet pizza at your doorstep within an hour.  However, I have heard great homemade pizza can easily be made and my hopes for this endeavor was to find a great crust and be able to have make your own pizza parties!  Well, I am officially inspired with this great crust and next on my list is to try the Barefoot Contessa's recipe for whole wheat crust.


Homemade Pizza Dough
Adapted from Bon Appetit July 2009
Recipe Note
This recipe calls for 115 degree water.  I did not have take the temperature of my water, but instead just used lukewarm water.  The appliance that made this so easy was my food processor.  I have not experimented with how to make the dough without one.  I know there is a way and if anyone has any tips on this, please share!
Ingredients
3/4 cup lukewarm water (105 to 115 degrees)
1 envelope active dry yeast
2 cups all purpose flour (plus more for the counter)
1 teaspoon sugar
3/4 teaspoon salt
3 tablespoons olive oil
Step by Step
1.  Pour warm water into a bowl.  Stir in packet of yeast and allow to dissolve, about 5 minutes.
2.  Coat a large mixing bowl with olive oil and set aside.
3.  In a large food processor with a dough blade, combine flour, sugar and salt.  Pulse a few times to combine ingredients.
4.  Add yeast mixture and olive oil.  Process until dough forms a sticky ball.
5.  Transfer dough ball to a lightly floured surface.
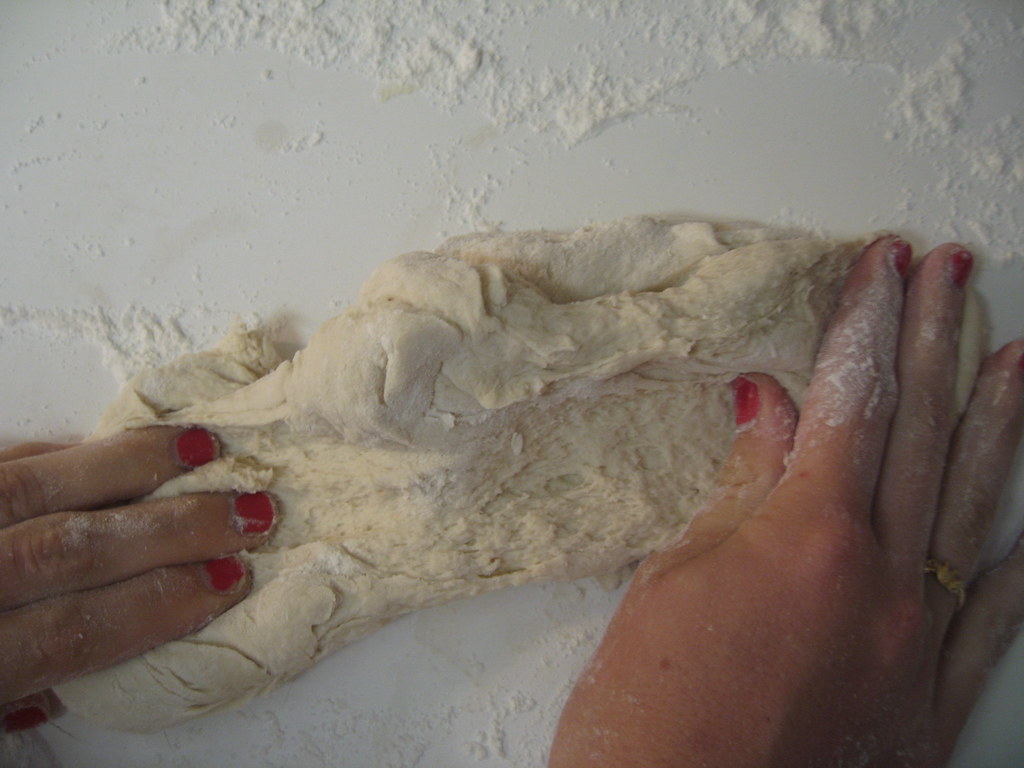
6.  Knead dough until smooth, about one minute.  To test if dough is done being kneaded, press the dough ball with two fingers.  If the the finger dents stay in the dough, you are done kneading.  If dough is sticky add flour by tablespoons until it no longer sticks to your fingers.
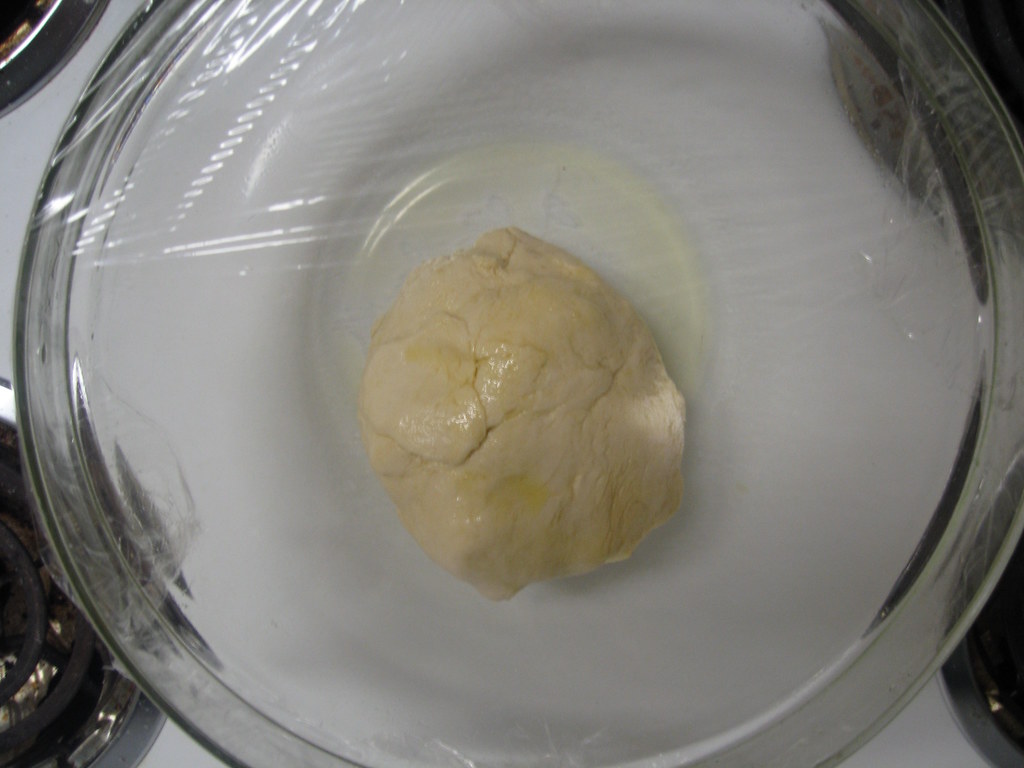
7.  Transfer dough ball to bowl coated with oil.  Turn dough in the bowl so it is covered with oil.
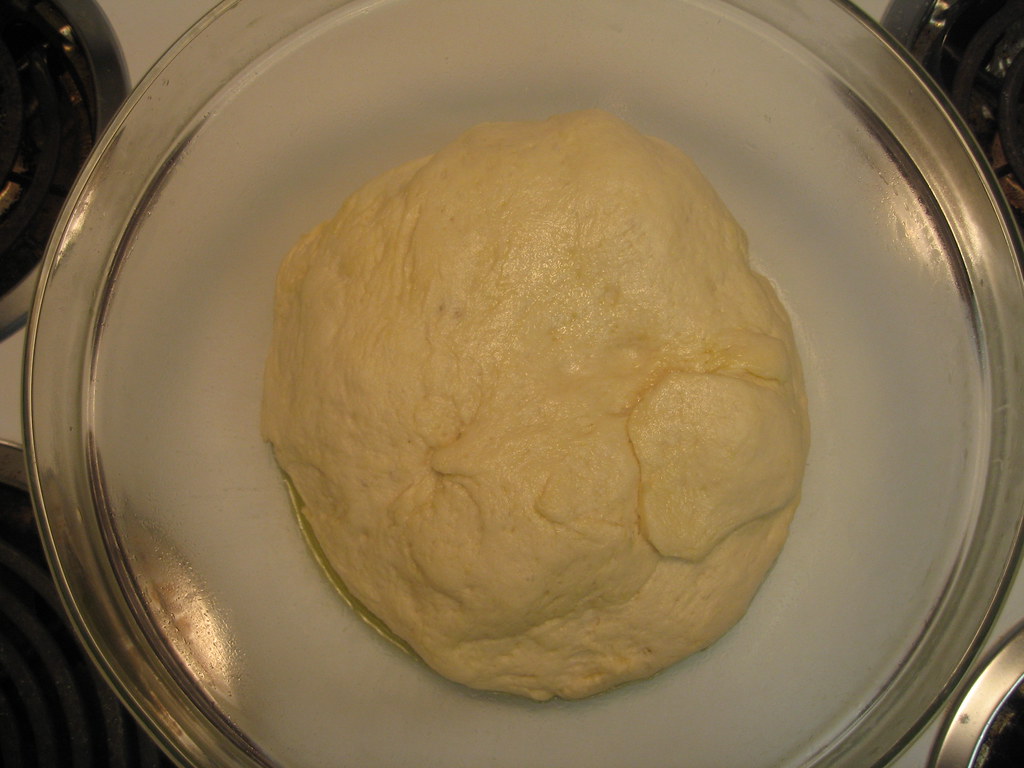
8.  Tightly cover bowl with plastic wrap.  Set aside in a warm, draft-free area.  Allow dough to sit for about an hour, until the dough has doubled in size.
9.  Remove plastic wrap and punch dough once or twice with your fist to remove air.
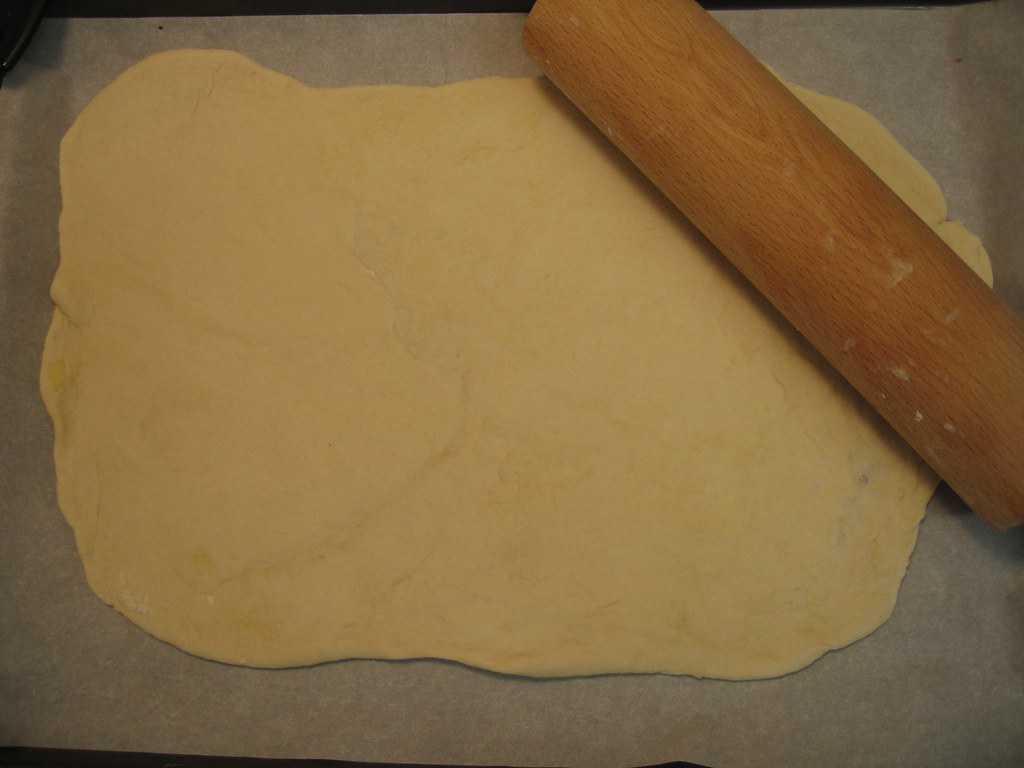
10.  Slowly stretch dough out or roll out with rolling pin until desired thickness and shape.

Dough can be stored in an airtight container for up to one day in the refrigerator.  Dough can also be frozen for up to 3 months.

6.18.2009

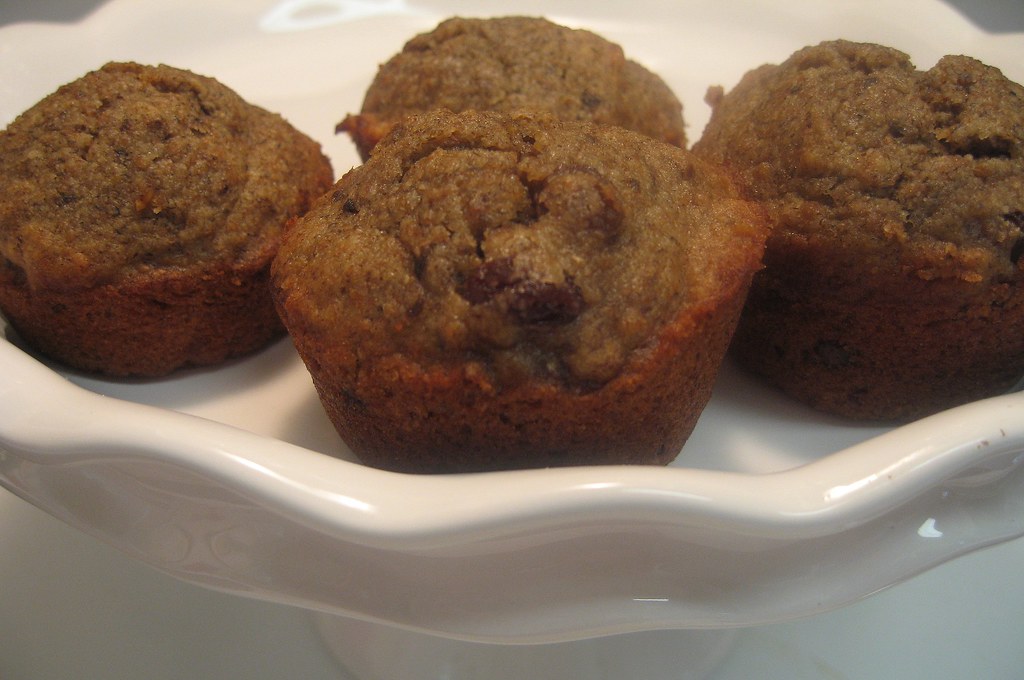
Healthy Banana Walnut Muffins

I love a good challenge.  So when my friend Denni asked me to find healthy dessert recipes with no refined sugar, I was thrilled.  I am now officially beginning this challenge by posting these banana walnut muffins.  Gwyneth Paltrow has a great site called GOOP, and these muffins were one of her first recipes to post (however, they are no longer on the website for some strange reason... good thing I wrote it down).  Since things like brown rice syrup and barley flour are not usually found in my kitchen, I changed up the recipe to what I thought would yield similar results without having to search the ends of the earth for extra ingredients.  I hardly miss the sugar at all!
Warning:  These are not miracle muffins!  Sure my mom's banana nut muffins are more delicious and just melt in your mouth.  However, for the healthiness of these, I say they are pretty darn good.  I enjoy making a batch and having them for breakfast.  For today's muffins, I decided to skip sifting all the flours together... sometimes, you just don't have the time!  And I really did not notice a difference.  So here I start my challenge of finding healthier recipes... stay tuned for more!


Banana Walnut Muffins
Makes 1 dozen muffins

Recipe Notes
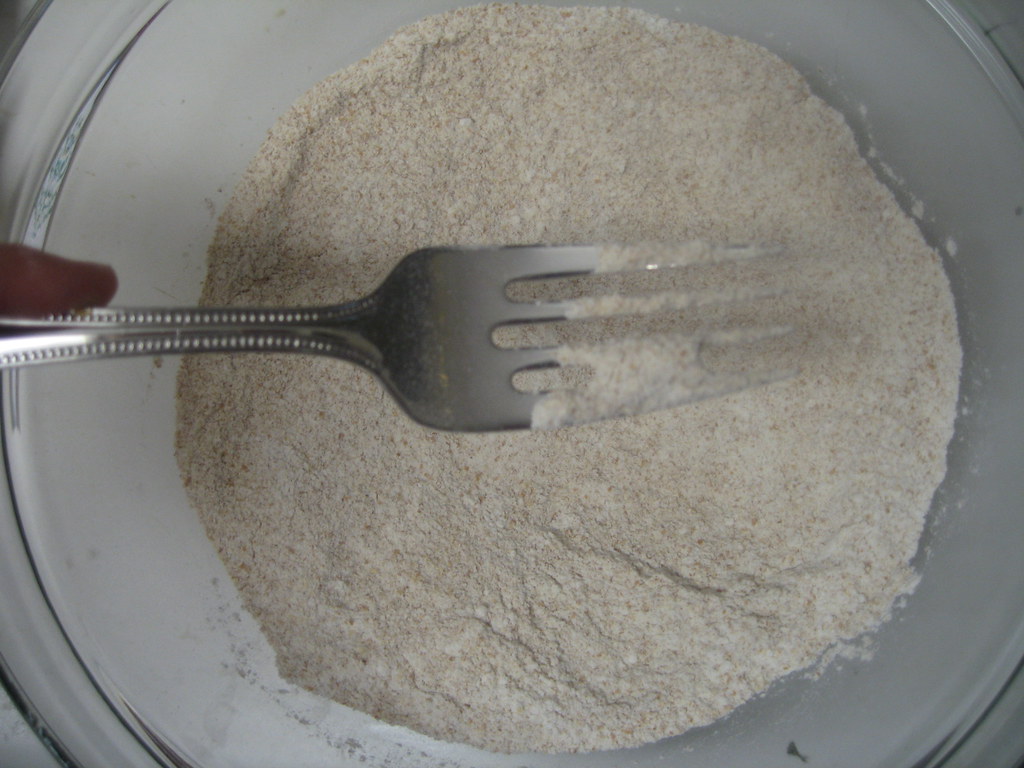
I know some people like to take the raisins out of a recipe, but I would not do it here! I think they are essential to adding moisture and sweetness.  The recipe calls for 3 ripe bananas.  I sometimes use four and I like them to be almost black for the most flavor. This recipe also calls to puree bananas in a food processor.  This is the best way, but I have hand mashed the bananas and added the liquid ingredients when I didn't have a food processor.  To save time, I do not sift the flours in this recipe.  Instead, I sifted and fluffed them together with a large fork.
Ingredients
3 ripe bananas (4 if they are small)
3/4 cup maple syrup
1 tablespoon vanilla extract
1 1/2 cups whole spelt flour (or whole wheat pastry flour)
1 teaspoon baking soda
1/2 cup raisins
1/2 cup walnuts
2 teaspoon fine sea salt
6 tablespoons canola or sunflower oil
1/2 cup white spelt flour (or all purpose white flour)
Step by Step
1.  Preheat oven to 350 degrees.  Roast walnuts on a baking sheet for about 7 minutes; Coarsely chop.
2.  Combine flours, baking soda and salt in a medium size bowl.  Using a large fork or slotted spoon, gently sift ingredients together to combing and get out any lumps.  (see first picture below)
3.  Puree bananas in a food processor and add remaining liquid ingredients; Mix well.
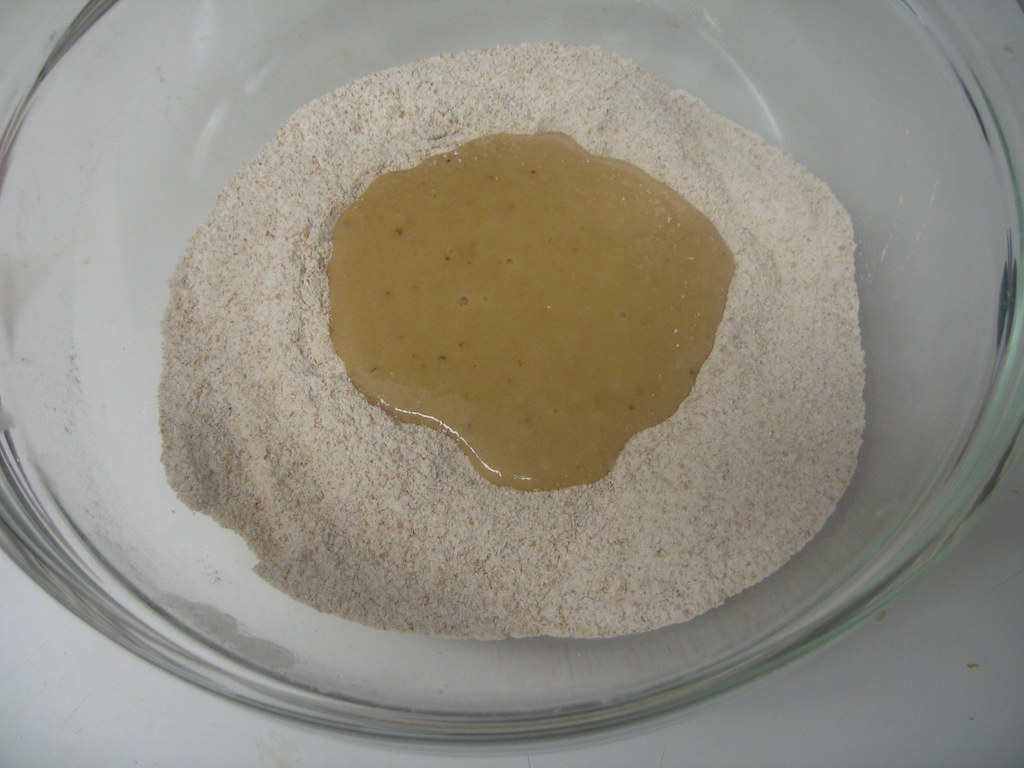
4.  Make a well in the flour and pour in the wet mixture. (make sure to scrape bowl well)
5.  Fold together unitls flour is moistened.  Do not overmix or the muffins will be tough!
6.  Add walnuts and raisins and fold just a few times to combine. 
7.  Line muffin tins or spray with cooking spray.
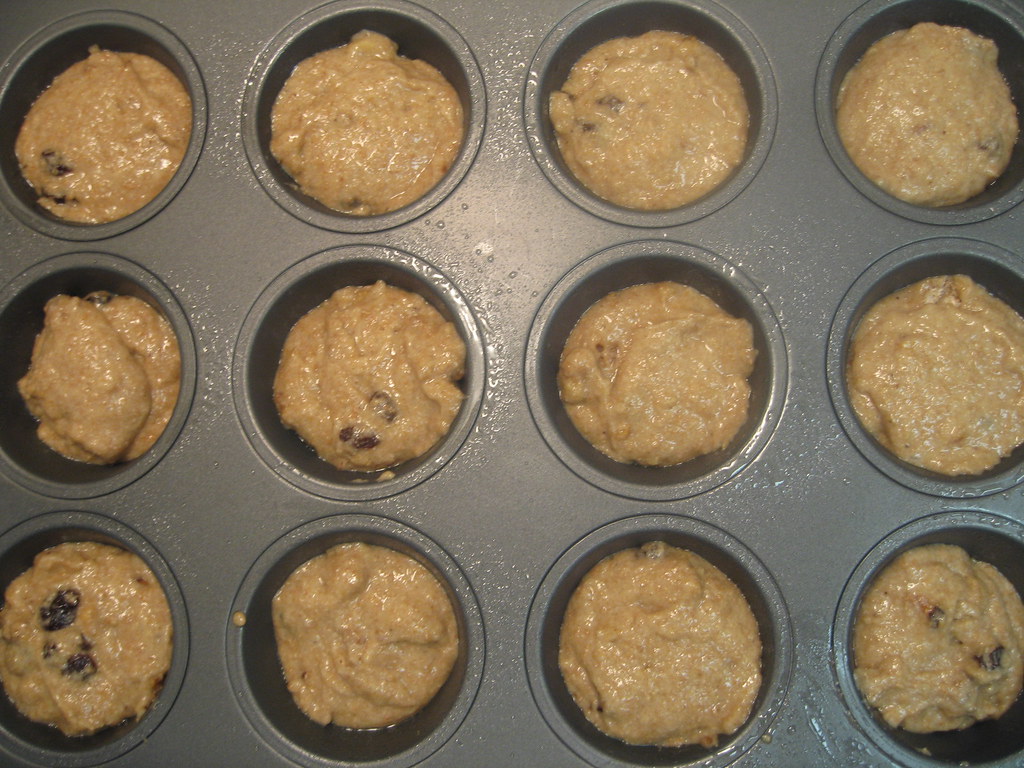
8.  Use an ice cream scoop (or large spoon) to evenly distribute batter among cups.
9.  Bake approximately 25 minutes.  Test with a toothpick until it slides out clean with no crumbs on it.
10.  Cool in pan for a few minutes and then transfer to a cooling rack and continue to cool.