The more I test new recipes, the more I rely on taking the ones I have and tweaking them. When I made this apple bread a couple of months ago, I thought it would be great with some cranberries and maybe even some walnuts. Well, I took a leap of faith and made this Apple Cranberry & Walnut Torta for my Thanksgiving dinner and I was very disappointed. I know I shouldn't have tried it out for company, but it was from Giada and had hundreds of good reviews. I found it to be not sweet enough at all for a dessert and there sure were a lot... including soaking the cranberries in Gran Marnier, which is not a cheap ingredient. I will go to quite a bit of trouble for something amazing, but for extra steps like this to get sub par results just was not working for me. I decided to take my tried and true apple bread recipe and simply add cranberries. It turned out great. Next on the list is to add some walnuts, but all that to say, you should add some of your favorite ingredients in here to spice it up.
Cranberry Apple Bread
Recipe Notes
We were joined with a new coworker in our office last week so I made this for everyone. Because the cranberries were an experiment, I only made one loaf with cranberries. I simply added them in after I had split the batter.
Recipe
Apple Bread recipe here
1 cup of dried cranberries (if adding to the whole recipe)
1/2 cup of dried cranberries (if adding to only half of the recipe)
Make the regular apple bread according to instructions. Add cranberries at the end of the recipe and stir just to combine.
1.29.2010
1.27.2010
Nutella Swirl Cupcakes
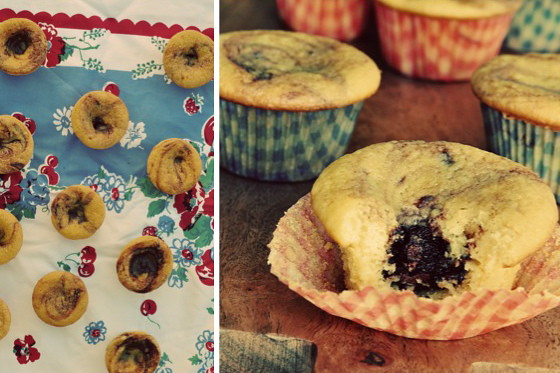
Well, let me start at the beginning. It was my friend Kate's birthday last week and since we have shared a common obsession with Nutella, I wanted to incorporate (what I call) the most delicious spread on earth, into a yummy treat. I did some googling of desserts with Nutella and found a version of these cupcakes. They had gotten rave reviews so I took my chances and made them right before we were going to meet the birthday girl. I have to admit I was very sad with the outcome. While the Nutella was delicious, the cupcake was really, really dry. And who knows, maybe I messed up the recipe, but I was bound and determined to come up with a better cupcake batter for the delicious Nutella swirl.
And now, I have to pat myself on the back for doing something I never do, especially in the baking world. I decided to tweak a recipe that I have for a very moist and delicious chocolate chip pound cake in order to make these work. I'm just always too chicken to change anything up when it comes to baking because it is such a science. Miraculously, the results were absolutely delicious and I am very excited to share them with you.
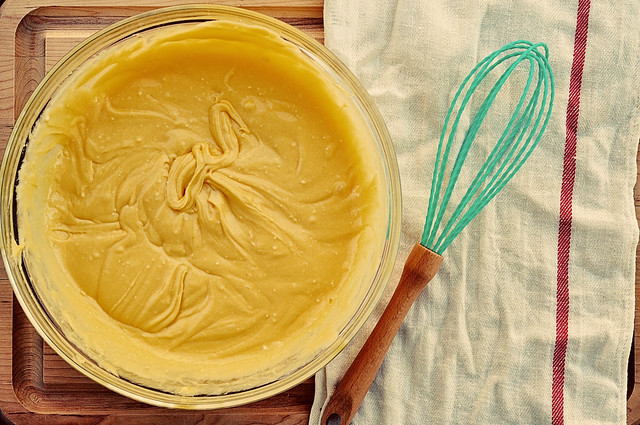
Now I know what you are saying, this is not a cupcake... there is no icing on top. No need for icing on top because of the delicious swirl of Nutella. Because of the no icing top, these aren't the prettiest cupcakes you will make, but probably the most delicious.
Nutella Swirl Cupcakes
Recipe Notes
Nutella is a delicious chocolate- hazelnut spread that can be found in most grocery stores, and usually with the peanut butter. When you swirl in the Nutella, you can either keep it central for a little pocket of Nutella in the middle, or you can swirl it in more evenly throughout the cupcake... either way, scrumptious. Another thing about Nutella... I had an older jar of it and tried to use the last bit of that before opening my fresh jar. It did not spread nearly as well, so make sure your Nutella is fresh.
Ingredients
1 yellow cake mix
2 small boxes of instant vanilla pudding mixes
4 eggs
1 1/2 cups water
1/2 cup vegetable oil
30 teaspoons of Nutella
20 muffin tin liners
Step by Step
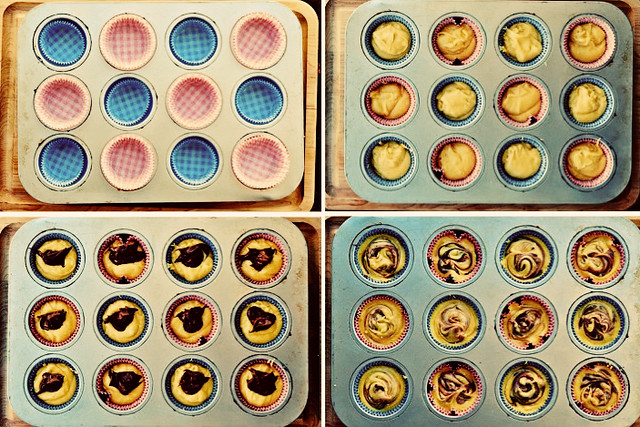
Preheat oven to 325 degrees. Mix yellow cake mix with boxes of pudding mix. Add eggs, water, and oil. Beat well. Line a muffin pan with liners. Using a spoon or ice cream scoop, fill each muffin tin 2/3 full. Do not overfill.
Place a 1 1/2 teaspoon dollop of Nutella on each cupcake. Using a toothpick, swirl Nutella into the cupcake batter, making sure to fold a bit of batter over the Nutella.
Bake cupcakes for 18 to 22 minutes, until centers are firm and tops are golden brown. Allow to cool completely in cupcake pans.
Cupcakes are best served completely cooled and can be stored in an airtight container.
Makes 20 cupcakes.
1.25.2010
Half Marathon Cookies + I Did It!
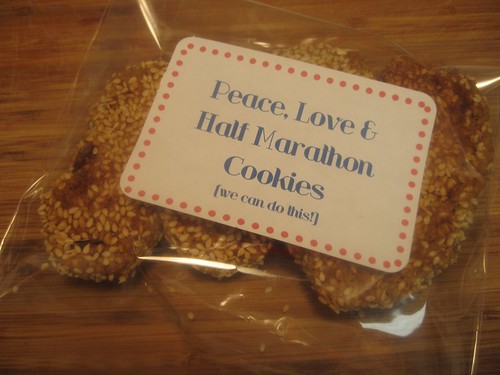
If you caught my post about marathon cookies, you will recognize the half marathon cookies except there is one addition. The actual guarantee that they are a great source of energy for running a half marathon! I did it, I did it, I did it! I know this is quite the common thing to do these days, but less than 3 months ago, I would have told you that this bod would never be running more than a casual 3 mile run, with some walking involved. However, my friend Lindsey convinced me this was totally doable and I started training 3 months ago. There were a few reasons I chose to do this that relate to food:
1. I learned about a little term called "carb loading" and realized I had been doing this most of my life... time to put all those carbs to work.
2. As you can see, I'm quite the eater and with the extremely skinny kitchen we have, it would be a shame if I couldn't fit in it anymore.
3. I had promoted these cookies and while I will probably never be able to guarantee they would work for marathons, I can tell you they were a great source of energy for a halfie.
My friend Jennifer was doing her first halfie as well and we drove up to Austin and joined a group of 6 other girls doing the race. The group spanned from several of us doing our first half marathon to those way more experienced, but I decided to make half marathon cookies for everyone in the group. I would like to tell little kitchen reader Abby, who I met through this race, hello! And hello to you to SEM! Too bad I did not get a pic with all of the purple sock crew.
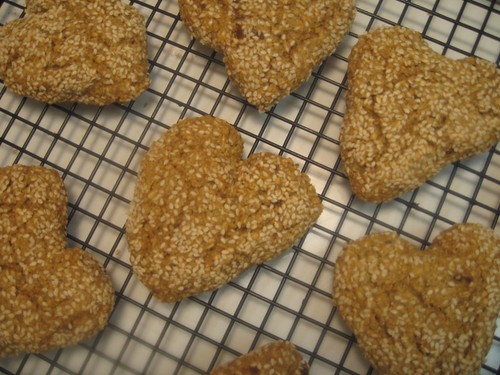
And why are they heart shape you ask? Well, I just felt like biting into a heart shape cookie right before I ran farther than I ever had before could do nothing but cheer me up!
1. I learned about a little term called "carb loading" and realized I had been doing this most of my life... time to put all those carbs to work.
2. As you can see, I'm quite the eater and with the extremely skinny kitchen we have, it would be a shame if I couldn't fit in it anymore.
3. I had promoted these cookies and while I will probably never be able to guarantee they would work for marathons, I can tell you they were a great source of energy for a halfie.
My friend Jennifer was doing her first halfie as well and we drove up to Austin and joined a group of 6 other girls doing the race. The group spanned from several of us doing our first half marathon to those way more experienced, but I decided to make half marathon cookies for everyone in the group. I would like to tell little kitchen reader Abby, who I met through this race, hello! And hello to you to SEM! Too bad I did not get a pic with all of the purple sock crew.
And why are they heart shape you ask? Well, I just felt like biting into a heart shape cookie right before I ran farther than I ever had before could do nothing but cheer me up!
Get the recipe here.
Lindsey, who somehow talked me into doing this.
Jennifer, my fellow half marathon virgin... no more.
Supportive Mr. Hungry...
Allison, who was kind enough to join me for mile 8-13.
1.21.2010
Rockin Guitar Cake
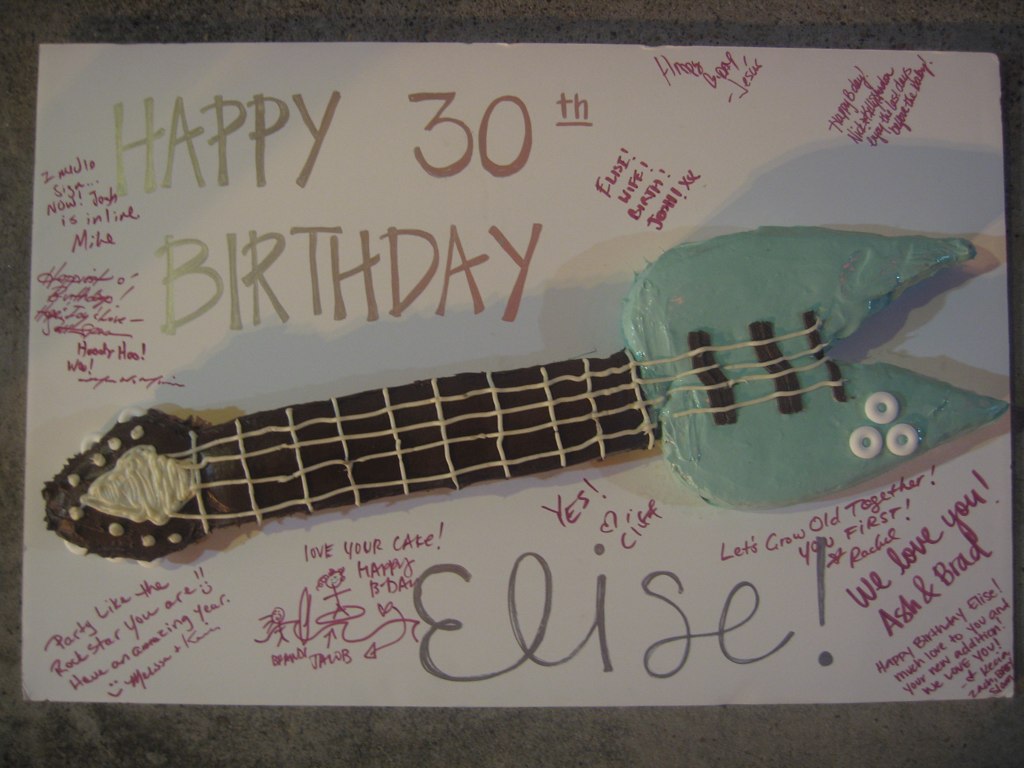
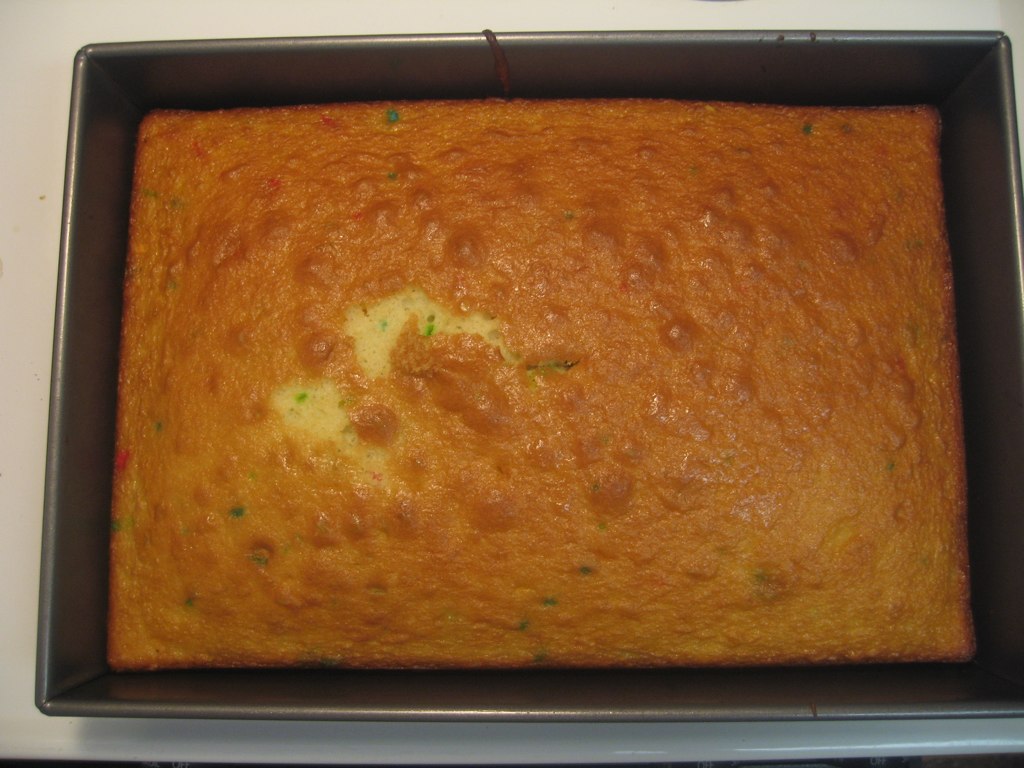
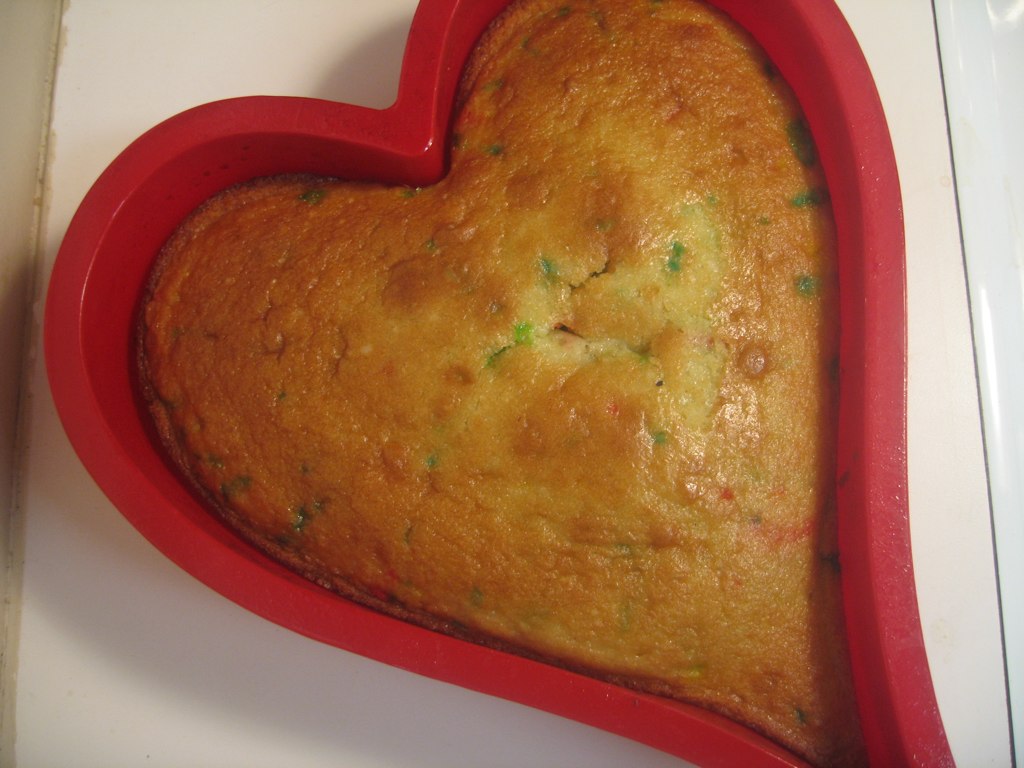
My sister-in-law turned the big 3-0 recently, and I thought she needed a big cake to celebrate a big birthday. I knew I wanted to do something out of the ordinary so I asked my brother if he had any suggestions. He said she loves Gibson Flying V guitars and I said perfect! (secretly, I had absolutely no idea what that meant... again, I thank my lucky stars for the invention of google). Once I figured out what I was dealing with, I decided to attempt this to the best of my ability, considering it was my first non-rectangular cake. I did a lot of research on icing cakes and found out about a few great tricks to use when trying to ice any kind of cake. Like I said, this was my first attempt and I am no expert, but I thought I would share what I learned and maybe I can improve in the future. Try to keep your audible gasps to a minimum, but I will admit... I used a boxed cake mix. I know, I know... the horror, but I had enough to worry about as I tried to piece together a vintage guitar out of crumbs so I thought I would give myself a break and use a funfetti cake mix and canned icing (oopsie, another tragedy). But seriously, who doesn't love funfetti cakes.
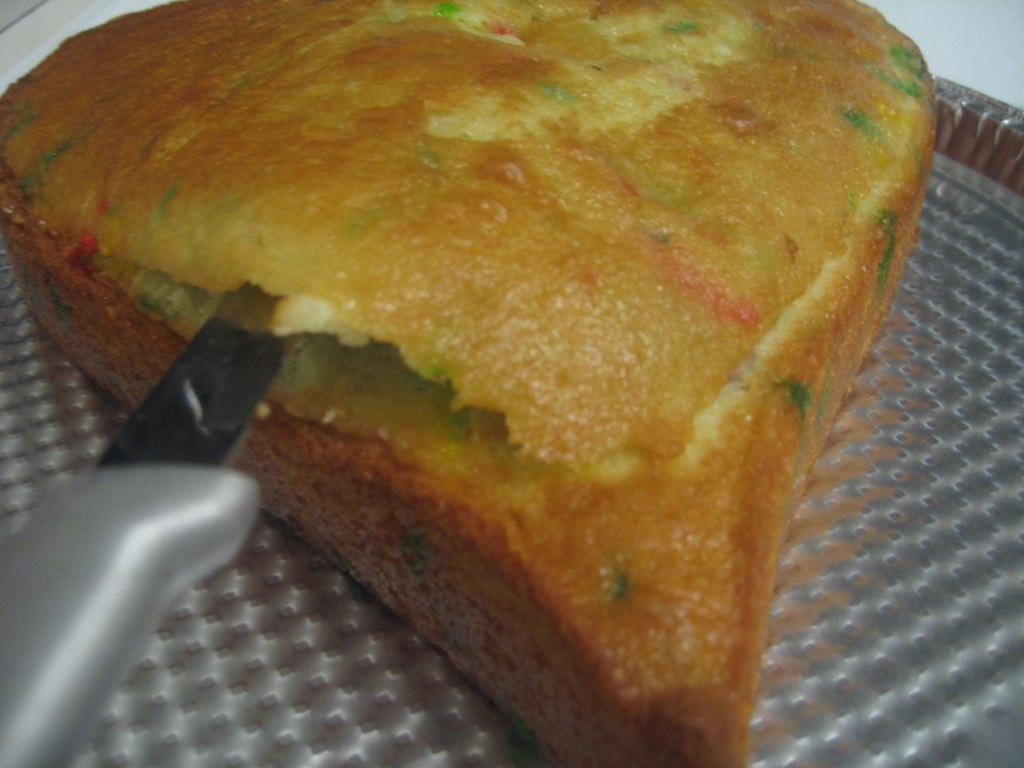
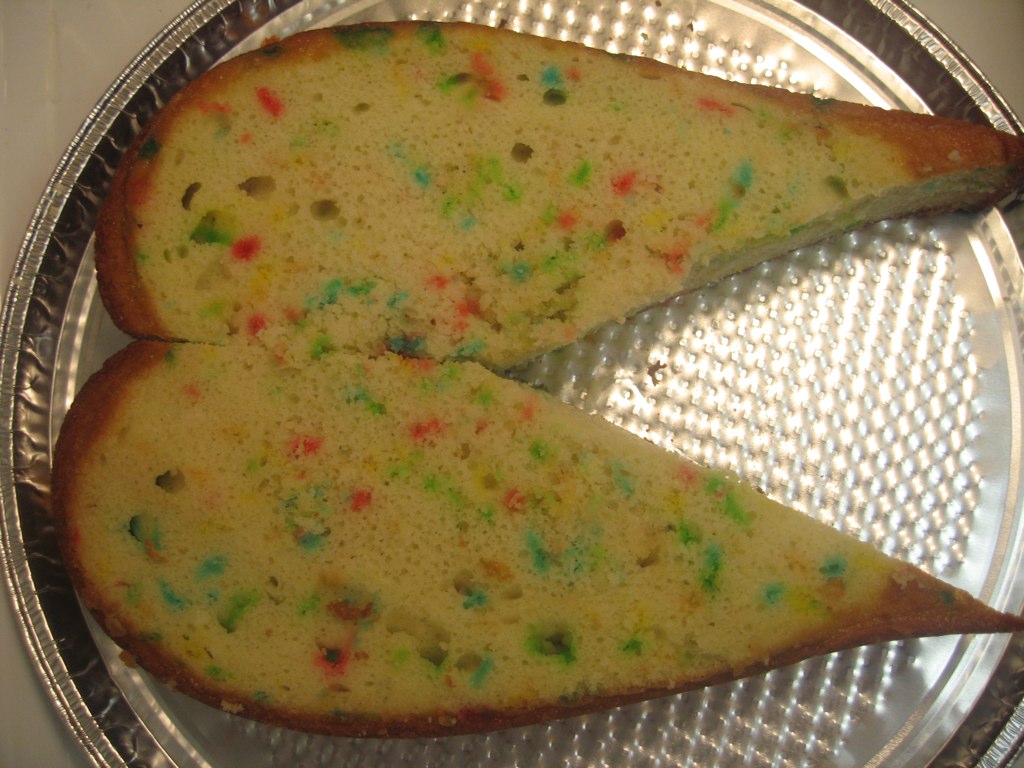
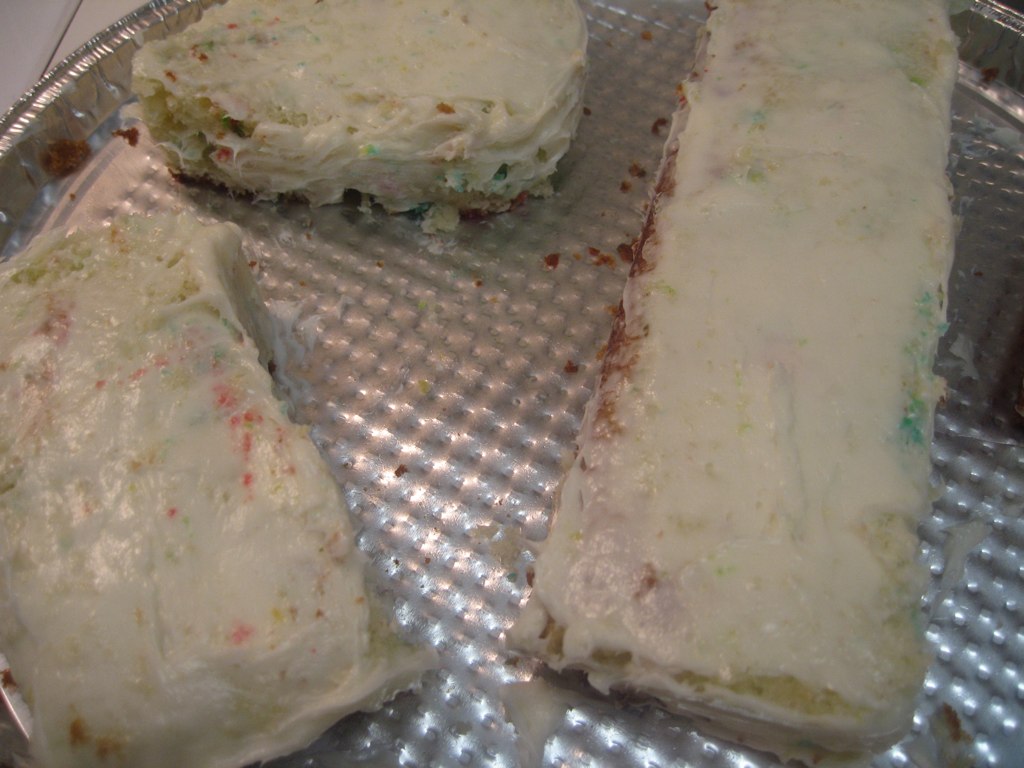
I knew I wanted even surfaces to my cakes so I used a long bread knife to get nice even surfaces to all of my pieces... which also allows for nice little sheets of fluffy cake to snack on.
Making it Firm
I put each piece of the guitar in the refrigerator after I had all of my even surfaces. I had picked up a tip that this would help the crumbs set a bit before icing and it seemed to help quite a bit.
Crumb Coat
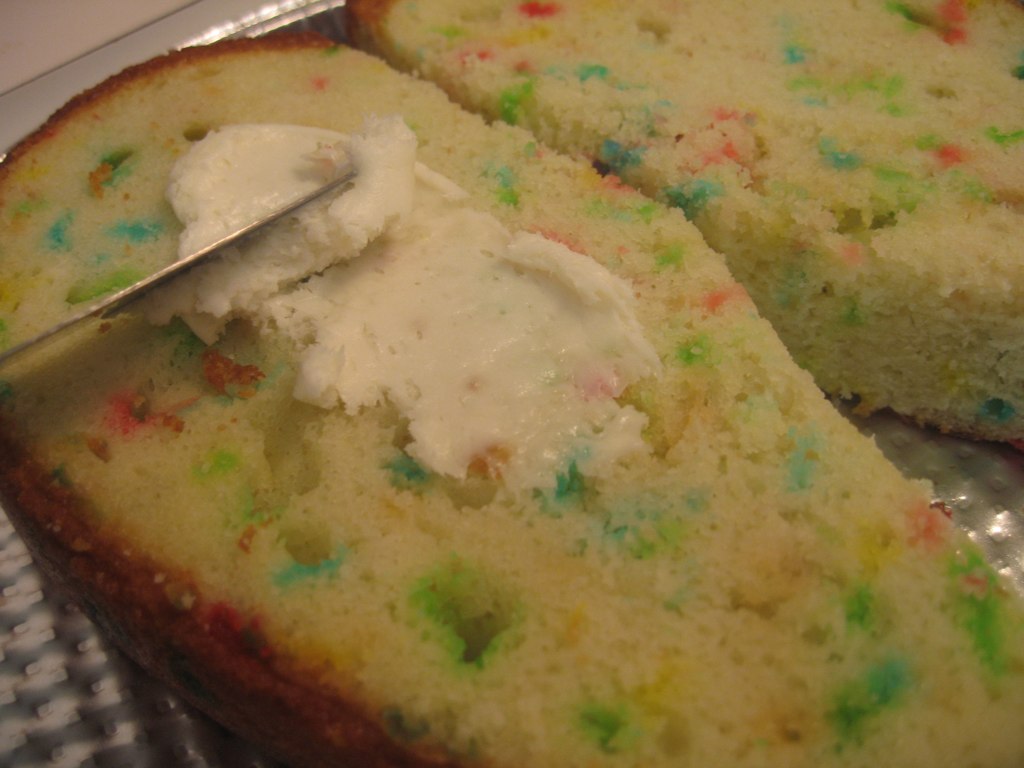
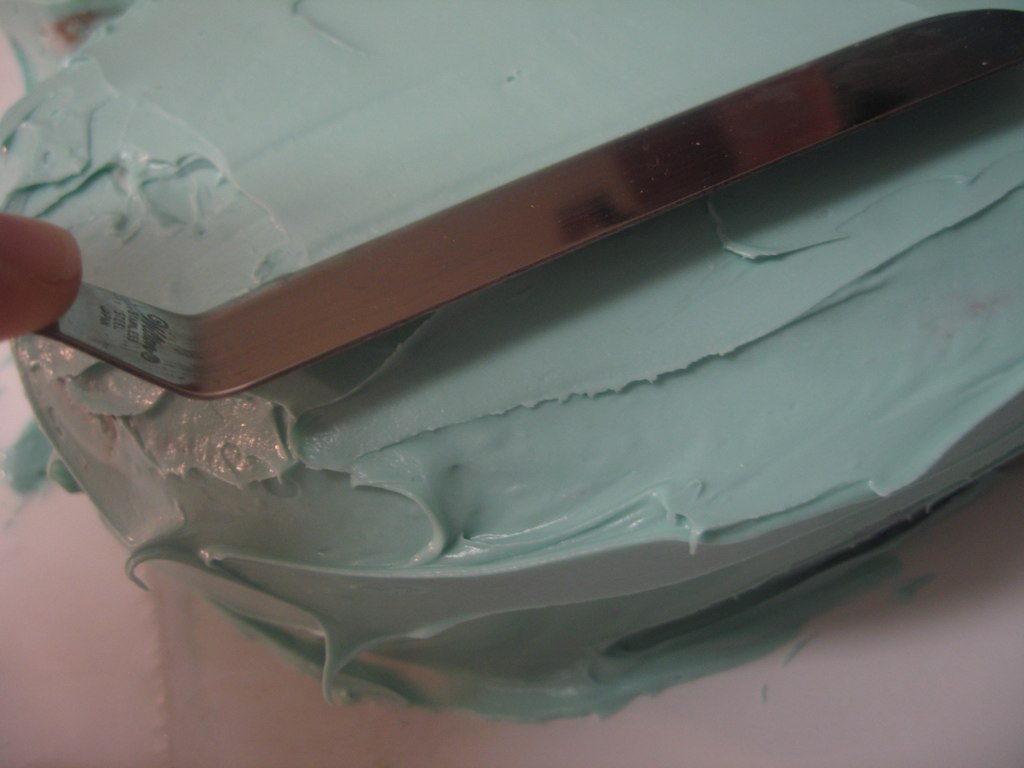
I will never ice another cake without a crumb coat! I think this is the deep dark secret of bakers everywhere of how they get that amazingly sleek and smooth icing. I first read about the idea of a crumb coat here and thought I should give it a try. It worked wonders.
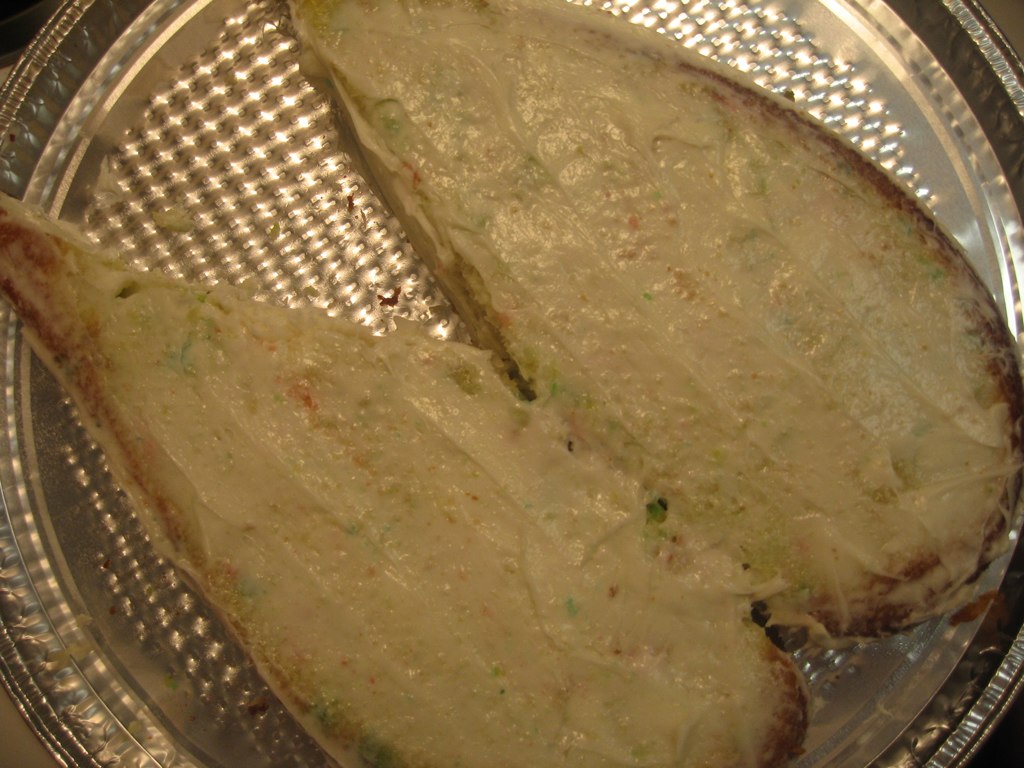
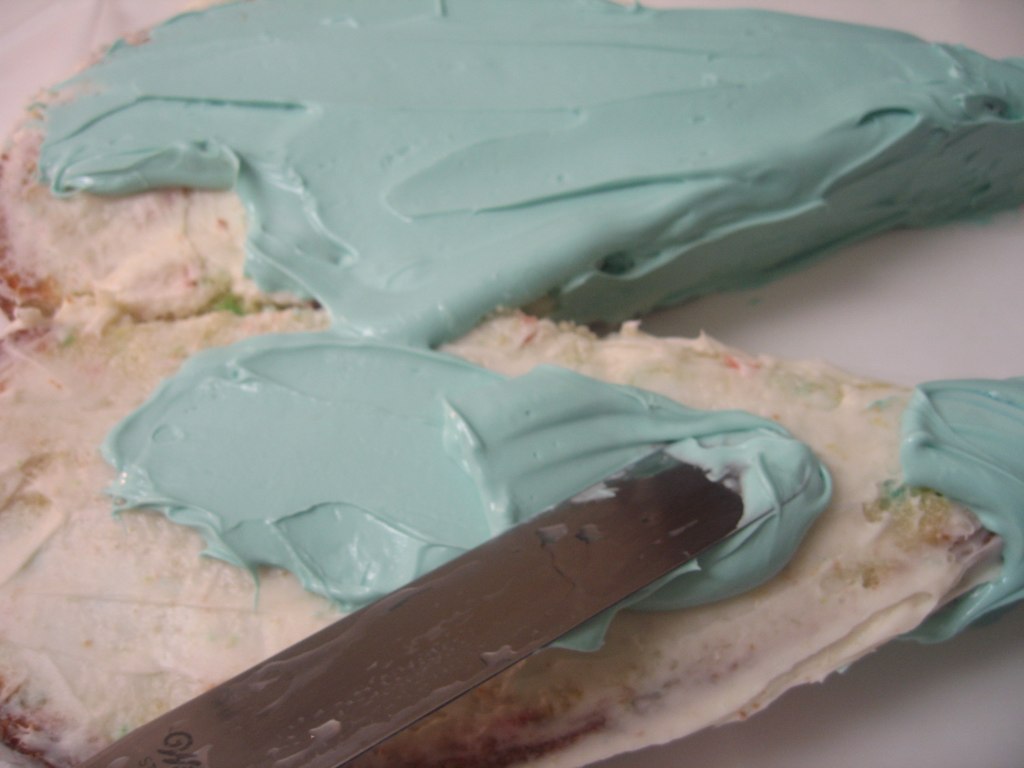
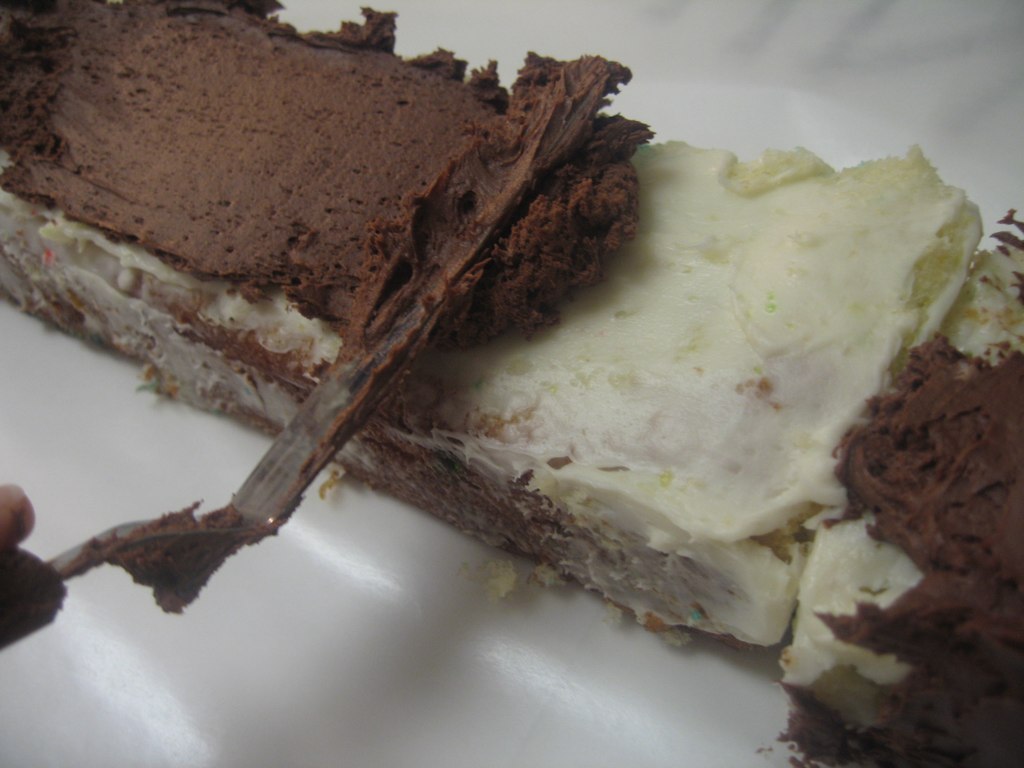
Never heard of this? Basically, you just spread a thin layer of icing over the cake to seal in the crumbs before your final coat of icing. I had chosen a robin's egg blue guitar and brown icing for the other parts and I used regular white icing for the crumb coat. Both the blue icing and chocolate icing glided perfectly over the white icing and you never saw any of it.The key is to put the cake in the freezer after you apply the crumb coat for at least 15 minutes to let it harden. Then, your icing will spread over the crumb coat perfectly with no crumbs. Genious.
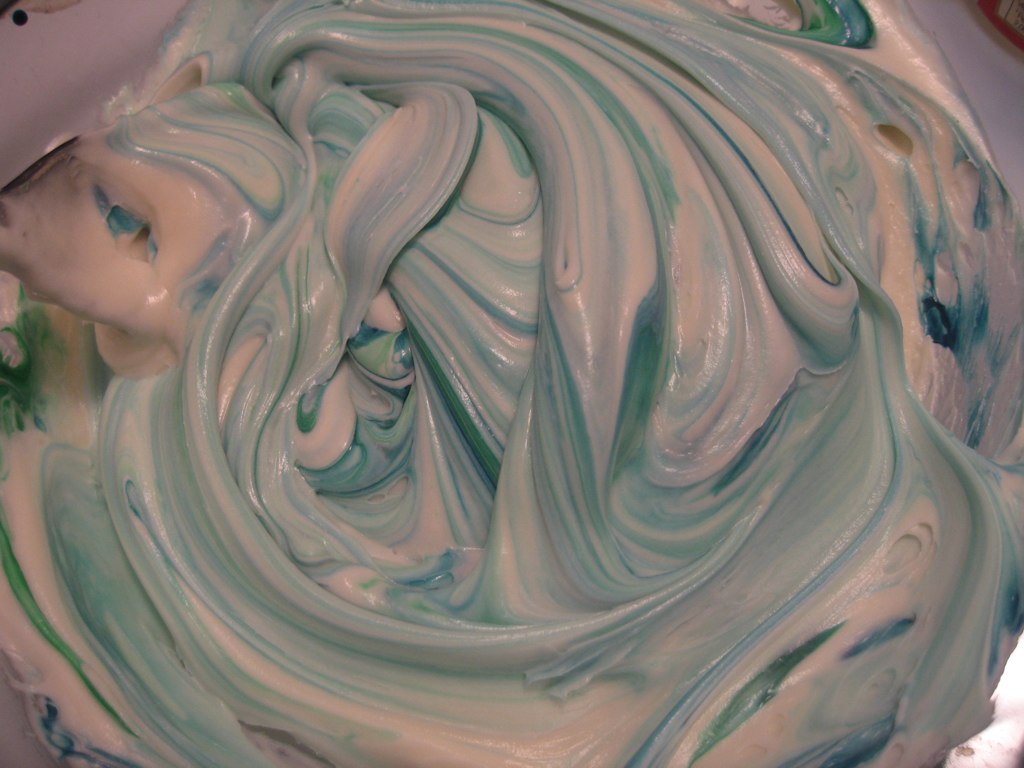
I made robin's egg blue icing with 2 drops of green food coloring to every 1 drop of blue.
Finally, I assembled the cake on a large piece of foam board. I had everybody at her birthday party sign the board and took a picture so I could frame it.
I piped the strings on with a piping bag and while the final product came out a little disproportional, I was pretty proud of my first attempt at a "fun" cake. (And, it was dark at the party so I was hoping a few of the imperfections would get lost in the night).
1.18.2010
Corn Chowder
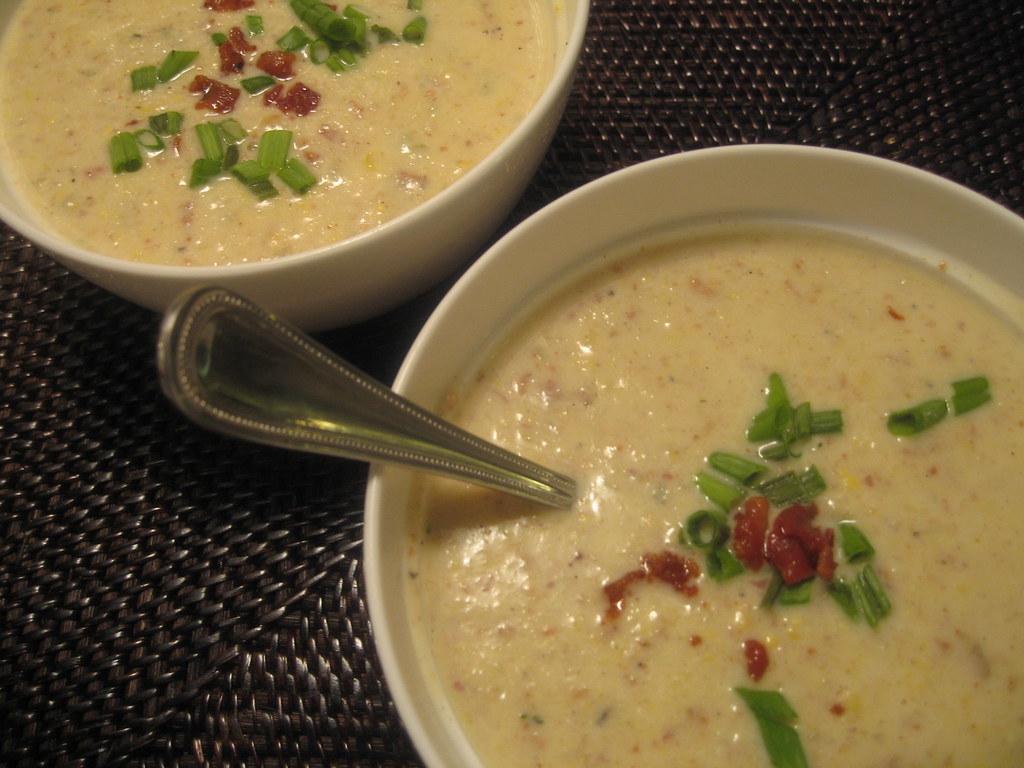
I have abandoned some of my main criteria to share this recipe with you. It is not quick or healthy... but most definitely worth the time and calories. The tale of this corn chowder started last summer. I was out of town and Mr. Hungry and one of his friends from school decided to treat themselves to a meal at Mark's in Houston. If you live in the area, you might be familiar with the fact that this is one of the nicest restaurants in Houston. It is located in an old church and the food is known for being fabulous. Ever since that summer night, I have heard about this corn chowder that is just inconceivably amazing. I of course had to research further and read reviews of the restaurant where most critics and patrons say they have a hard time not ordering this chowder for all four courses. I just keep thinking...this is corn chowder... not osso bucco or foie gras... I can do this.
So I started my search to find a way to make this at home (even though I have never had it). Well, my research did not take long before I figured out that Mark himself has posted the corn chowder recipe on his restaurant's website... or so he says. I was immediately thrilled and thought there would be nothing to this... that is, until I read the recipe. I quickly found that there were ingredients listed in the ingredient list that were not mentioned again in the recipe. I won't even go into the fact that the soup is called roasted corn chowder yet there was no mention of roasting anything OR ever even cooking the corn. I was not defeated by this though, because I at least had a list of ingredients to start with and tweak as necessary.
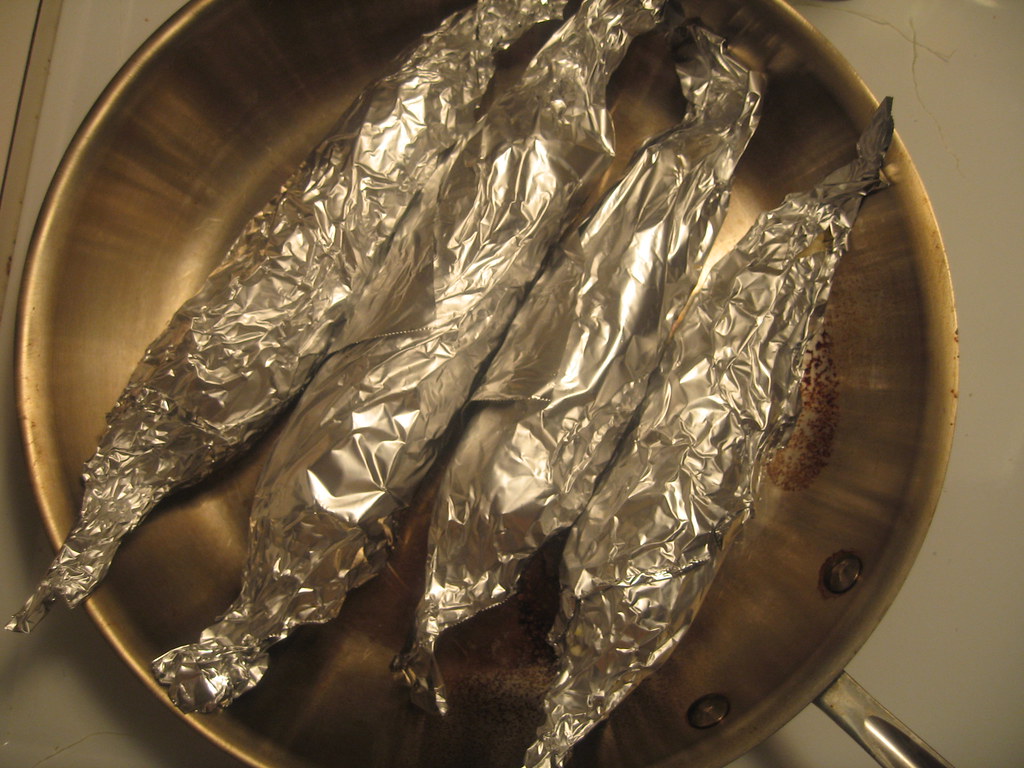
So I will give credit to Mark's for this recipe, but I stand by the fact that this is very loosely adapted and I give myself a huge pat on the back for coming up with the way to roast the corn which really developed the flavor.
p.s. In case you were wondering... Mr. Hungry and his friend Daniel who had dined with him at Mark's both agree that this soup is pretty darn close to what they had at the restaurant.
So I started my search to find a way to make this at home (even though I have never had it). Well, my research did not take long before I figured out that Mark himself has posted the corn chowder recipe on his restaurant's website... or so he says. I was immediately thrilled and thought there would be nothing to this... that is, until I read the recipe. I quickly found that there were ingredients listed in the ingredient list that were not mentioned again in the recipe. I won't even go into the fact that the soup is called roasted corn chowder yet there was no mention of roasting anything OR ever even cooking the corn. I was not defeated by this though, because I at least had a list of ingredients to start with and tweak as necessary.
So I will give credit to Mark's for this recipe, but I stand by the fact that this is very loosely adapted and I give myself a huge pat on the back for coming up with the way to roast the corn which really developed the flavor.
p.s. In case you were wondering... Mr. Hungry and his friend Daniel who had dined with him at Mark's both agree that this soup is pretty darn close to what they had at the restaurant.
Corn Chowder
Recipe Notes
If you do not have a hand blender, a blender will work. Wait until soup is completely cooled and
Ingredients
1 cup (4 oz) maple or apple smoked bacon, chopped
1 tablespoon garlic, finely chopped
1 cup yellow onion, chopped
1 cup celery, chopped
1 cup baby red potatoes, skin on, chopped
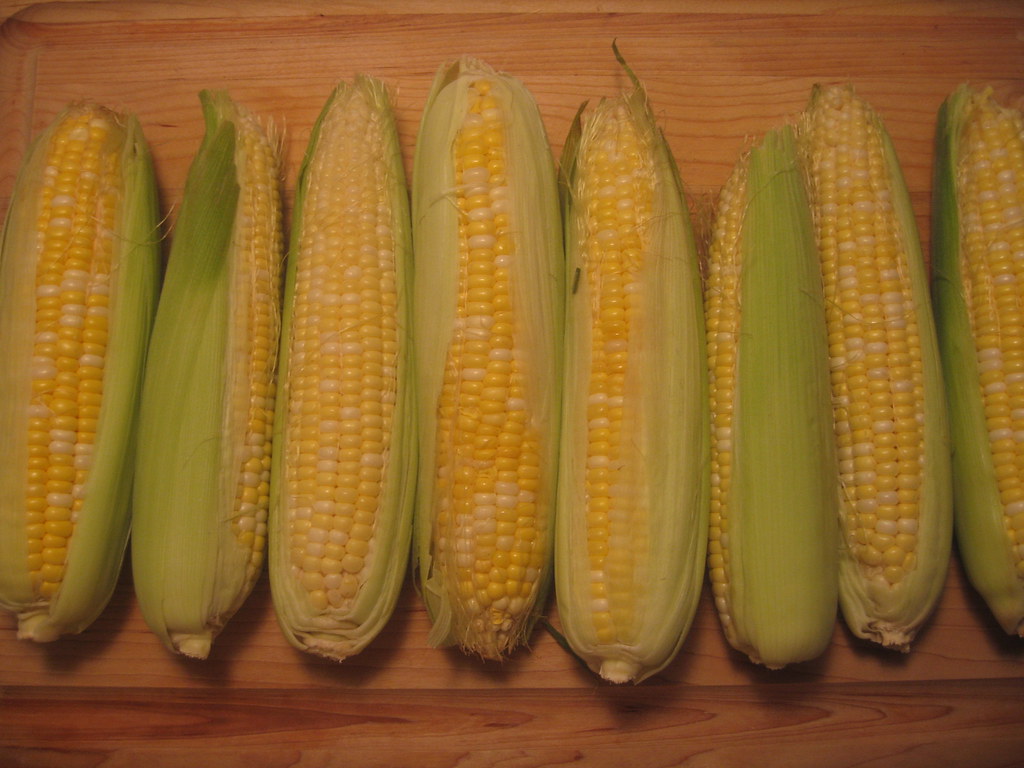
3 to 4 ears of corn (enough for 2 cups of kernels)
1/2 tablespoon unsalted butter
3 cups chicken stock
2 cups heavy cream
1/2 teaspoon salt
1/4 teaspoon ground black pepper
1 tablespoon lime juice
1 tablespoon fresh thyme
2 tablespoons thinly sliced chives
Step by Step
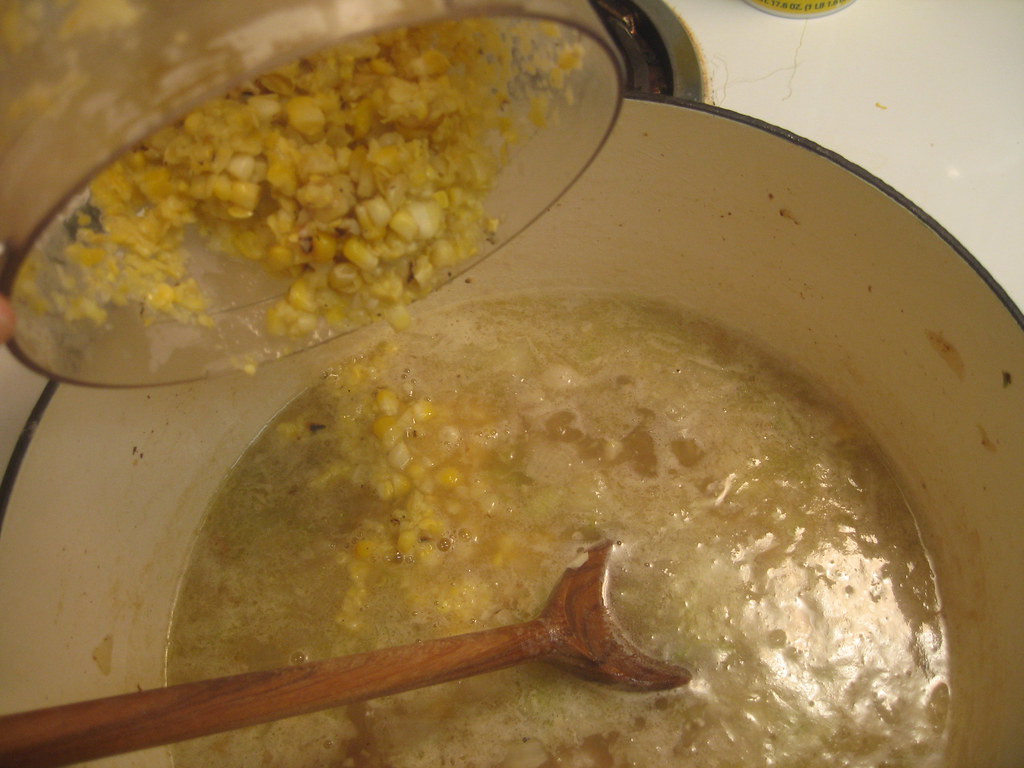
Remove all husks and strings from the ears of corn. Lightly coat each ear of corn in olive oil and lightly salt. Wrap each ear of corn in foil. Heat a large heavy skillet over medium high heat. Place ears of corn wrapped in foil in dry skillet. Turn each ear a quarter turn after about 5 minutes of cooking and repeat until all four sides have been exposed to heat. Peel back foil and remove from heat when corn is lightly blackened on each side. Set aside to cool. After corn is cooled, break ears in half in order to make removing corn easier. Stand each piece of corn up and remove corn kernels with a sharp knife.
Boil 2 cups of water in a sauce pan over high heat. Add potatoes and cover. Reduce heat a little and allow to boil for 15 to 20 minutes. Pierce potatoes with a fork, and when they are tender remove from heat, drain water, and set aside.
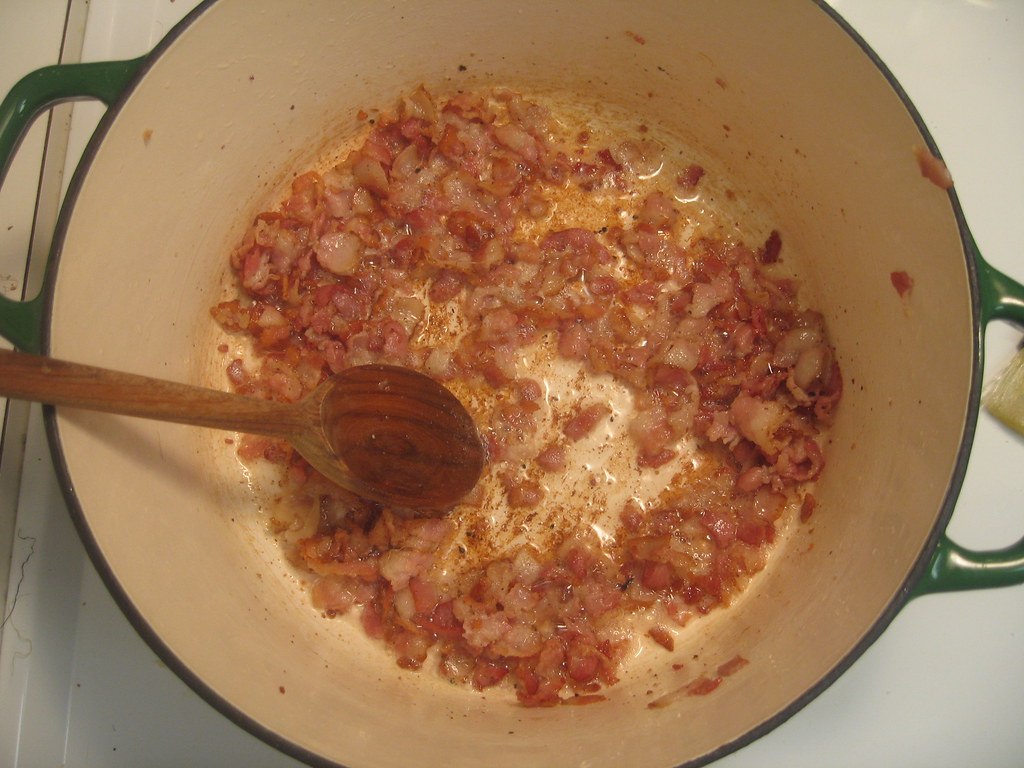
In a heavy sauce pot, over medium heat, saute the diced bacon until crispy and golden brown. Remove bacon from pan and reserve. To the bacon drippings, add garlic, yellow onions and celery. Add potatoes and chicken stock. Bring to a boil and simmer for 5 minutes. Add the processed corn to the potato onion mixture. Simmer for an additional 5 minutes.
Add heavy cream and bring to a boil for 7 minutes. Remove from heat and add thyme, lime juice and bacon. Add salt and pepper to taste.
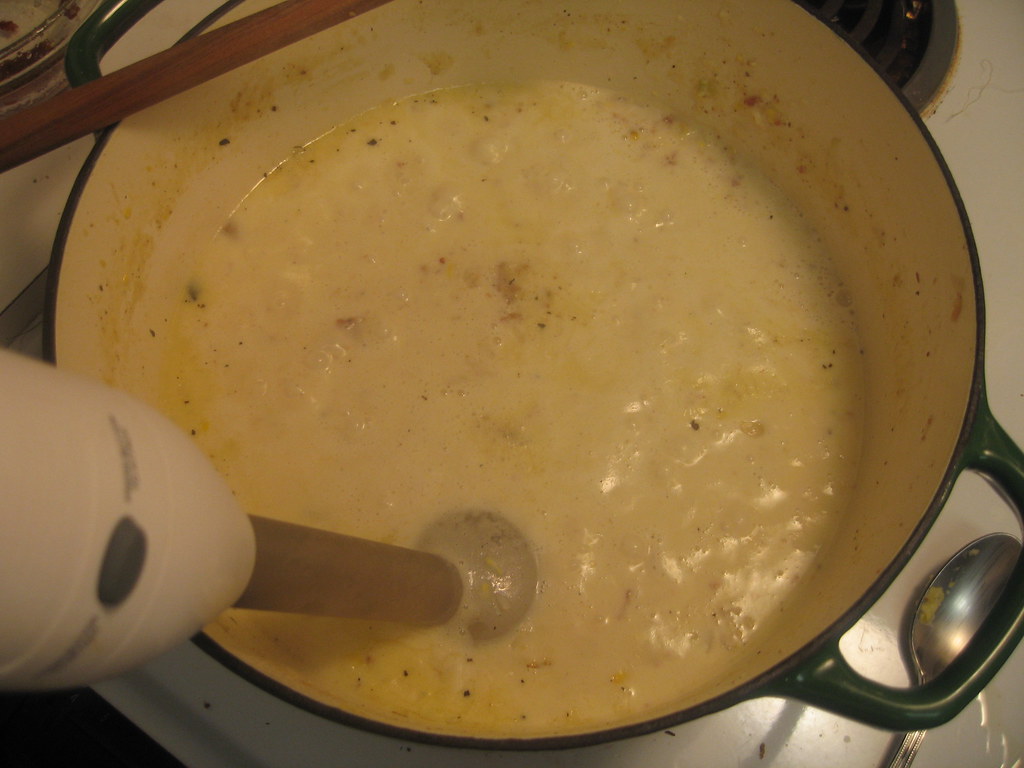
Using a hand blender, lightly blend soup mixture until a thick soup forms, slightly chunky, but remove any big bites of potato. Garnish with bacon and green onions and serve.
1.16.2010
Too much cooking?
I can't believe I'm sharing this, I can't believe I'm sharing this, I can't believe I'm sharing this.
The beauty of sharing my kitchen adventures this way is that I get to pick exactly what you see. I don't take a picture of my cabinets if they get too cluttered nor do I share my complete disasters in the kitchen (however, I'm planning on sharing quite a few flops soon). But I just feel like I have to be honest because a.) maybe you have no idea what's under your burners either or b.) you don't know how easy it is to fix. I am fully aware that I am running a huge risk here. Not only am I "airing my dirty laundry", you could also be fully aware of how easy this is to fix and think I am a lunatic. Well, anyway I got over it and I am sharing this anyway because I am also in shock that this could even happen.
So apparently the metal plates under my burners have literally disintegrated! Who knew! I mean I could definitely tell they were dirty and I have had intentions for way too long of taking care of this mess, but I wanted to totally replace these rather than just cover them with foil. Like most things, I was procrastinating because I thought this was a big hassle. I was imagining I would have to track down the company who made this oven (probably some time in the 60's) and order replacements. Well, I was very very wrong. We have a great little hardware store in our neighborhood and I happened to be perusing one day and saw that they carried a whole wall-full of replacement plates. It seems that they are almost all universal and really easy to use. So I went ahead and brought my decrepit plates so I would get the right sizes. The best part is all sizes were under $5.00. A cheap, much needed renovation. Oh, and as I was checking out, I got quite the shocked response for the store clerks and they were looking at me with a mix of ewww... how ignorant are you and cool I didn't even think that was possible.
So this is just a friendly reminder that if you haven't peaked under your burners in a while, it might be time.
the burner... looks somewhat innocent right? right?
A side burner, which was at least not disintegrating, but in desperate need of a change.
Ahhhhhh, so much better.
Also, I am very aware that some people cover these plates in foil so that is a great option if you want to extend the plates even longer. However, for a couple of bucks, I might just treat this little kitchen to a fresh pair every year.
Subscribe to:
Posts (Atom)