My sister-in-law, Elise, is one of my "idol chefs." If you are wondering what I mean by that I will gladly share my definition and I am sure everyone knows a few people that are like this in the kitchen. No matter what dish she is cooking, she will add a dash of this, a dash of that and then taste it. Almost every time she does this, she will then follow with, "hmmm, I should really add some ginger root (or any ingredient I could never imagine enhancing the dish). Sometimes it's soy sauce in the asparagus or Dr. Pepper in the meat marinade. Anyway, I'm sure you catch my drift that she doesn't really follow recipes and comes up with magical dishes. I dream of cooking like this one day and have just lately started trying to add my own flare instead of rigidly following recipes.
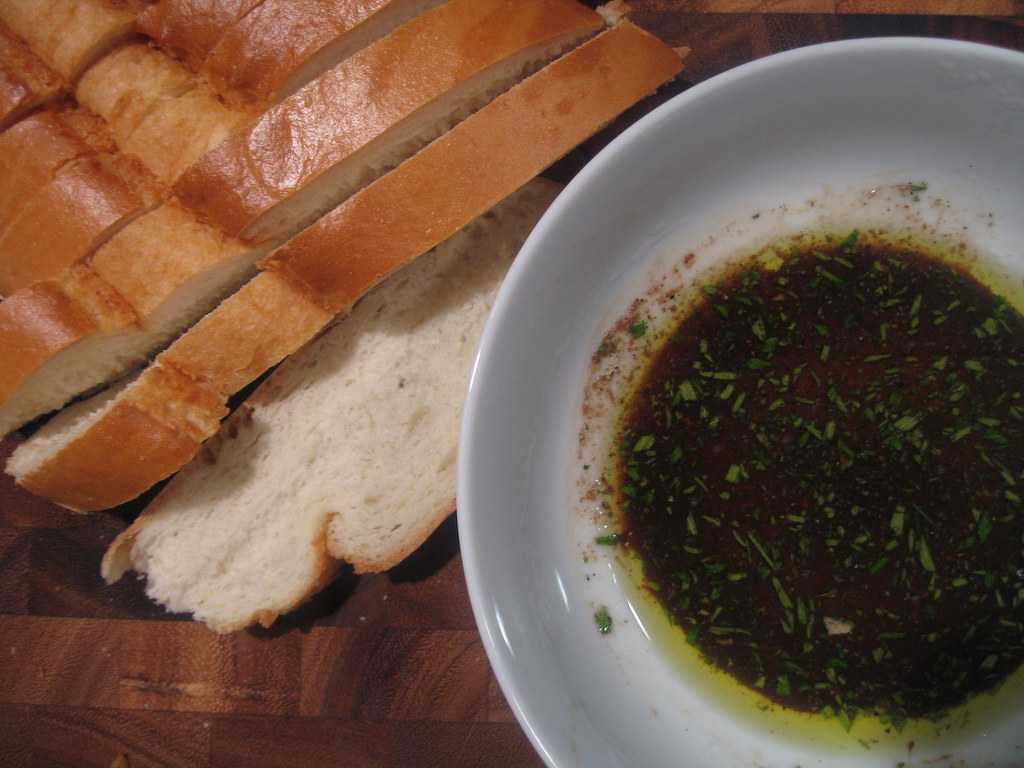
All that to say, I would like to share this wonderful dipping sauce I had last time I was at her house. I know this is nothing too out of the ordinary, but I do hope to share more of her recipes in the future (I just have to follow her around in the kitchen and write down every "splash of this and pinch of that"). Now olive oil and vinegar is something most everyone has had at a restaurant, but the addition of rosemary and sea salt makes this wonderful. This is a great dipping sauce to serve as an appetizer to almost any meal.
Rosemary, Oil & Vinegar Dipping Sauce
Recipe Note
My favorite bread to serve with this sauce is the Rustic Loaf from Central Market.
Ingredients
1/2 olive oil
1/2 cup balsamic vinegar
1-2 teaspoons finely grated sea salt
1 teaspoon finely chopped fresh rosemary
Step by Step
1. Combine all ingredients and lightly stir.
2. Serve with a crusty loaf of bread. My recommendation: Central Market's Rustic Loaf
7.31.2009
7.28.2009
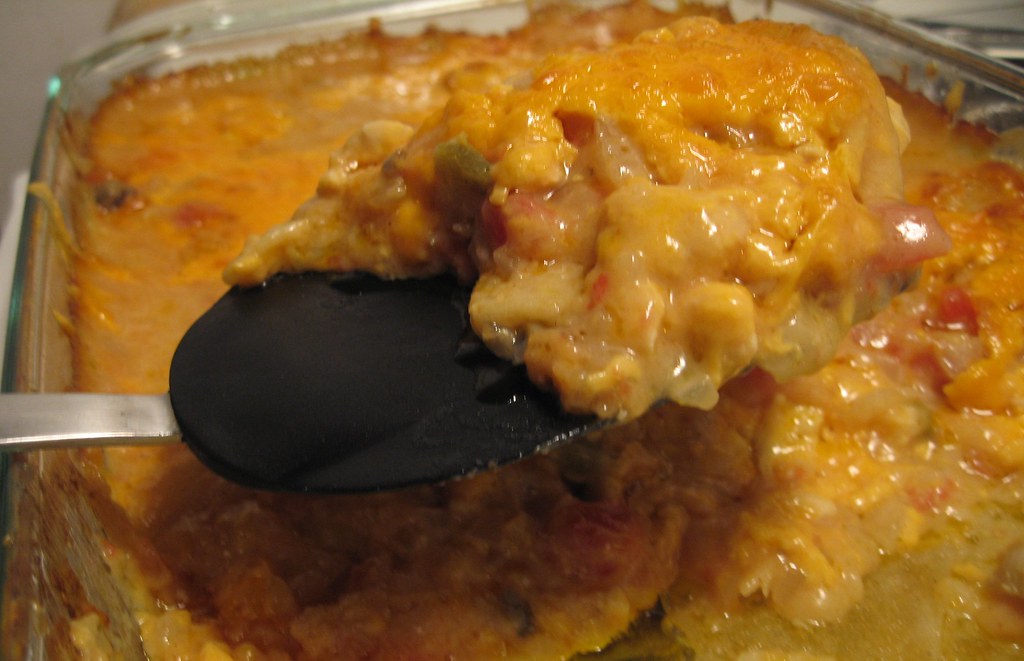
King Ranch Casserole
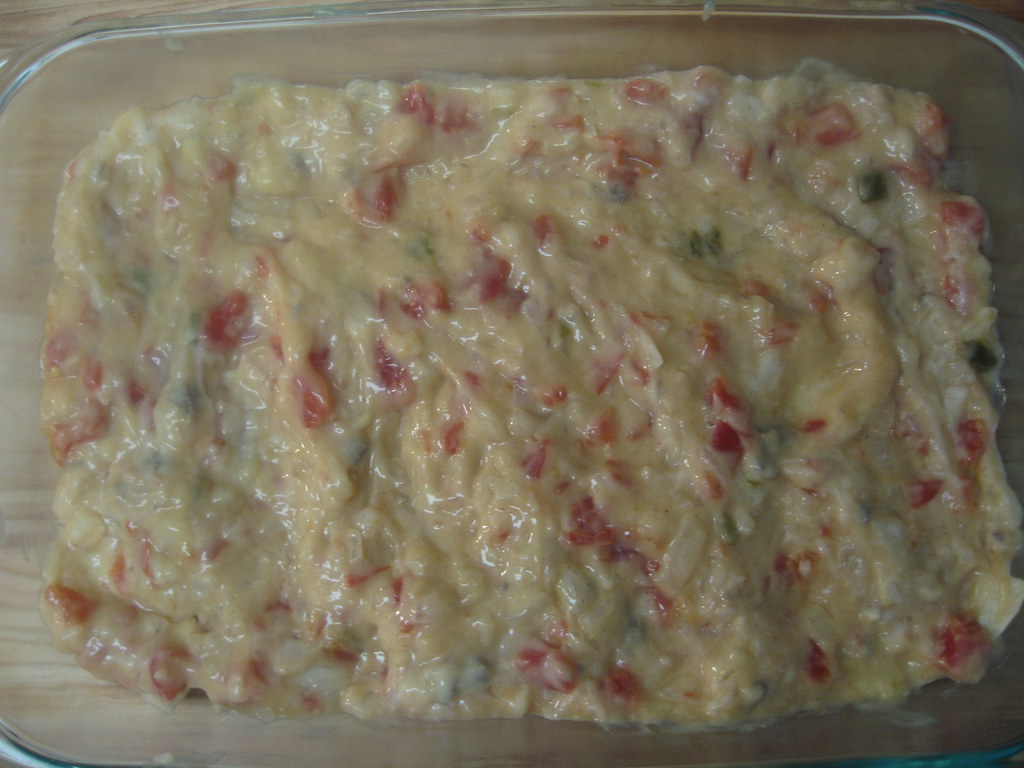
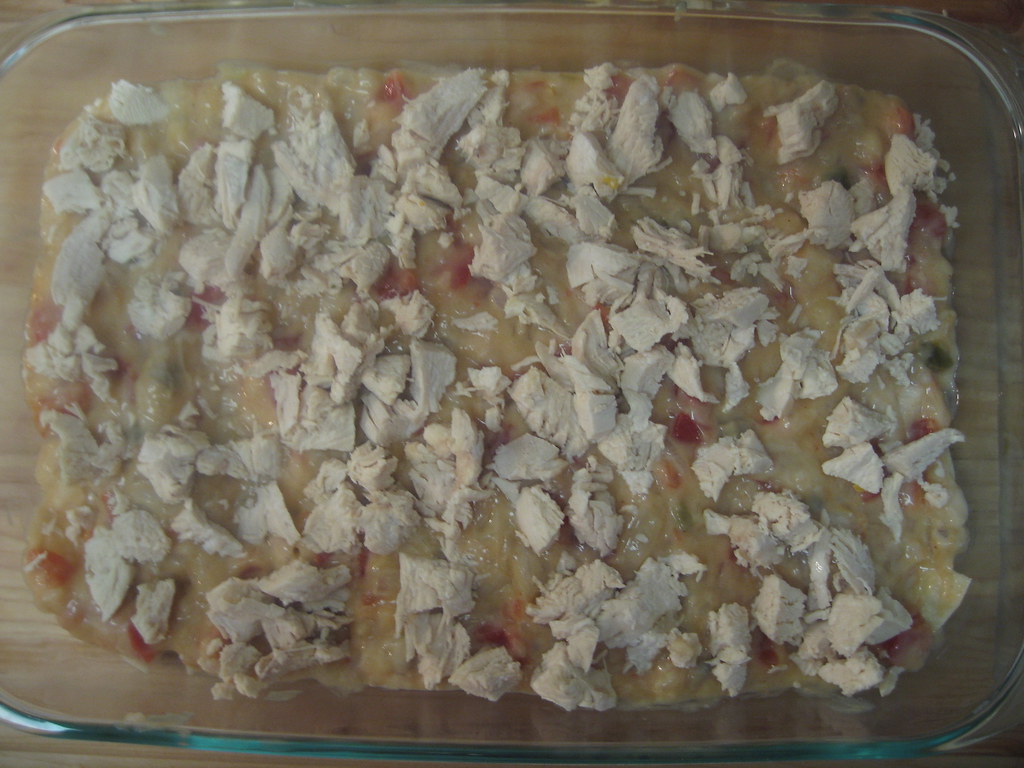
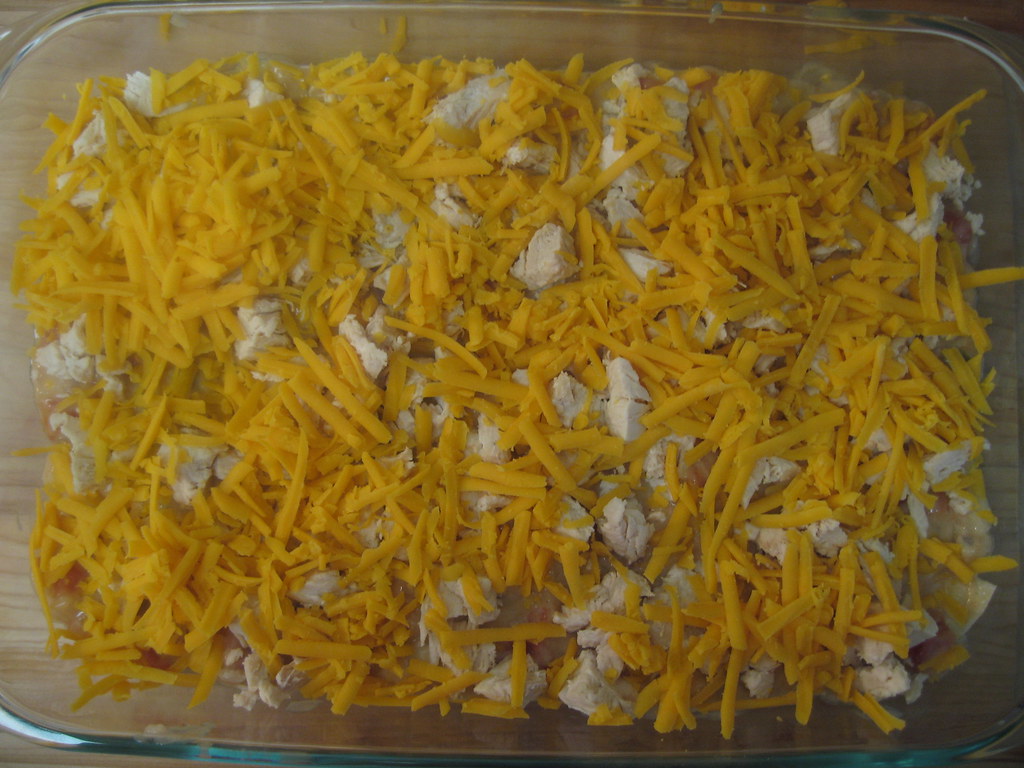
Well, here at the Little Kitchen, we are officially on a budget. I mean sure this is nothing too new, but it's time to cook affordably without sacrificing delicious hearty meals. This king ranch casserole has been a favorite of mine ever since my friend Megan shared the recipe in college. It's great for a dinner party, but also makes wonderful leftovers so you can eat on it all week if you are just making it for two. The mixture of chicken, mexican spices and melted cheese makes a delicious dish. Enjoy!
King Ranch Casserole
Recipe Notes
This casserole can be refrigerated before cooking for a day or two or it can be frozen for up to a month. To really save time, you can also use a cooked rotisserie chicken from the grocery store and shred it instead of cooking the chicken. Once the casserole is cooked, it is important to let it cool for at least 10 minutes so that all the ingredients can set. For the cheddar cheese, mild or sharp will work, but I prefer sharp.
Ingredients
1 cup diced yellow onion
2 cups cooked chicken (click here for recipe)
1/2 cup butter
1 can of cream of chicken soup
1 can cream of mushroom soup
1 can Rotel chopped tomatoes
1 clove of minced garlic
1 teaspoon chili powder
1 cup chicken broth (1 can)
10 white or yellow corn tortillas
4-5 cups of grated cheddar cheese
Step by Step
1. Preheat oven to 350 degrees.
2. Saute onions in butter.
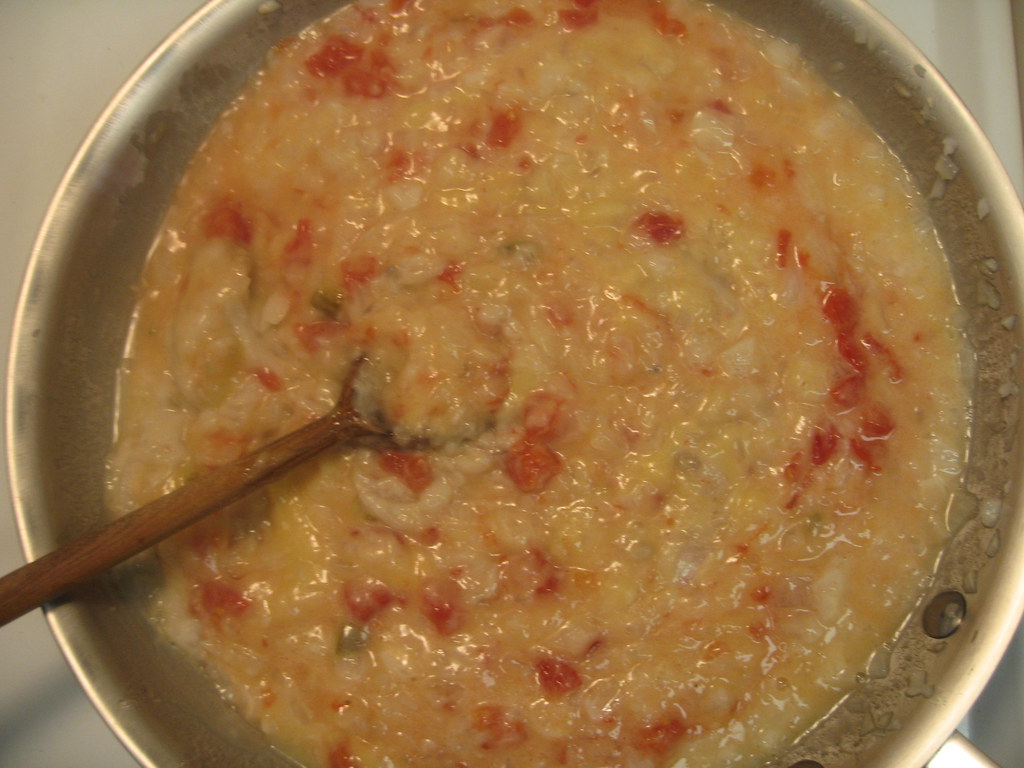
3. Add soups, rotel, garlic and chili powder.
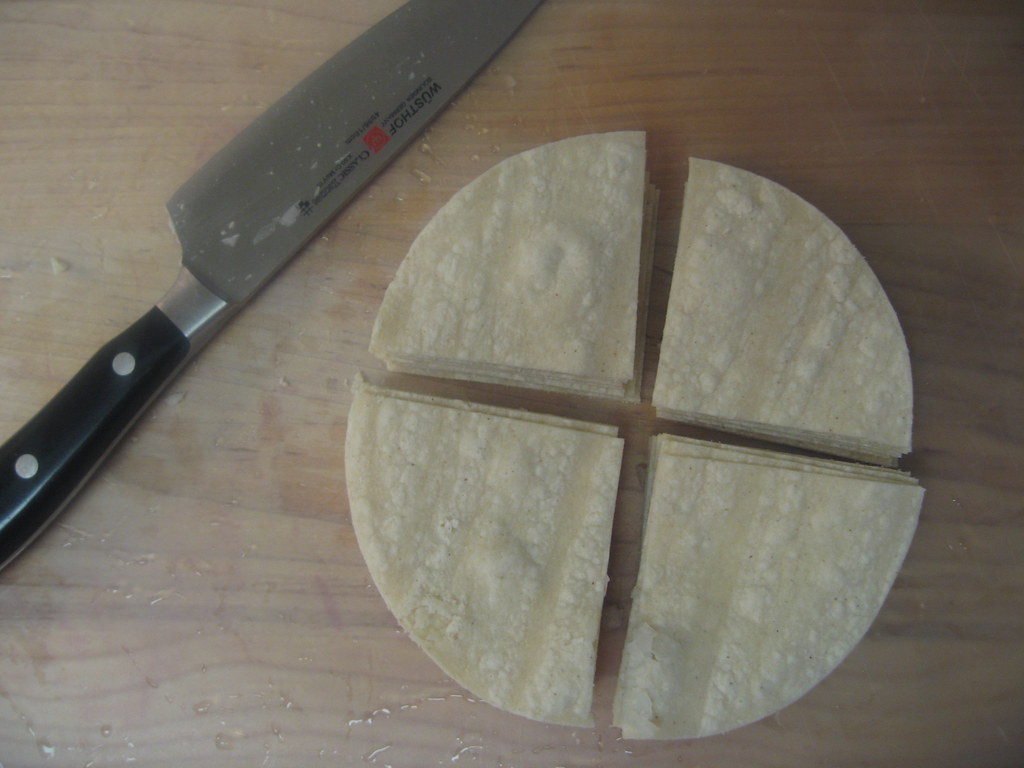
4. Cut tortillas into quarters. Place torn tortilla quarters in chicken broth for 10 minutes.
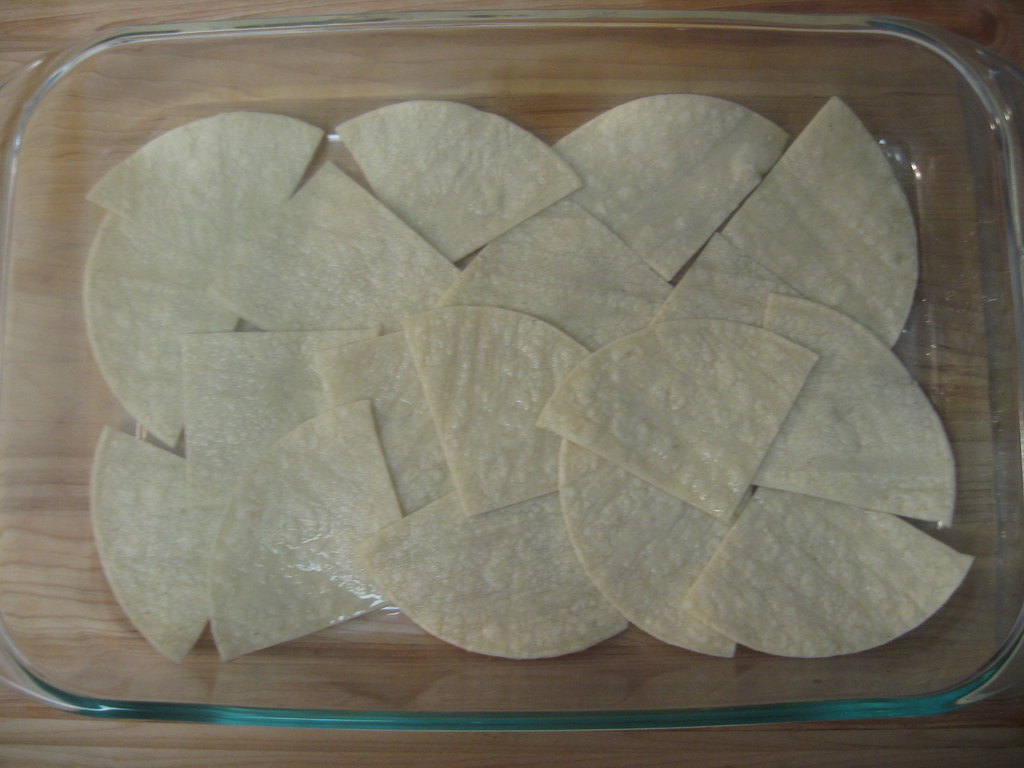
5. Line the casserole dish with the torn tortillas.
6. Fill dish with alternate layers of sauce, chicken, cheese and then torn tortillas. You want two layers of each ingredient.
7. Top with cheese.
8. Bake at 350 degrees for 30 minutes. Take out of oven when cheese is bubbling and slightly browned.
9. Allow to set by cooling for 10 to 20 minutes before serving.
How To: Boil Chicken
So I clearly didn't post this for the beautiful picture or how appetizing it looks. However, I did post "how to boil chicken" because it is the base of a few of my favorite recipes. When I first started cooking, I steered clear of any dish with chicken unless I could grill it because that is all I knew how to do. I thought it was ridiculous when ingredient lists would include "1 cup of cooked chicken." Well, how exactly am I suppose to come up with this "cooked chicken?" Grill it? Bake it? Boil it? I knew nothing. So I decided to share this simple "how to" so that when I soon post some of my favorite recipes that call for "cooked chicken," no one will be left in the dark! Examples of what you can do with these chicken chunks include chicken salad and mexican casseroles.
Again, I apologize for the bland picture, but I thought it was a must to share!
Basic Boiled Chicken
Recipe Notes
When you are boiling the chicken, feel free to add anything to the water that will enhance the flavor. For example, I always heavily salt the water, but I will also add garlic cloves if I am using the chicken in a mexican dish. Other ideas are bouillon cubes, onions or herbs.
The time that you cook the chicken will depend heavily on the breast size. Start to check for doneness after 10 minutes because you don't want to overcook the chicken and have it come out tough. However, you must make sure there is no pink left in the middle!
Serving size: One boneless, skinless chicken breast will equal approximately 1 cup of diced cooked chicken.
Step by Step
1. Bring a pot of water to a boil. You will need enough water to cover the amount of breasts you are cooking.
2. Add any flavor enhancers to the water, such as salt, garlic cloves or a bouillon cube.
3. Add boneless skinless chicken breasts to water.
4. Turn the heat down till the water is simmering.
5. Cover and allow to simmer for 10 to 30 minutes, depending on breast size.
6. Check that chicken is cooked thoroughly by making sure there is no pink left in the center of the chicken.
7. Cut chicken into chunks. (Size will depend on what the given recipe calls for)
Again, I apologize for the bland picture, but I thought it was a must to share!
Basic Boiled Chicken
Recipe Notes
When you are boiling the chicken, feel free to add anything to the water that will enhance the flavor. For example, I always heavily salt the water, but I will also add garlic cloves if I am using the chicken in a mexican dish. Other ideas are bouillon cubes, onions or herbs.
The time that you cook the chicken will depend heavily on the breast size. Start to check for doneness after 10 minutes because you don't want to overcook the chicken and have it come out tough. However, you must make sure there is no pink left in the middle!
Serving size: One boneless, skinless chicken breast will equal approximately 1 cup of diced cooked chicken.
Step by Step
1. Bring a pot of water to a boil. You will need enough water to cover the amount of breasts you are cooking.
2. Add any flavor enhancers to the water, such as salt, garlic cloves or a bouillon cube.
3. Add boneless skinless chicken breasts to water.
4. Turn the heat down till the water is simmering.
5. Cover and allow to simmer for 10 to 30 minutes, depending on breast size.
6. Check that chicken is cooked thoroughly by making sure there is no pink left in the center of the chicken.
7. Cut chicken into chunks. (Size will depend on what the given recipe calls for)
7.25.2009
little kitchen loves... Ikea Nonstick Skillet
This is one of my favorite little kitchen secrets. When it comes to buying pots and pans there are so many options. Sometimes buying high quality expensive pans is definitely worth the money, but this is not the case with a nonstick skillet. This is an essential pan to have in any kitchen to cook anything from eggs to any dish with cheese when you want an easy cleanup. This is actually a tip I got from a friend who is a professional chef. Whether you buy an expensive nonstick skillet or a cheap one, they will give you the same results and no nonstick pan lasts forever because the nonstick surface will wear out and you will need to throw it away. My chef friend told me some of the best chefs in the world have cheap nonstick skillets. This set of two from Ikea is perfect and the price couldn't be better... $7.95 for two! When browning meats and making sauces, you will want to use a good skillet and I will talk about the pans I have invested in on a different post. But for now, I am suggesting you pick these up from Ikea for all your quick cooking. Now remember, when you start to see the surface of the pan peeling off, it's time to throw the pan away and get another one. At least this way you won't be too sad to see that pan you paid a couple bucks for go in the trash!
7.24.2009
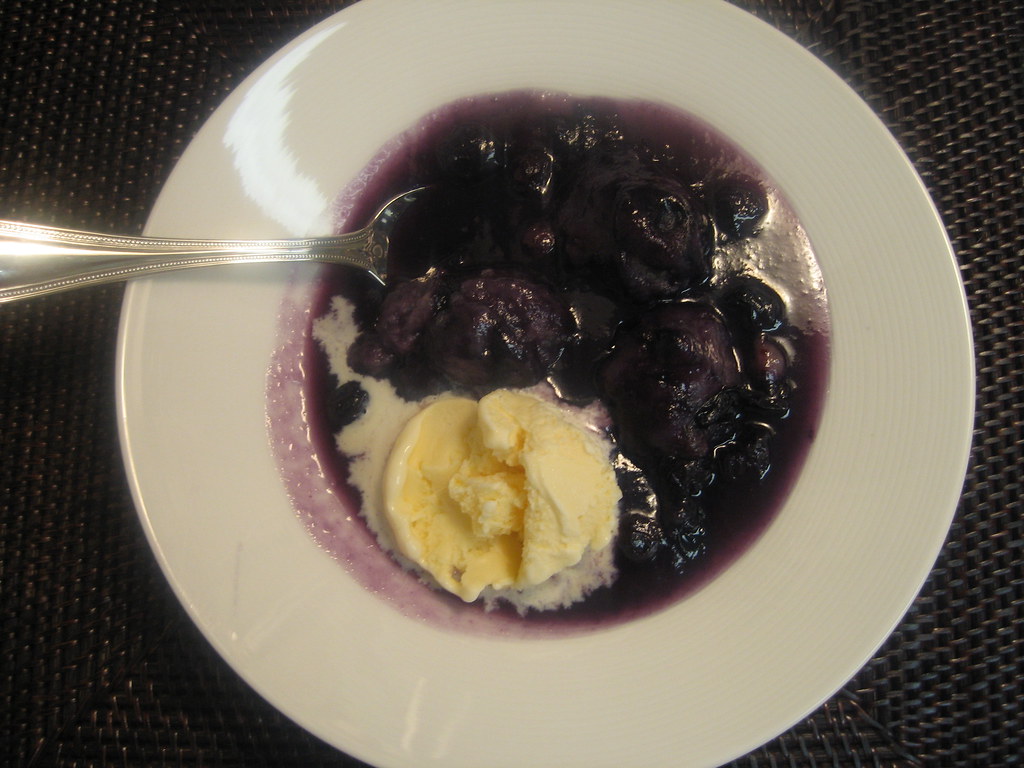
Blueberry Dumplings with Vanilla Ice Cream
There is nothing like blueberry desserts in the summer. You can buy plump blueberries for cheap and serving them in this dumpling dessert is a great twist. I served these the other night when we had some friends over and my friend Merrill described this dessert perfectly. She said it tasted like a warm blueberry muffin with ice cream. The slightly sweet cake dumplings simmer in the blueberry sauce and soak up all the flavor. This is such a great dessert because you can prepare the dumplings ahead and then cook them while you eat dinner so they will be ready to serve warm. And best of all, it comes across as a complicated dessert, but couldn't be easier to make. Enjoy!
Blueberry Dumplings with Vanilla Ice Cream
Recipe Notes
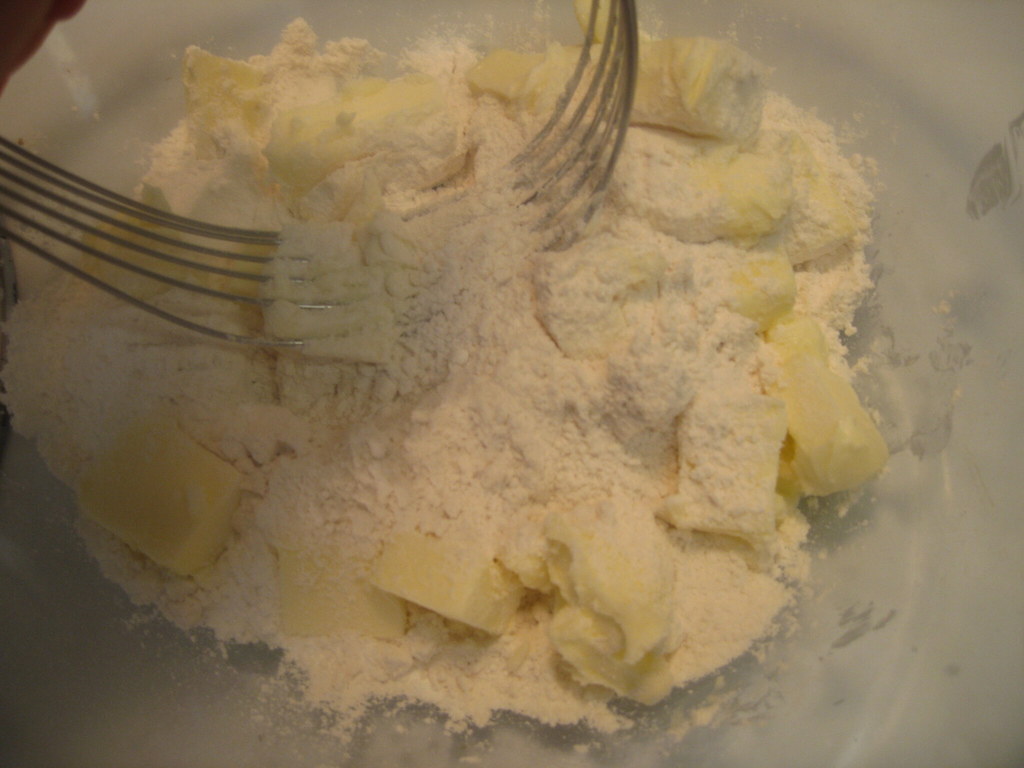
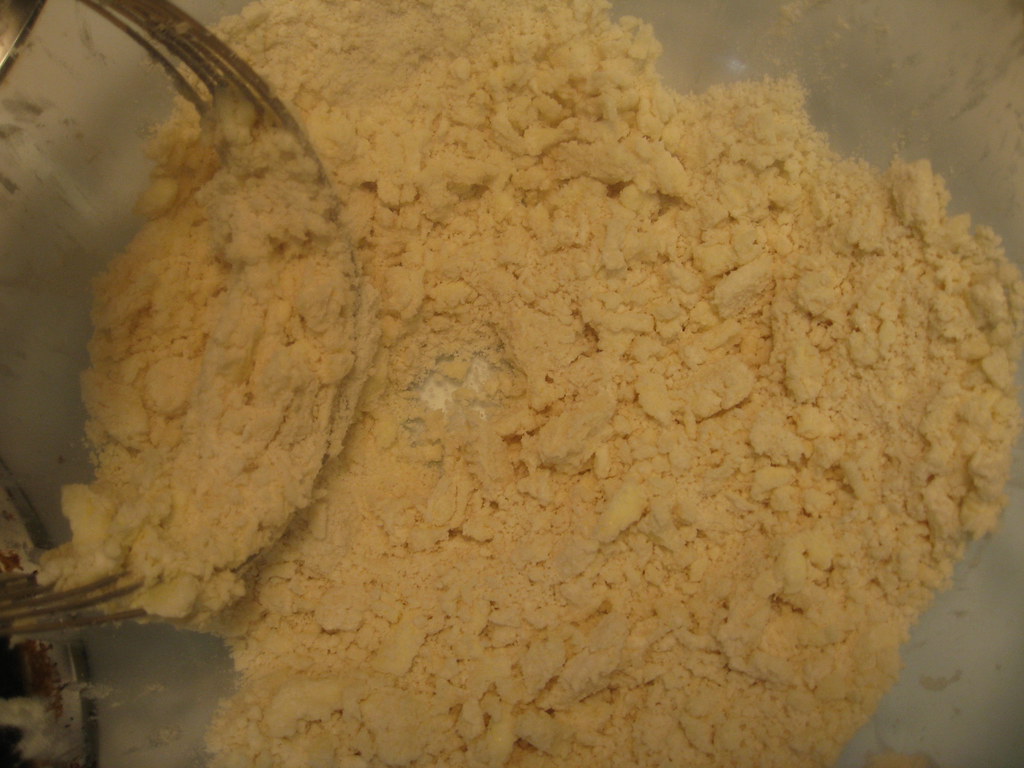
The term "cut the butter into the flour" simply means to mash the butter until it turns into crumbs in the flour mixture. If you do not have a pastry cutter, a fork will work fine. You can see in the picture above the crumb textured state of the dough before you add the milk.
Ingredients
1 cup all-purpose flour
1 tablespoon sugar, plus 1 1/2 cup sugar
1 teaspoon baking powder
Pinch of Salt
1/2 cup (1 stick) unsalted butter, softened
1/4 cup milk
1 quart fresh or frozen blueberries
2 cups water
Vanilla ice cream (or fresh cream)
Step by Step
1. Stir flour, 1 tablespoon sugar, baking powder and salt together in a medium bowl.
2. Cut butter into dry ingredients using a pastry cutter or a fork.
3. Add milk to form dough. Using your hands, roll dough into golf ball size balls.
4. In a large saucepan, combine berries, 1 1/2 cups sugar, and water and bring to a boil.
5. Drop dumplings into hot boiling berries one at a time.
6. Cover pot, reduce heat to low, and cook slowly for 20 to 30 minutes.
7. Do not remove the lid before 20 minutes has passed, and do not stir the dumplings.
8. Serve warm with vanilla ice cream or fresh cream.
Blueberry Dumplings with Vanilla Ice Cream
Recipe Notes
The term "cut the butter into the flour" simply means to mash the butter until it turns into crumbs in the flour mixture. If you do not have a pastry cutter, a fork will work fine. You can see in the picture above the crumb textured state of the dough before you add the milk.
Ingredients
1 cup all-purpose flour
1 tablespoon sugar, plus 1 1/2 cup sugar
1 teaspoon baking powder
Pinch of Salt
1/2 cup (1 stick) unsalted butter, softened
1/4 cup milk
1 quart fresh or frozen blueberries
2 cups water
Vanilla ice cream (or fresh cream)
Step by Step
1. Stir flour, 1 tablespoon sugar, baking powder and salt together in a medium bowl.
2. Cut butter into dry ingredients using a pastry cutter or a fork.
3. Add milk to form dough. Using your hands, roll dough into golf ball size balls.
4. In a large saucepan, combine berries, 1 1/2 cups sugar, and water and bring to a boil.
5. Drop dumplings into hot boiling berries one at a time.
6. Cover pot, reduce heat to low, and cook slowly for 20 to 30 minutes.
7. Do not remove the lid before 20 minutes has passed, and do not stir the dumplings.
8. Serve warm with vanilla ice cream or fresh cream.
7.22.2009
Caprese Skewers
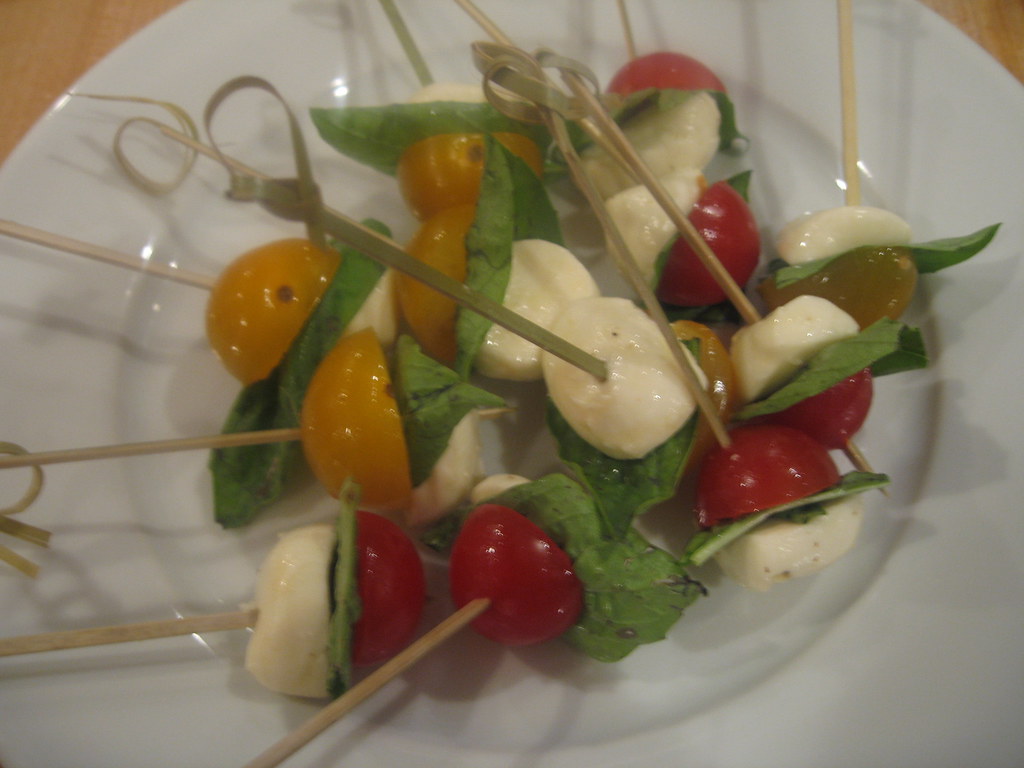
Here again three of my favorite ingredients pop up in a new way. I was in Austin last weekend and was a part of a cooking class with a private chef. She taught us some wonderfully simple summer recipes. I plan on telling you who she is in case you live in Austin and ever want to have a cooking party, but I have promised her I would wait till she got her website done! I just couldn't wait to post these skewers because they could not be easier and perfect for a quick summer appetizer. Enjoy!
Caprese Skewers
Recipe Notes
You can use just red cherry tomatoes if you can't find the yellow ones as well. However, they do add great color if you can find them!
Ingredients
1 cup yellow and red cherry tomatoes, sliced in half
1 cup small mozzarella balls, sliced in half
10-20 fresh basil leaves
1 teaspoon kosher salt
1 teaspoon olive oil
pepper
10-20 toothpicks or small skewers
Step by Step
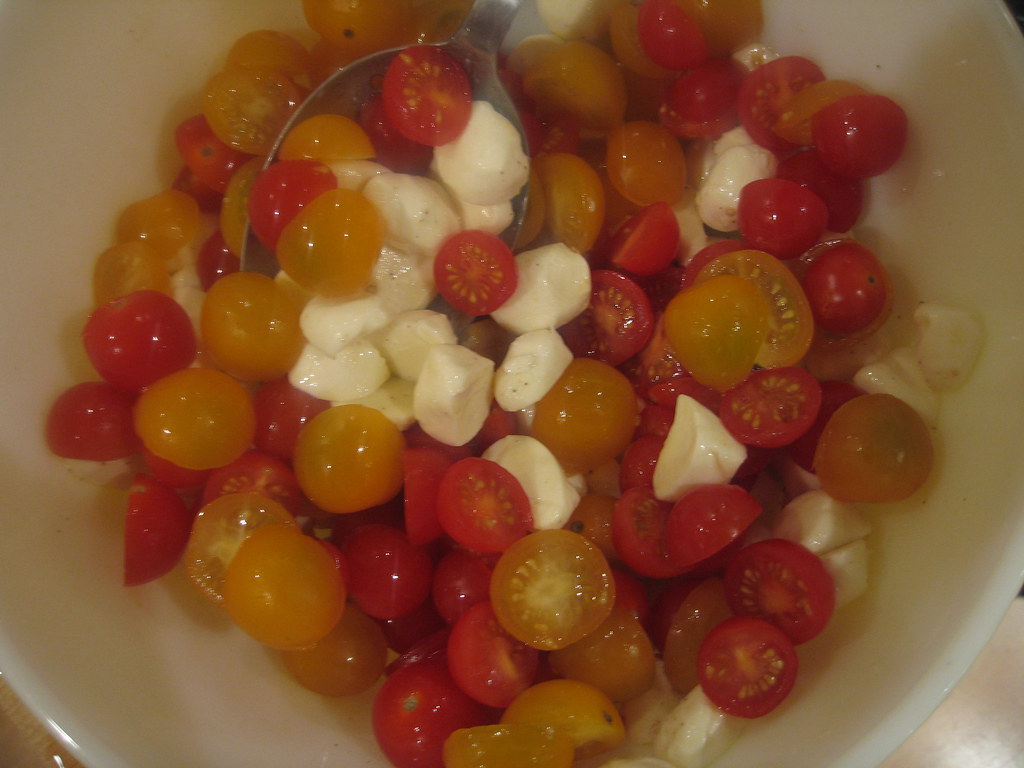
1. Place mozzarella balls and tomatoes in a bowl.
2. Toss mozzarella with salt and olive oil until lightly coated (more salt can be added to taste). Sprinkle with pepper.
3. Layer a piece of mozzarella, a tomato half and a basil leaf on each skewer.
4. Serve at room temperature.
Caprese Skewers
Recipe Notes
You can use just red cherry tomatoes if you can't find the yellow ones as well. However, they do add great color if you can find them!
Ingredients
1 cup yellow and red cherry tomatoes, sliced in half
1 cup small mozzarella balls, sliced in half
10-20 fresh basil leaves
1 teaspoon kosher salt
1 teaspoon olive oil
pepper
10-20 toothpicks or small skewers
Step by Step
1. Place mozzarella balls and tomatoes in a bowl.
2. Toss mozzarella with salt and olive oil until lightly coated (more salt can be added to taste). Sprinkle with pepper.
3. Layer a piece of mozzarella, a tomato half and a basil leaf on each skewer.
4. Serve at room temperature.
Subscribe to:
Posts (Atom)