6.29.2009

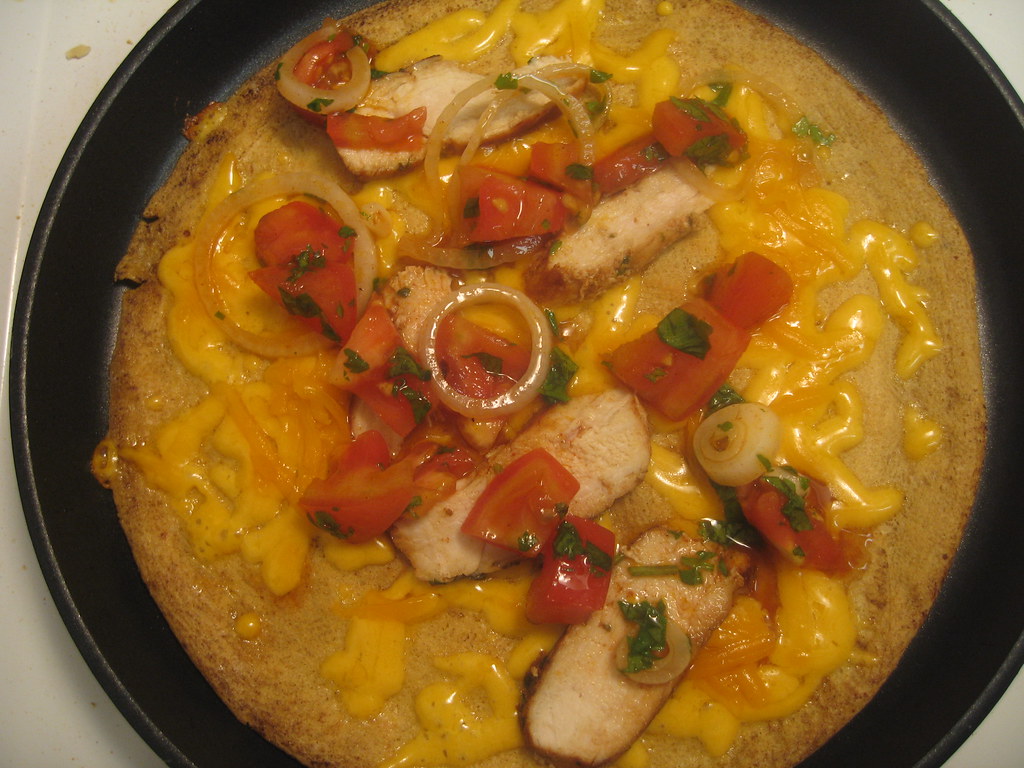
Southwestern Crepes

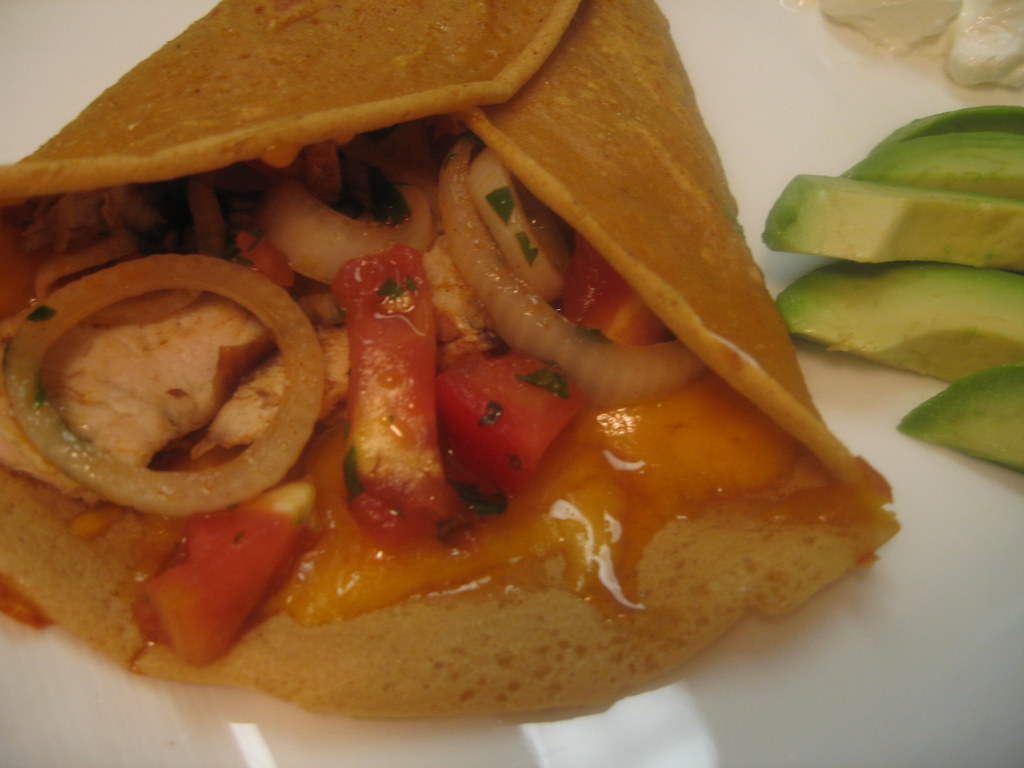
I have to admit something... I really really didn't want to post this recipe.  Why you ask?  Because I kind of wanted to keep it a secret till I can open my little dream crepe stand and serve this as my signature dish.  Yes, signature dish... It is absolutely that good and probably better.  Well, at least maybe this could rally financial support for my crepe stand (anyone? anyone?)  and until then, I will continue to share my recipes. I have to tell you this is heavily adapted from another recipe that came with my Berndes crepe pan, but my addition of cheddar cheese took it to a whole new level in my opinion.

Sidenote:  A few of you have asked me specifics on the pan I bought.  I actually bought the Berndes crepe set, which comes with a pan, ladle, flat spatula and crepe batter.  I would definitely recommend getting the set because I find all the tools invaluable.  Another sidenote: No, I am not endorsed by Berndes, but I probably should be for all this free advertising!

Again I digress... So back to the best crepe possibly ever.  The crepe batter has cornmeal as well as chili powder in it to give it an extra kick.  The marinated chicken is a dream to cook as well because I cooked  it right in the crepe pan right before I made the crepe.  Another perk when cooking in a little kitchen (or big kitchen I suppose... I would prefer the least dishes possible even if I was cooking in a kitchen with more than two counters).  
There is a little preparation to this, but you can do it all ahead of time and just throw the crepes together when you are ready to serve.  When my friend Kate and I dove into these, we couldn't believe how good they were.  Hope you agree! Come on, try one... I promise it's worth buying a pan!
Southwestern Crepes
Serves 4
Recipe Note: You must marinate the chicken and onion tomato mixture for at least 30 minutes so make sure you allow time for that.  You are also suppose to let the crepe batter sit for an hour after you make it.  This is customary with all crepe batters in order to let all of the bubbles out for even cooking.  I will say I have been in a hurry a few times and your crepes will turn out just fine if you don't let it sit this long.  The batter will just have air bubbles when you cook it.  Adapted from Berndes Cookware.
Ingredients
Corn Crepe Batter
3/4 cup all-purpose flour
1/3 cup yellow corn meal
1/2 teaspoon salt
2 teaspoon chili powder
3 large eggs
3/4 cup beer (I used a Mexican beer called Modelo)
Crepe Filling
3 boneless, skinless chicken breasts
1 tablespoon chili powder
4 tablespoons fresh cilantro, chopped
1 teaspoon salt
1/2 teaspoon freshly ground pepper
1/2 cup beer (Modelo)
1/4 cup olive oil
3 medium sized vine ripened tomatoes, seeded and cut into chunks
   (to seed a tomato, simply slice in half and dig the seeds out with a spoon)
1/2 medium sized white onion, thinly sliced
2 cups shredded mild cheddar cheese
Serve With
Sliced avocado
Sour Cream
Step by Step
For Crepe Filling
1. Combine chili powder, cilantro, salt, pepper, beer and olive oil in a bowl.
2.  Pour half of this mixture into a second bowl and add chicken breasts to marinate.
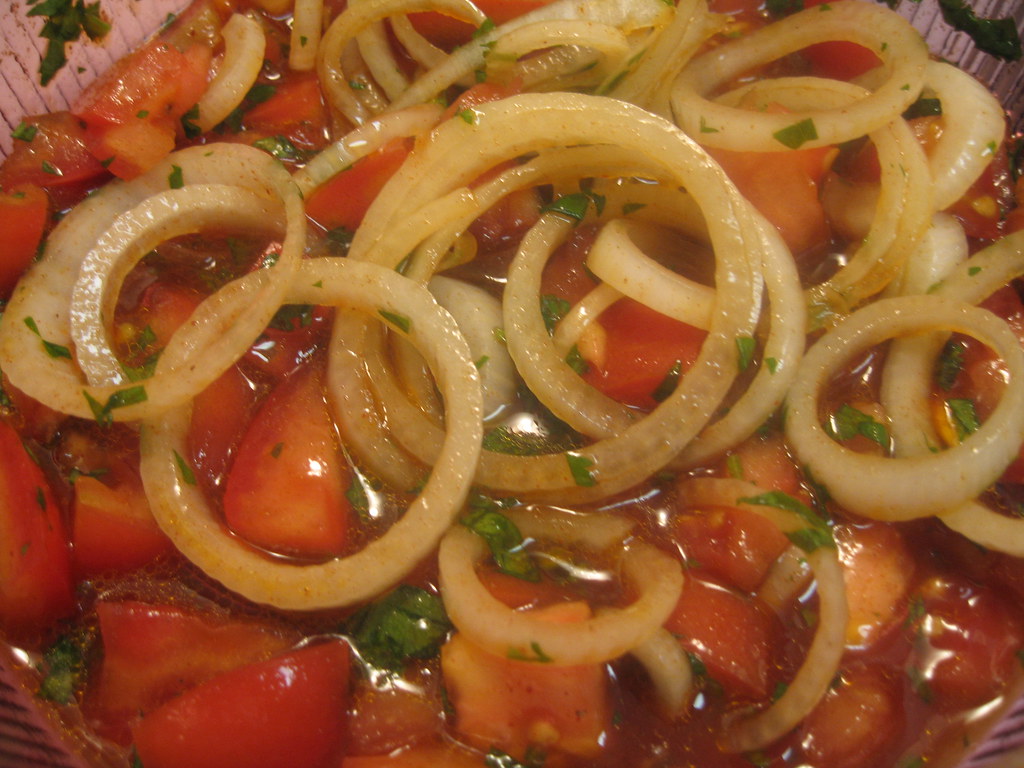
3.  Add the tomatoes and onions to the other half of the marinade and allow both mixtures to marinate in the refrigerator for 30 minutes to an hour.
4.  Remove chicken from the refrigerator and allow to come to room temperature.  Heat crepe pan over medium heat and cook chicken breast until cooked through.
5.  Slice chicken into 1/2 inch strips and and set aside.
For the Crepes
1.  Combine flour, corn meal, salt and chili powder in a blender.
2.  Add the eggs one at a time and then the beer slowly until a thin batter is formed.
3.  Refrigerate batter for one hour.
4.  Heat crepe pan over medium heat.  Lightly coat with cooking spray or olive oil.
5.  Measure out a 1/2 cup of batter.  (For thinner crepes, only use a 1/4 cup)
6.  Holding the handle of the pan with one hand, pour batter into center of pan and turn in a circle until entire pan is covered in a thin layer of batter.
7.  Cook until lightly brown on one side.
8.  Flip the crepe with a spatula and allow the other side to brown as well.  Continue to cook on each side until slightly crispy.
9.  When crepe is almost finished, sprinkle with a 1/2 cup of shredded cheddar cheese. Place chicken strips down the center of the crepe.   Top with tomato and onion mixture.
10.  Remove from pan and fold into the shape of a pizza slice.
11.  Serve with sliced avocado and a dab of sour cream.


6.28.2009

Weekend Update: Topsy Turvy Tomato Planter...Week 7

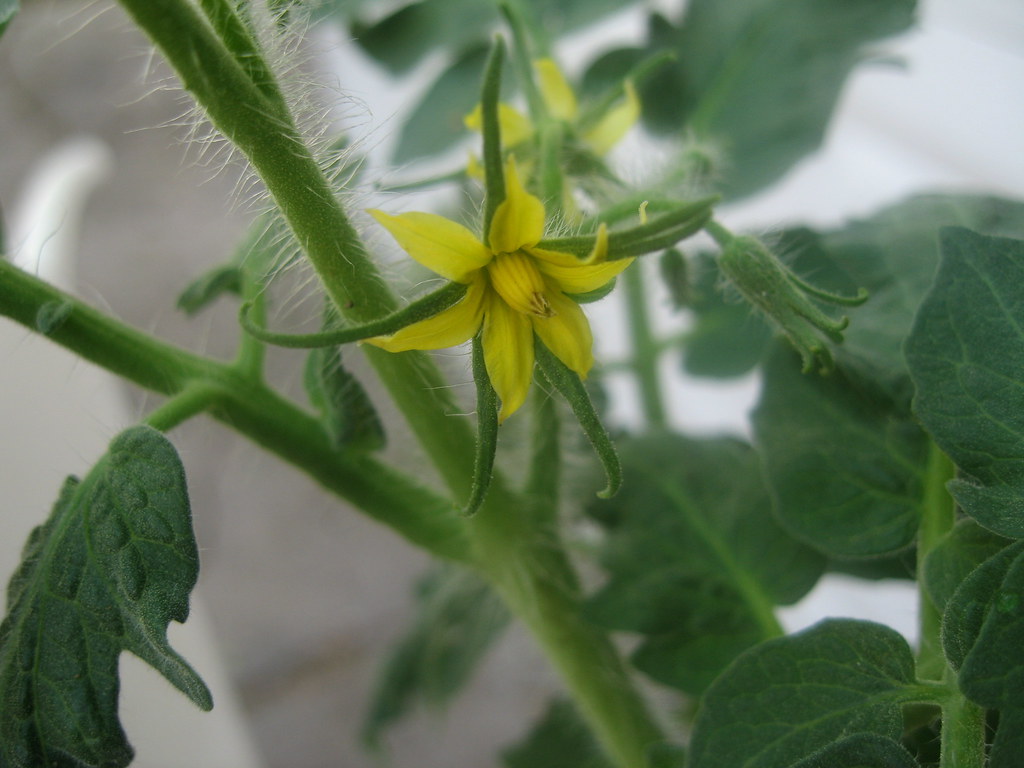
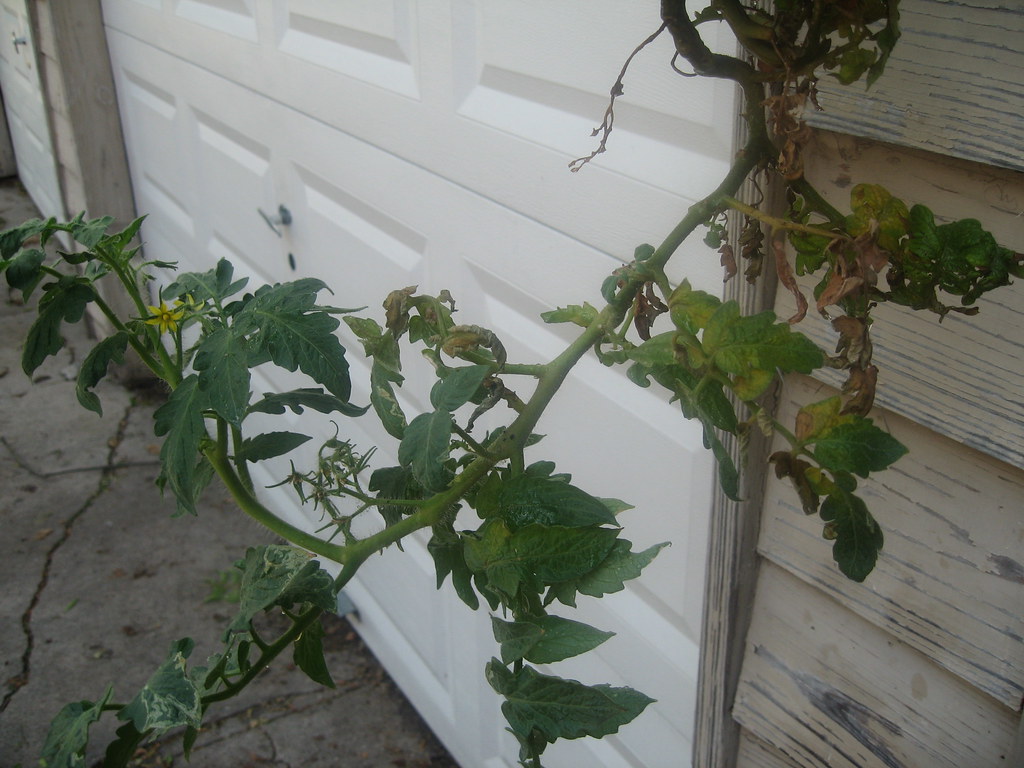
And so I continue my Topsy Turvy report.  I have to admit it's getting hard for me to keep up the enthusiasm about this darn thing.  There is no real new news.  The leaves continue to grow and I continue to get yellow flowers, but that is as far as it goes.  The yellow flowers soon wilt.  To add on to my discouragement, anyone who has had success growing anything in Houston has assured me it is too hot for the survival of tomatoes.  Guess these suckers just can't take the heat in our 104 degree afternoons.  I will continue on for another week or two just to give it a good try.  And no matter what happens, I will retry the topsy turvy next year before the melting summer begins.  So stay tuned for a few more weeks!!

More promising blooms...
...and more dead ones!

6.26.2009

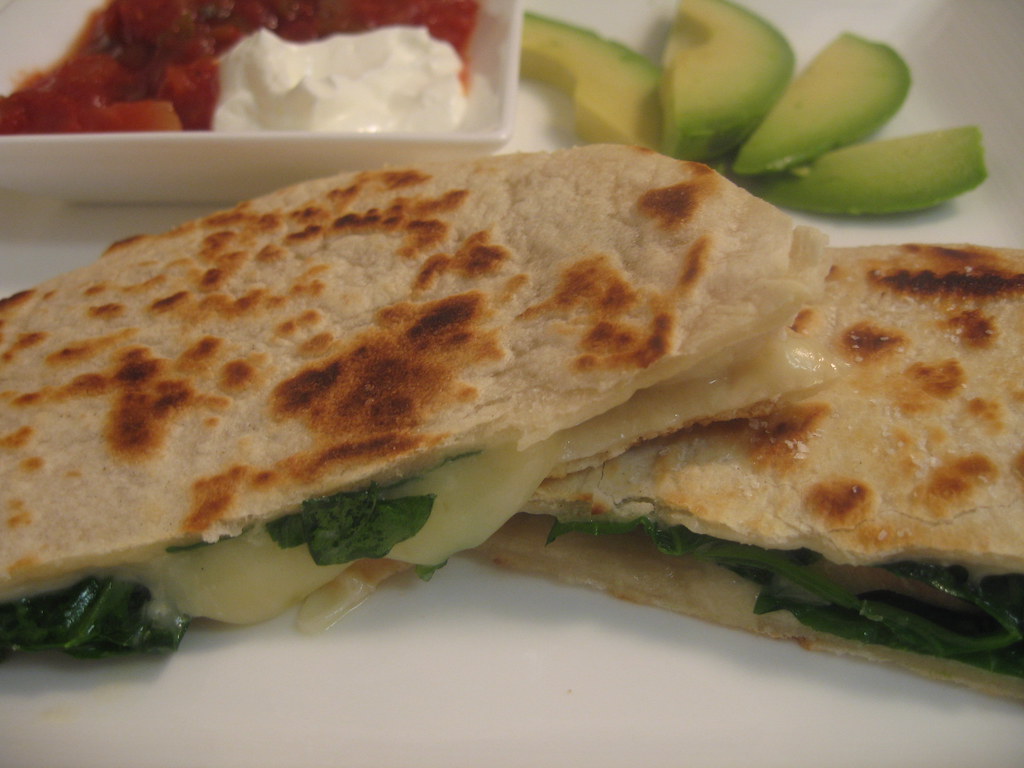
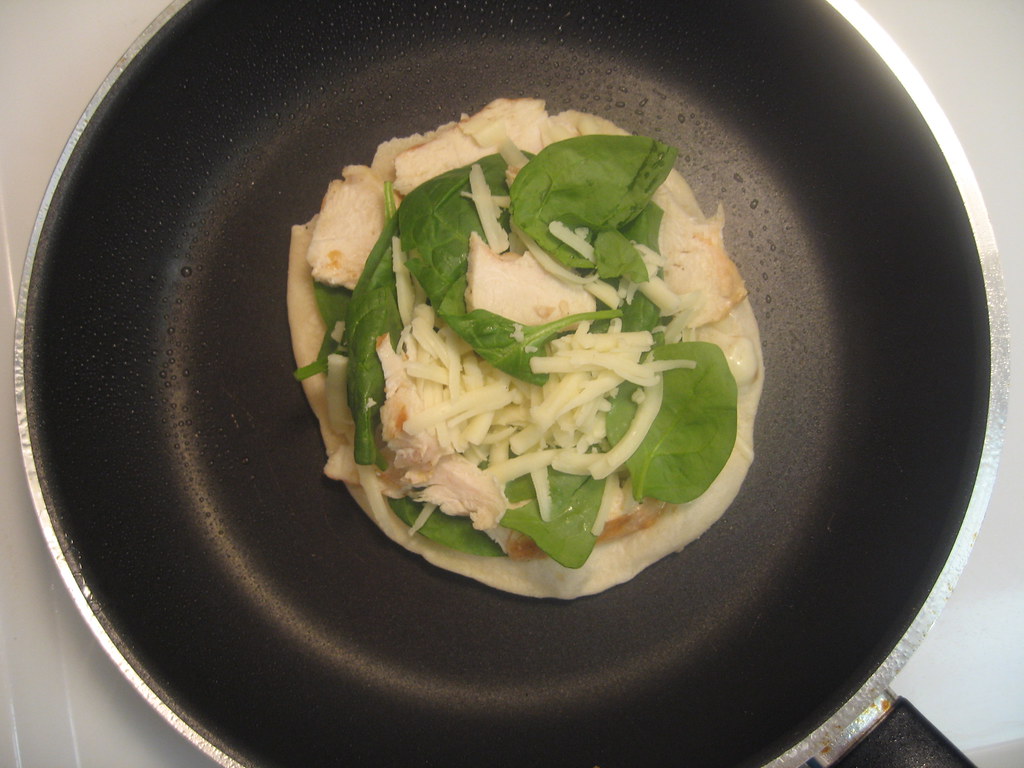
Chicken and Spinach Quesadillas

One of my cooking goals is to have a long list of quick and easy weeknight meals that are delicious.  These quesadillas are adapted from Real Simple, which does a great job at producing quick and tasty recipes.  If you caught yesterday's post, you saw the steak fajitas I made to go with my roasted corn and avocado topping.  To make tonight's meal even faster, I grilled a chicken breast after I finished up my steak for the fajitas last night.  The less times we have to clean that darn griddler the better!  However, I have to say the griddler is one of my favorite kitchen appliances and no little kitchen should be without one!  
Okay, back to the dillas.  I was able to pull my freshly seasoned and grilled chicken breast out of the refrigerator and slice it up in minutes.  Another option if you don't feel like grilling is a precooked rotisserie chicken, shredded.  Feel free to throw in different cheeses and vegetables depending on what you have on hand.  You really can't mess these up!
Chicken and Spinach Quesadillas
Adapted from Real Simple
Serves 2
Recipe Notes
If you are going to grill your chicken, heavily season it with a standard season salt or salt and pepper.  You can grill a piece of chicken for this meal up to 3 days before and refrigerate until ready to use.  So if you are doing some grilling earlier in the week, still a boneless, skinless chicken breast on there to have on hand when you are ready to make this.
Ingredients
4 tortillas
1 cup shredded rotisserie chicken or 1 cup thinly sliced grilled chicken
1 cup shredded monterey jack cheese (more if you like things really cheesy)
1 cup fresh baby spinach
Cooking spray or butter
to serve
sour cream
salsa
avocado
Step by Step
1. Heat a nonstick skillet over medium heat.
2.  Cover with cooking spray and add tortilla.
3.  Layer half of the spinach, cheese and chicken on the tortilla.  Allow cheese to slightly melt and once the tortilla has started to brown on the bottom, add tortilla on top of chicken, cheese and spinach. 
Optional: Add a pinch of salt over chicken, cheese and spinach. 
4.  Press down with spatula to allow ingredients to melt together.
5.  Flip over so that the other tortilla can brown.
6.  Once both sides are slightly crispy and cheese is melted, remove from heat and repeat steps for other quesadilla.
7.  Cut in quarter and serve with sour cream, salsa and avocado.

6.25.2009

Lots and lots of cooking...

I just walked in the door and I can barely feel my feet.  I have to say the Little Kitchen and I both did overtime today.  However, I have nothing to show for it... Pictures that is.  I just finished a dinner party for 9 people and I have to say I am a little exhausted.  I had a great time doing it of course!  My plan was to take pictures as I went, but that was the last thing on my mind as I tried to get all 4 courses out in a reasonable amount of time.  So yes, I did cook today (alot) even though I have nothing to show for it, but I will share each recipe in the weeks to come.   The salad was probably my favorite and I did a "make your own" crepe bar again for dessert, which was fun.  So I will be back tomorrow with my normally scheduled recipes.

6.24.2009

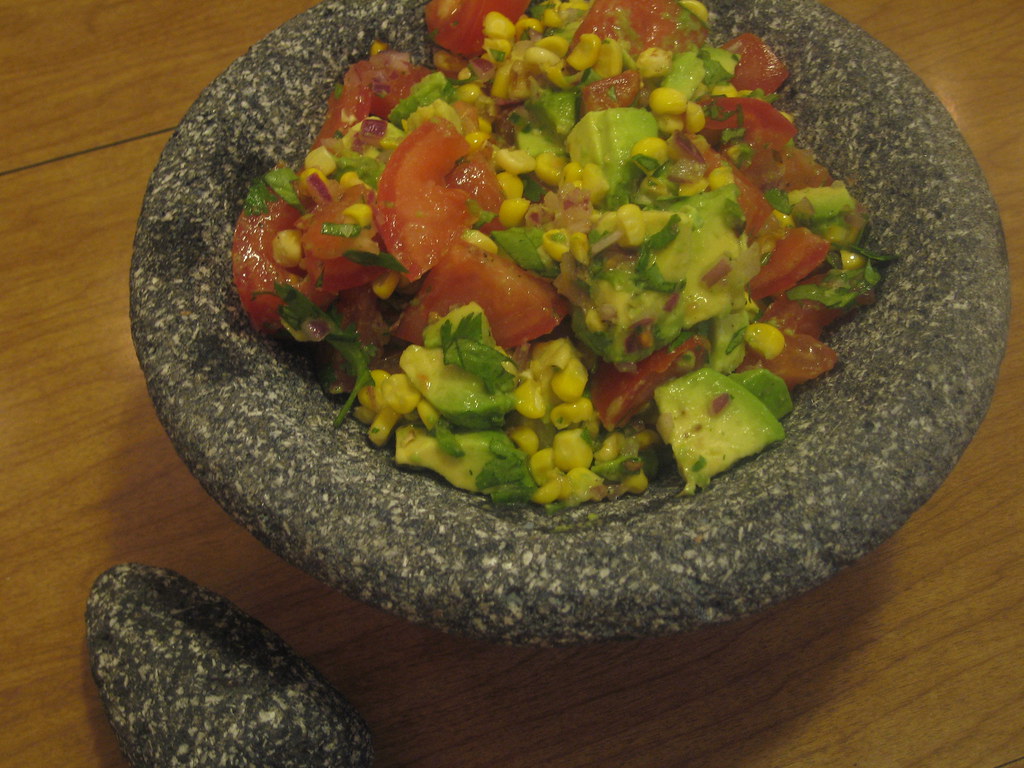
Roasted Corn and Avocado Dip

If you would like to be a popular guest for any summer soiree, bring this dip along.  I promise you will be a hit.  The combination of sweet roasted corn, creamy avocado, plump tomatoes and fresh cilantro is undeniably wonderful. With just a few other ingredients, you will have a dip that is sure to please.  I had this once in someone else's home and knew it had to be in my cookbook.  I used the same main ingredients and added a few of my own.
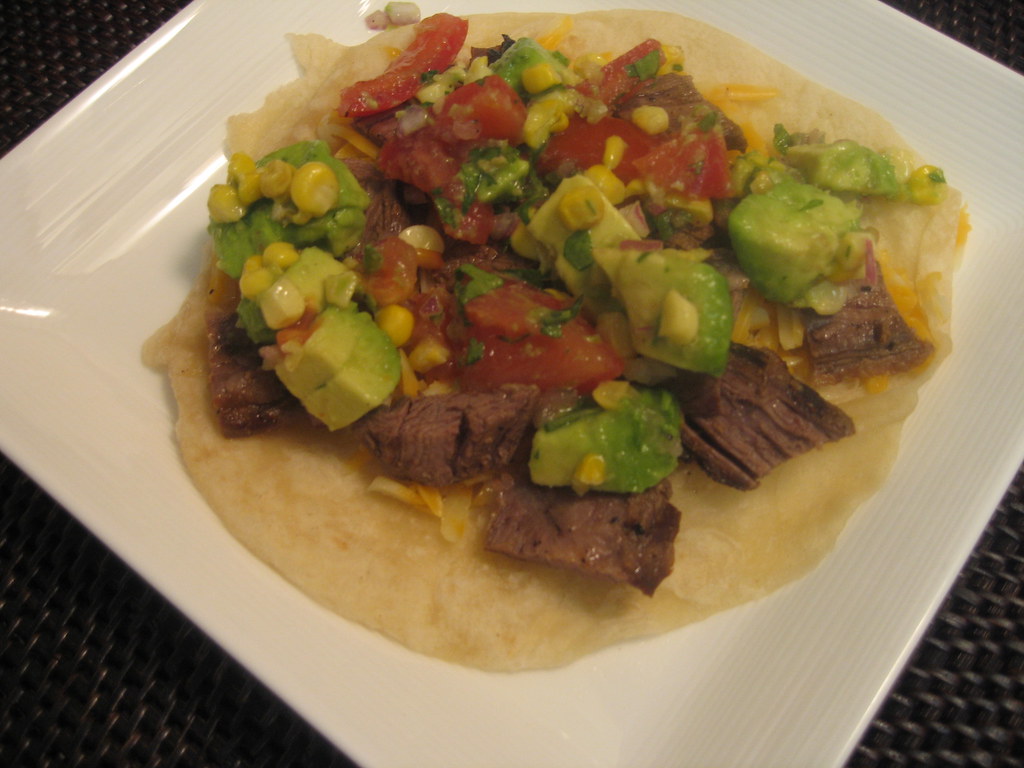
You can also see below how I used this dip to spice up steak fajitas.  Of course it pairs well with mexican food, but is tasty with most any summertime meal or barbecue.  Enjoy!
Roasted Corn and Avocado Dip
serves 2-4
Recipe Notes
You can use either fresh corn cut off the cob or frozen corn.  Whatever you have on hand works great, but I will say you can hardly beat fresh, sweet summer corn cut off the cob.
Ingredients
1 cup corn cut off the cob (or 1 cup frozen kernels)
2 teaspoons canola oil (or olive oil)
1 avocado, cut into small chunks
1 large vine ripened tomato, cut into small chunks (or two small tomatoes)
3 tablespoons fresh red onion, minced
1/2 teaspoon ground cumin
1 teaspoon fresh jalapeno, minced
3 tablespoons fresh lime juice
2 teaspoon cider vinegar
2 tablespoons fresh cilantro, chopped
1 pinch of salt and pepper, extra to taste
Step by Step
1.  Preheat oven to 400 degrees.
2.  Spread corn kernels onto baking sheet;  toss with oil and sprinkle with salt.
3.  Roast corn for about 10 minutes, until lightly browned.
4. In a medium bowl, combine all remaining ingredients.  Mix gently to combine.
5.  When corn has cooled, add to dip.
6.  Serve with favorite tortilla chips or as a topping to fajitas.
Works great as a fajita topping as well!

6.22.2009

Perfect Party Pizza


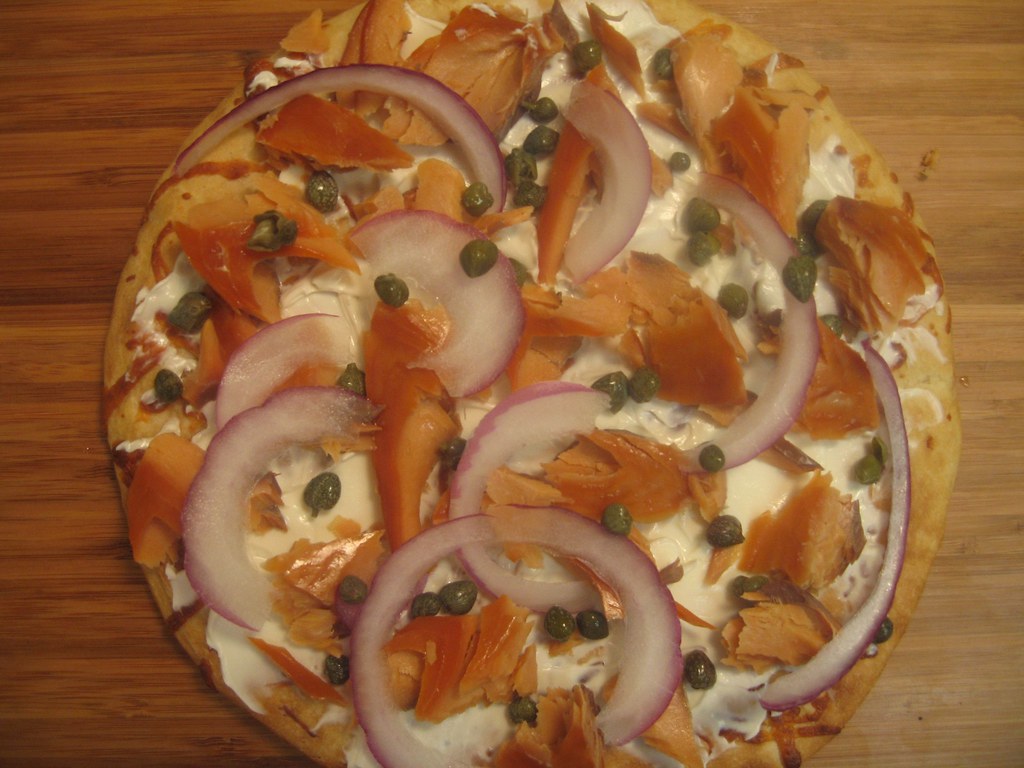
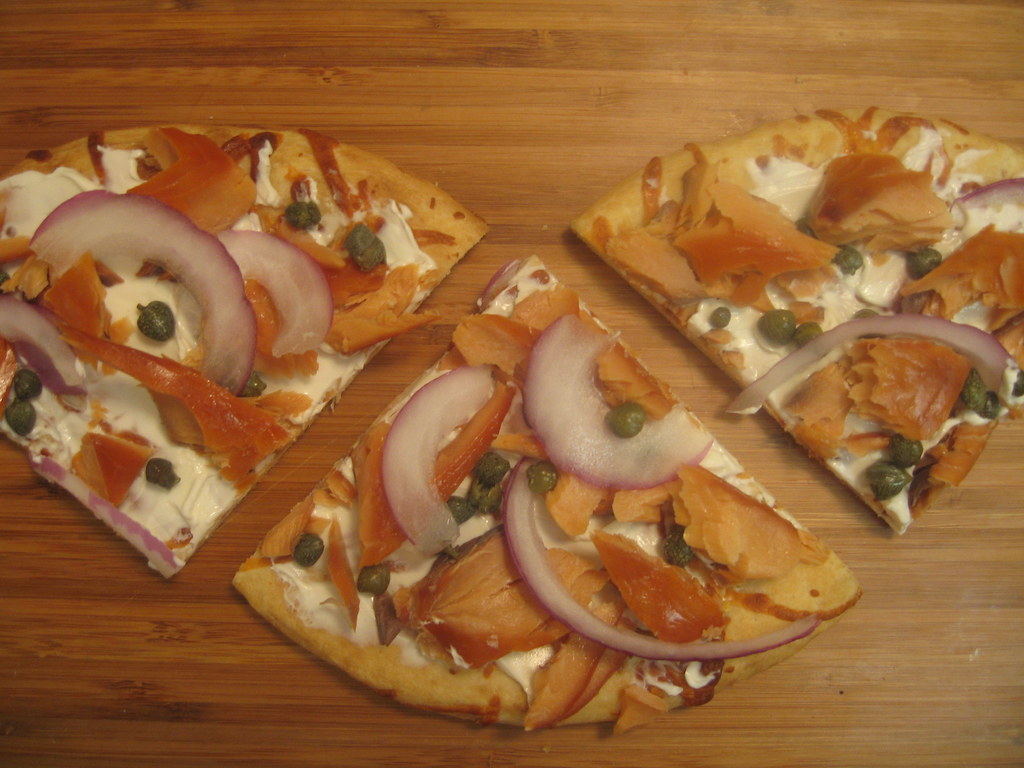
Serendipity... That's what I like to call the fact that in the same week, I received sockeye smoked salmon from Alaska as a souvenir from my parents, as well as a great new recipe from my friend Frances.  She told me how this is a recipe she has made for years and it's perfect as an appetizer or to take to any party. Of course I had to make it immediately and I can also say it's great for a quick dinner.  Whether you use an individual sized Boboli pizza or a large one for a crowd, you can easily adapt this recipe to however many people you are feeding.
Smoked Salmon Party Pizza
Recipe Notes
There are not really amounts below because you just eyeball the ingredients based on the size of your crust.  Boboli crust is a pizza crust that is sold at most grocery stores.  Make sure you let the Boboli crust cool completely before spreading the cream cheese on top.  A large knife is much easier to cut through the pizza then a pizza wheel.
Ingredients
Boboli Pizza Crust (small or large)
Cream Cheese, plain
Smoked Salmon, cut into bite size pieces
Red onion, sliced thinly
Capers, drained
1 or 2 tablespoon fresh dill, chopped
Step by Step
1.  Prepare crust according to package; let cool completely.
2.  Spread cream cheese in a thin layer to cover entire crust.
3.  Layer red onion on crust; followed by smoked salmon.
4.  Sprinkle capers and dill on top.
5.  Cut into pie slices or strips before serving.