7.28.2010

Up & Running...

They say what doesn't kill you makes you stronger.  I'm sure later in my life I will look back on these last weeks and wish I had the problems that I do now, but let me tell ya, this little kitchen move almost did me in.  I would also like to share the story because maybe, just maybe there will be someone who is as clueless as we were and won't launch into a project that could be poisonous.  I'll start from the beginning...

So we had no plans of moving, but a great deal popped up that we just had to take, which landed us in a charming little house about a block and a half away from where we were living.  We are still renting,which might make this story a tad ridiculous, but as we were moving in, Mr. Hungry decided to redo the kitchen cabinets.  I know that sounds crazy to do as a renter, but he has lots of interest in me being happy in the kitchen and to be quite honest we had no idea what we were getting ourselves into.  I didn't take the best before photos, but basically you can see that the kitchen cabinets do not close.  Apparently, the hinges had been painted over about 5 times and the cabinets would no longer shut.  They were pretty dingy too so one late Sunday, Mr. Hungry started scraping away, full of hope and determination.
IMG_0481
These cabinets are not just left open... they did not shut. 
IMG_0471
Dingy...
IMG_0469
The culprit of the cabinets not shutting... hinges that have been painted over quite a few times.
IMG_0473
Flash forward to the next day, Mr. Hungry gives me the job of cleaning the hinges since we can't find that are similar and finds that scraping about 5 layers of paint off of cabinets is no walk in the park.  With about 2 out of 10 cabinets scraped, we decide we need an electric sander.  I go to sleep that night with an over excited Mr. Hungry in the kitchen who is just blasting away at the paint.
IMG_0477
The next day, I continue to work on moving the rest of the stuff and start to research how I can take paint off of the hinges.  One link led me to another and I started reading about lead paint. Long story short, I find that sanding old paint is extremely dangerous and if it contains lead, you could get lead poisoning and basically turn into a vegetable.  I'm about to faint thinking about how Mr. Hungry has just been huffing this stuff for about 3 days.  I mean look, I don't think you could get any closer to this stuff.  {sidenote: we are still not sure if there was lead in the paint, but the test kit takes two weeks to get results in the mail, and this house was built in 1942 so the chances were pretty high}
IMG_0483
Enter day 4 (which seems like day 22) when I go pick up a respirator.  I had also read reports that you could absorb this stuff through your skin so poor Mr. Hungry spent the next two days with most skin covered in the blazing Houston heat sanding away.
IMG_0489
After working day and night for two weeks, the kitchen was done... I could hardly believe it.  And while this all seems manageable, I for some reason was having a melt down thinking that Mr. Hungry could become a vegetable because of this silly little renovation.  Anyway, the whole thing already seems a bit comical when I see the pics of what seems to be an alien redoing the kitchen....
IMG_0490
Moral of the story: Check for lead paint before tackling a painting project that has anything to do with old paint!
Once again, thank you Mr. Hungry for this amazing kitchen.  I promise to make you lots of macaroni and cheese in here. 

On top of that, there has been a broken oven, refrigerator and water heater that are now all taken care of.  But finally, finally, I'm back with a fully functioning kitchen.  I will be back with pics of the new (and not so new features) of the new little kitchen and for goodness sake, I'll get back to the recipes!

7.08.2010

from one little kitchen to another...

under construction


There is a pretty darn good reason that things have been so slow around here… we moved! I
had big plans of sharing the final days in the little kitchen, but things just got down right crazy. I
of course also wanted to share the new little kitchen (and yes, still very little), but we took on a
project that almost did me in.
We moved into a very old, charming house. It gives us just a little more room, which I had no
idea how nice that would really be. You can actually stand in one room and not be able to see
other people in the house… nuts!
The part I have been most nervous about with this move is the kitchen. I will share more details
about that later, but I have just come to absolutely love the little kitchen and while some people
wouldn’t dare fry an egg in that little space, I had really mastered the art of cooking in there. I
had everything right where I wanted it and I found the narrowness to just make everything at a
very convenient distance.
But alas, it is time to move on and I’m sure I will make a new home in the new little kitchen. The
main reason for the delay is that Mr. Hungy decided that he would redo the kitchen cabinets
and while it is absolutely wonderful now, there were days I thought we would never see the end
of this project.
I will share the journey of our little renovation soon, but for now I have to get ready for the in-
laws to stay with us.

So give me just a little longer and I will get back to the cooking.

6.22.2010

Mini Martha Camp

Mini Martha Day 1 024
So I am back and I am ready to share what all has been going on around here.  I will start with one of the best.  Pretty much any moveable piece of in this small space went on a little field trip.  I taught a week long cooking and crafting camp at the school I work at.  In my other life, I work at a school, but I am not a teacher... I work in the development office.  There is a reason I emphasize this... While it was one of the most fun things I have ever done, it was also one of the most exhausting.  Partly my fault for trying to cover everything from freshly pureed strawberry lemonade to homemade pasta in one week, but partly because I am not a teacher and while my class started at 9, I popped up everyday around 6 a.m. begging Mr. Hungry to help me haul my supplies up for the day to school because I was just sure I was not going to be prepared (once again, whole new appreciation for teachers).  So a quick and very big thank you for your help Mr. Hungry... I would still be toting around that blasted mixer and food processor if it wasn't for you.

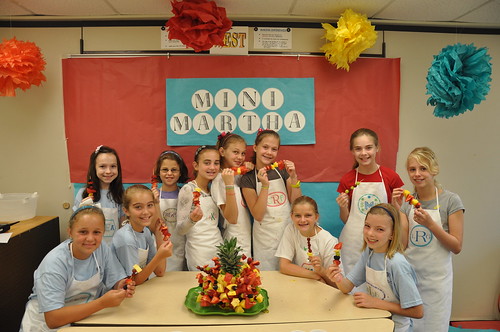
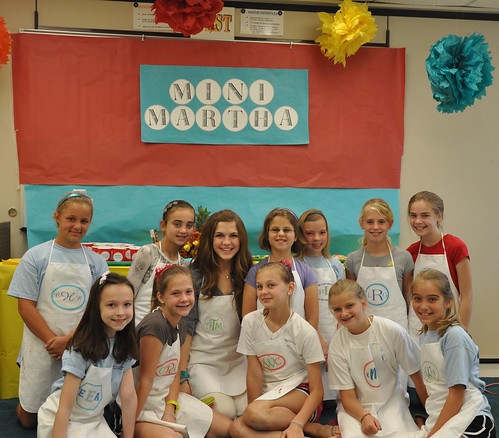
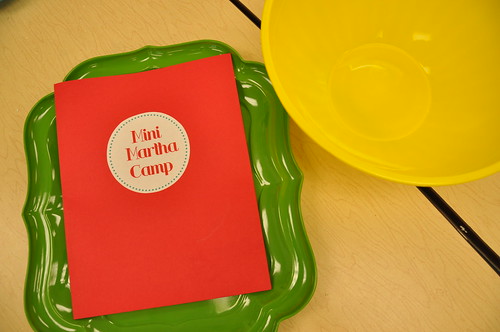
After I pulled myself together each morning and the girls arrived, it was a wonderful 3 hours each day.  So you might be wondering about the Mini Martha?  Well, it was a cooking and crafting camp so I thought what better than to get straight to the source of all cooking and crafting things... Martha Stewart.  Out of all the new experiences I had with these girls, the one thing I had not imagined from this week, was the amount of defending I would have to do of Ms. Martha herself.  Almost daily, I would have a conversation that went something like this:
Camper: Mrs. Taylor, did Martha Stewart go to jail?
Me: um, well.... yes.
Camper: Is she a bad person?
Me: um, well, no.  She didn't necessarily hurt anyone.  um, well, she made a business mistake and got punished. But, she sure has rebounded!

This seemed to be good enough of an answer to satisfy their curiosity and we could move back to cooking.  Note to self: you can be cooking and crafting mogul, but one short stint in the slammer and it will be hard to get that off the top of the list when people hear your name.

Okay, back to the point...


I wanted to share all of our fun cooking adventures with you.  I had 6 fifth graders and 6 sixth graders and they were all amazing little chefs!

Day 1
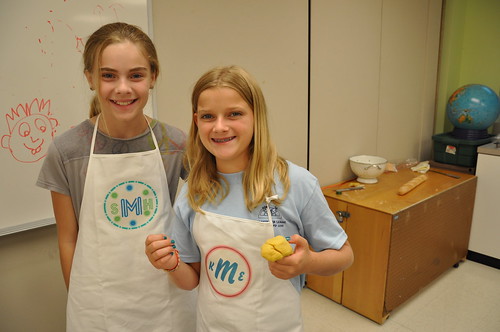
First things first, we had to make aprons. We took a field trip to the computer lab and learned how to create our monogram in Power Point and then ironed them on to our apron.
Mini Martha Day 2 019
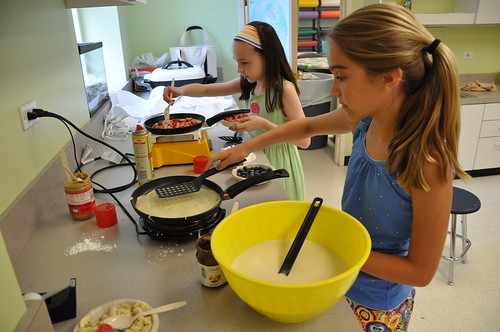
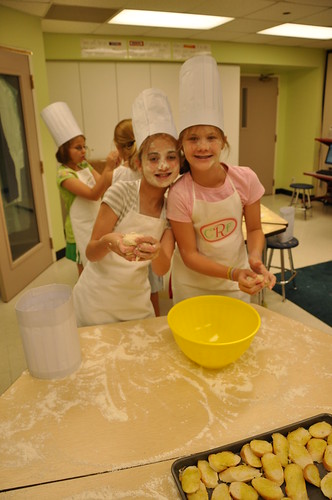
We learned how to make crepes (yes, that is a bunson burner... you have to get creative when you are teaching a cooking camp in a science lab without a kitchen!)
Mini Martha Day 1 001
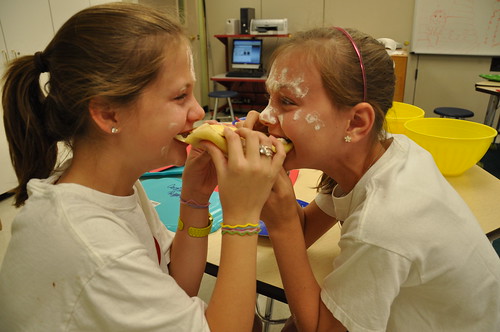
And then we stuff them with all sorts of goodies and ate them up. (and apparently had our first flour throwing frenzy)
Mini Martha Day 1 016

Day 2
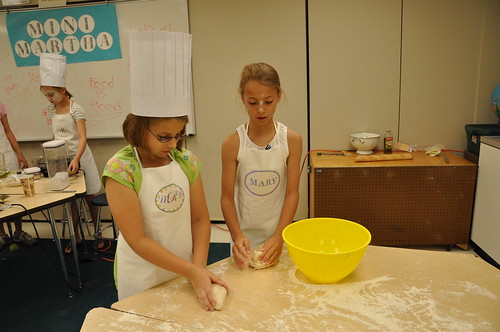
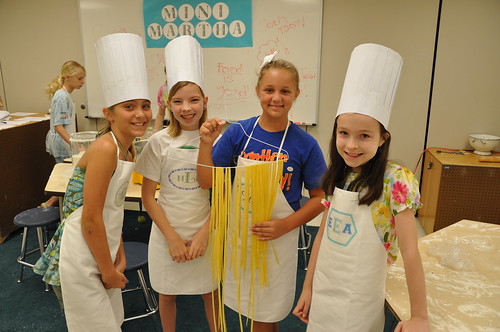
We put together our serious looking chef hats so we good get down to business with different doughs.
Mini Martha Day 2 009
Then, it was on to making fresh pizza dough (and apparently having our 2nd flour throwing frenzy). We mixed and kneaded and waited for it to rise.  Everyone went home with their dough to make a pizza for their families.
Mini Martha Day 2 014
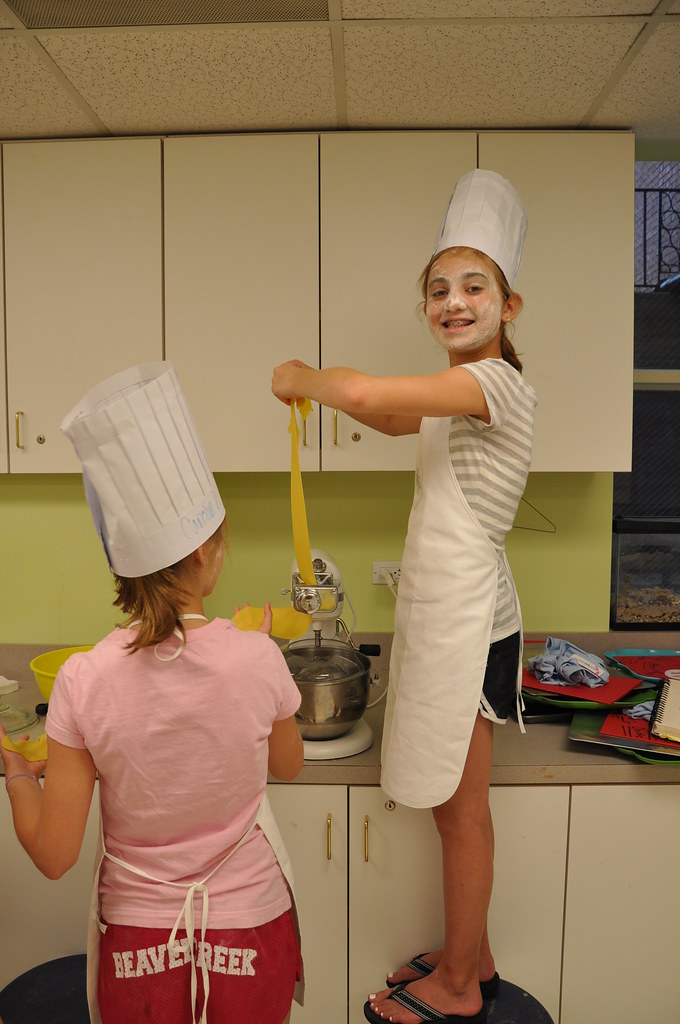
Next up, was homemade pasta.  This ended up being almost everyone's favorite recipe.
Mini Martha Day 2 015
After making the pasta, we ate it all up.  Missed this picture opportunity because I too was enjoying some pasta.
Mini Martha Day 2 017
Day 3
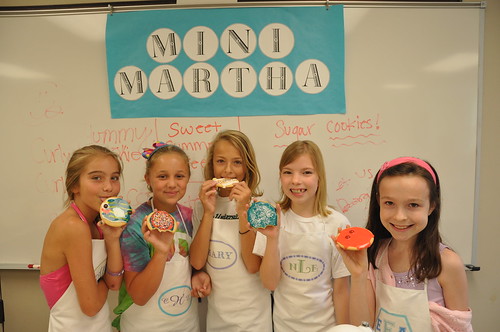
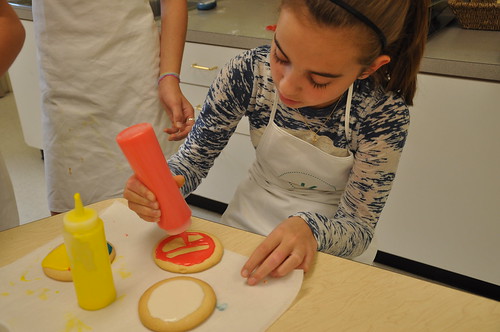
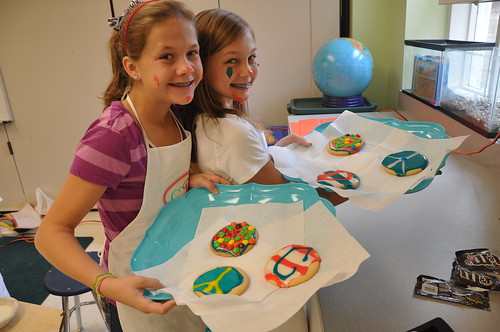
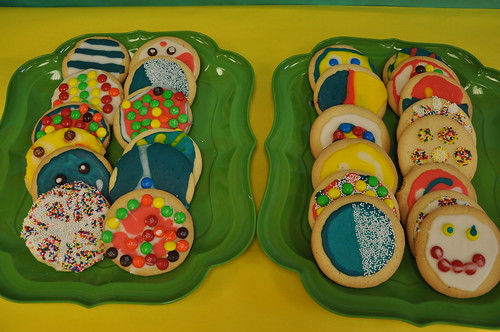
It was time to learn how to make royal icing and perfectly iced sugar cookies. I simplified things by picking up cookies from a local bakery and we worked on icing most of the morning.
Mini Martha Day 3 011

Mini Martha Day 3 006

Mini Martha Day 3 009
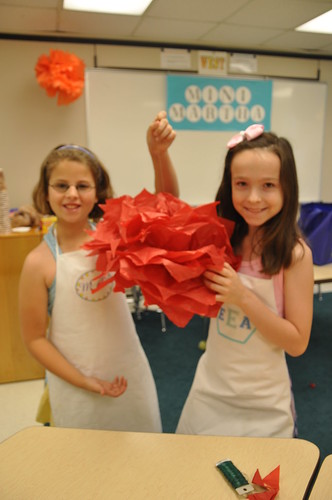
We worked on making tissue paper poms poms to decorate our room.  Friday, we had plans for an end of camp party so we had to get the room looking good for our parents to come and sample.
Mini Martha Day 4 001

Mini Martha Day 4 002
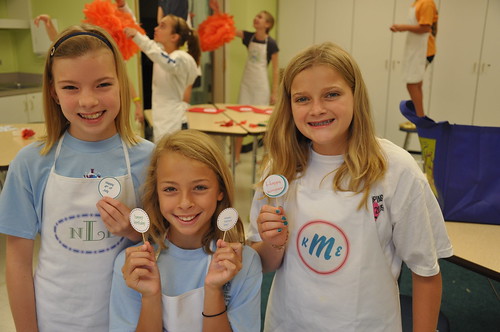
We also went back to the computer lab and learned how to make cupcake toppers to adorn cupcakes for upcoming events like Father's Day and Fourth of July.
Mini Martha Day 4 004
Day 4
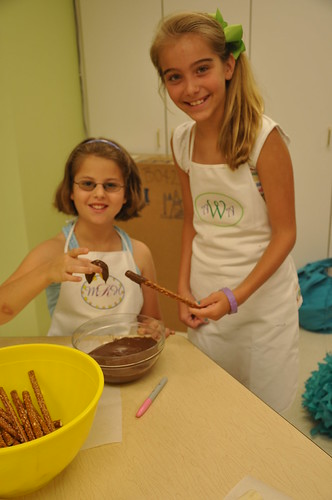
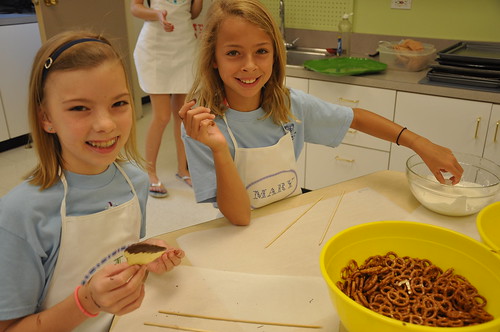
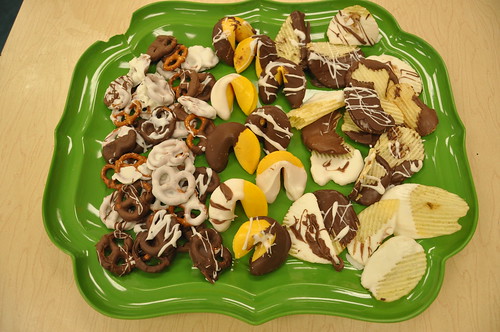
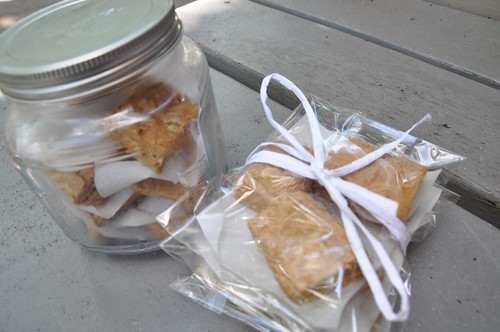
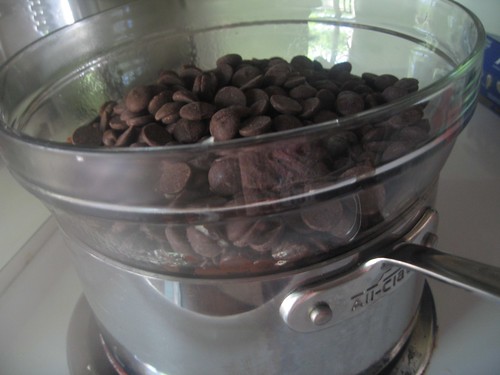
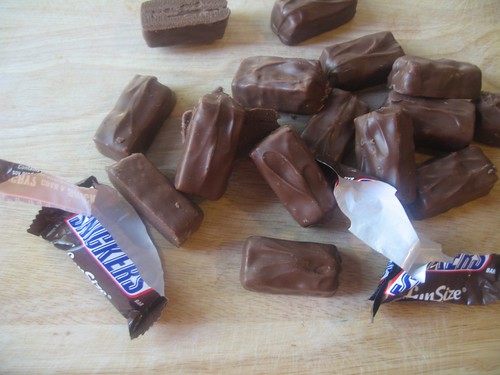
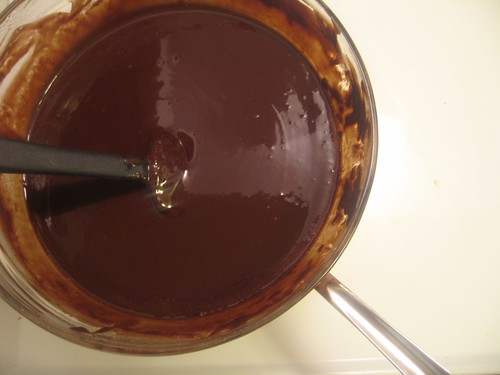
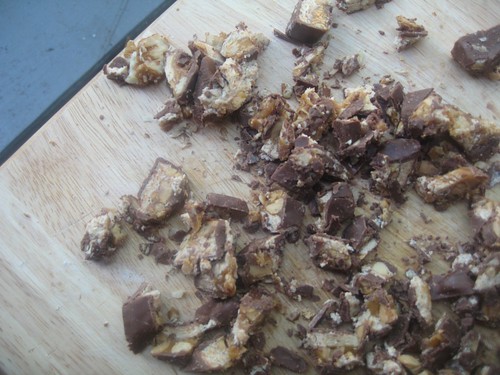
Today was called "hocolate everything!"  We literally dipped everything from fresh fruit and pretzels to fortune cookies and potato chips in chocolate.
Mini Martha Day 4 011
Mini Martha Day 4 012

Mini Martha Day 4 022
Day 5
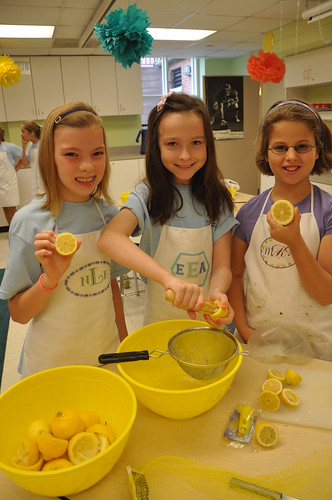
We squeezed out fresh lemon juice and pureed strawberries for our fresh strawberry lemonade.
Mini Martha Day 5 001
Followed by a pineapple fruit tree.
Mini Martha Day 5 003
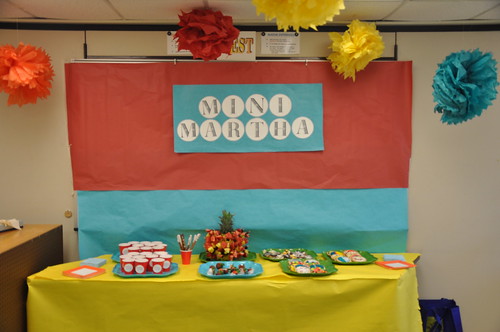
We continued to get ready for our party and get the table set.
Mini Martha Day 5 005
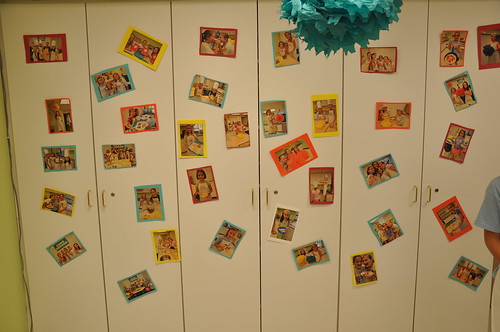
We made a picture wall of all the things we had made that week so our sweet moms and dads could see that we actually did more than throw flour on each other for 3 hours everyday.
Mini Martha Day 5 006
And finally, we were set for everyone to come in and see our hard work.
Mini Martha Day 5 009
To sum things up, it was one of the most fun things I have ever done. I hope you girls enjoyed it half as much as I did!
Mini Martha Day 5 013

6.20.2010

father's day fudge {a.k.a. peanut butter fudge}

DSC_0215

Have you ever had anyone tell you that you were so beautiful only to realize years later that you had a uni-brow and unruly frizzy hair? Or have someone insist that you are on a “fun adventure” when you call and request  to be rescued from a freeway in 100 degree heat because you ran out of gas?  These are just two of the thousands of reasons that my dad is so great.  Sure, this was a hard fact to see growing up when he marched in my high school lunch room with his accordion to sing me happy birthday or blast show tunes and shake the car every time he dropped me off in the middle school carpool line.  Well, here I am many years later, chalking all of that up to self-esteem building and realizing I have been blessed beyond belief with the greatest dad.

While my dad doesn’t cook much, I am pretty sure he is the reason I love to do so.  I have decided over the years that I love to cook because I love to eat and I definitely got that from my father. 

It seems like yesterday that I was in lower school eating breakfast with my dad one Saturday.  Someone must have been having oatmeal because the brown sugar was on the table.  We happen to glance at the back of the box and saw a recipe for peanut butter fudge.  We both agreed that it looked like the tastiest fudge we had ever seen, and we just had to try it.  Less than five minutes later, we had come up with exactly what we would be doing for the rest of the afternoon and headed to the grocery store.  And just like that I was hooked on cooking because this was the most amazing fudge I had ever had. 

The funny thing about this recipe is that day I felt like we had been slaving in the kitchen all day and had made an extremely complicated gourmet dish that tasted like absolute heaven; all these years later, it’s about the simplest, quickest one pot dessert you can make (and still unbelievably rich and good).

So thank you dad, for taking the time to clear your schedule and just make fudge.

DSC_0229

Almost two years ago, I was given another amazing father, my father-in-law.  Ron is an amazing cook (I’m still waiting for you to guest blog!)  and I have shared some great times with him in his kitchen.  So, Happy Father’s day to you too and hopefully your fudge makes it to Missouri safely!


DSC_0178

DSC_0181
Peanut Butter Fudge
Adapted from Imperial Brown Sugar
Recipe Notes
If you do not have a candy thermometer, do not let that stop you from making this fudge.  I have made this more than a few times and this is the first time I used a thermometer.  Just make sure and boil it for about 6 minutes and it will be at the right temperature.
Ingredients
12 Imperial Sugar or Dixie Crystals Redi-Measure Light Brown Sugar pouches (3 C)
2/3 C (5-oz can) evaporated milk
1/2 C butter or margarine
1 (7 oz) jar marshmallow crème
1 C smooth peanut butter
2 tsp vanilla
2 C miniature marshmallows
1 C roasted, unsalted peanuts, chopped
Step by Step
Grease a 9-inch square pan with butter.  Combine brown sugar, milk and butter in heavy 2-1/2 quart saucepan.  Bring to a full boil, stirring constantly.  Boil to 235 degrees for 5 to 7 minutes, stirring frequently (see recipe note about thermometer).  To avoid grainy fudge, don’t scrape mixture from sides of pan.  Remove from heat. 

Add marshmallow crème, peanut butter and vanilla, stirring until smooth.  Stir in miniature marshmallows and peanuts. Pour into greased pan and spread evenly.  Cut into 1-inch squares.  Makes 36 squares.

6.15.2010

me

wizard of oz
I don't think I have ever been able to relate more to this photo.  Okay, so I'm not dead but feeling quite squished.  The past 10 days have been some of the most fun/ hectic that I have had in my scant 25 years of living.  I have quite a bit of kitchen and food related things to share, but literally don't have another moment to spare to put my thoughts out in cyber space right now.

I scrolled by this picture on this darling blog and thought... ah! I can totally relate. She felt the same way on a particular day and I just had to borrow the image.  Now I realize I probably should have put this up last week when my posts got very thin, but I just wanted to report that I am alive and will be back soon!

6.07.2010

over the top fudgy brownies

IMG_7126

I sometimes find that the best way to sum up a dish, is to quote the people who try it.  In this case, a coworker, Debbie  who will remain anonymous, and I had the following conversation when I brought these to the office for my boss, Allison's birthday.

Coworker: Ashlea, these are sooooo good.
Me: Oh, I'm so glad you like them!
Coworker: No, I don't just like them, I want to put my face in them.

Ha, anyway, needless to say, I think my coworkers liked them.  And Peace Meals named these right... they are definitely over the top, but unbelievably good.  If you or someone you would like to bake for is a chocolate lover, these have got to be on your list.

And the best part... you can really make them your own.  These call for a layer of crushed candy bar in the middle and I chose Snicker.  However, you could make it yours by adding your favorite chocolate candy bar.  Next on my list is trying these with Reese's.

Warning: These are not simple! I like to keep things pretty quick and easy around here and while this is not hard, get ready for a lot of steps and a lot of bowls. If I haven't scared you off, I promise this one is worth it for a special occasion.
IMG_7101

IMG_7105

IMG_7106

IMG_7111

IMG_7116

IMG_7117

IMG_7120

IMG_7123

Over the Top Fudgy Brownies
Recipe Notes
Like I mentioned above, you may substitute your favorite chocolate candy bar for the Snickers layer as well as your favorite nut for the pecans (or leave them out all together).  This recipe calls for instant espresso powder.  I have passed up many a recipe because I wasn't able to find this, but I located it at Central Market.  You can probably find it at most specialty grocery shops if you don't have a Central Market.  This recipe requires overnight refrigeration.
Ingredients
2 cups (4 sticks) unsalted butter
28 ounces semi-sweet chocolate chips, divided
6 ounces bitter sweet chocolate
6 eggs
3 tablespoons instant espresso
2 tablespoons pure vanilla extract
2 1/4 cups sugar
1 1/4 cups all- purpose flour, divided
1 tablespoon baking powder
1 teaspoon salt
2 cups chopped pecans (optional)
10 ounces Snickers bar, roughly chopped
Step by Step
This recipe requires overnight refrigeration!
Preheat the oven to 350 degrees F.  Line a 9 by 13 inch metal (not glass) pan with foil, leaving enough foil to hang over the edges of the pan.  Butter and flour the foil; set aside.  In a double boiler (or a large glass bowl set over a pot of simmering water), melt the butter, 16 ounces of the semi sweet chocolate chips and all of the bitter sweet chocolate.  Stir to combine, then allow to cool slightly.

In a large bowl, whisk together the eggs, espresso, vanilla and sugar.  Starting in small amounts, add the warm chocolate mixture to the egg mixture; allow to cool to room temperature.  In another bowl, sift together 1 cup of the flour, the baking powder and salt; stir into the cooled chocolate-egg mixture until just combined.  In another medium bowl, toss the pecans and the remaining 12 ounces of chocolate chips with the remaining 1/4 cup of flour; add to the chocolate-egg- flour mixture.

Pour half of the batter into the prepared pan and smooth the top.  Arrange the candy in a single layer over the batter, making sure the Snickers reaches the edges of the pan.  Top with the remaining batter and smooth.  Bake for 35 minutes; although the brownies will not be firm, do not over bake.  Allow to cool, then refrigerate overnight.  Remove the brownies from the pan using the foil overhang and cut into small squares with a serrated bread knife (if you have one, it will make cutting these easier).  Store in the refrigerator.